Introduction
In the world of software development, having an efficient and reliable way to deploy software is crucial. Understanding and mastering Continuous Integration and Continuous Deployment (CI/CD) have become vital for developers and teams.
Introduction to Azure DevOps and CI/CD
Azure DevOps is a powerful platform that assists developers and teams in planning, developing, testing, and deploying software. It enables you to create CI/CD pipelines that automatically build, test, and deploy software changes to Azure and other cloud environments.
Step 1: Configure Azure DevOps
- Create an Azure DevOps Account: If you do not already have an Azure DevOps account, go to Azure DevOps and create a new account. You can visit https://dev.azure.com to create an Azure DevOps account
- Create an Azure DevOps Organization: Follow the instructions to create a new organization within your Azure DevOps account
- Create a Project: Create a new project within the organization where you want to manage your VM implementation
Step 2: Connecting to Azure
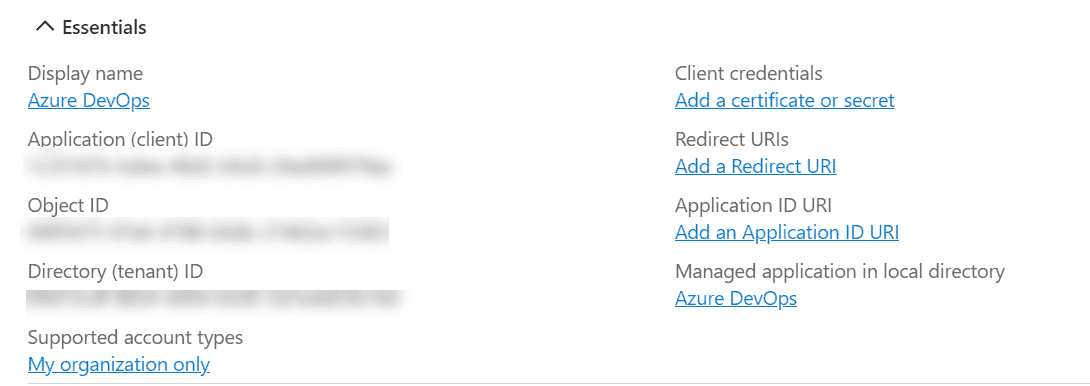
- Create Azure Service Principal: Go to the Azure Portal and create a new service principal in the Azure Active Directory. Record the access credentials, including the App ID and password
- Azure-service-principal Permissions: Assign the appropriate permissions to the service principal, such as the Contributor role at the specific resource group level where your VM will be created
- Store Service Principal Secret: Safely store the secret (password) of the service principal, as you will need this later in your DevOps pipeline
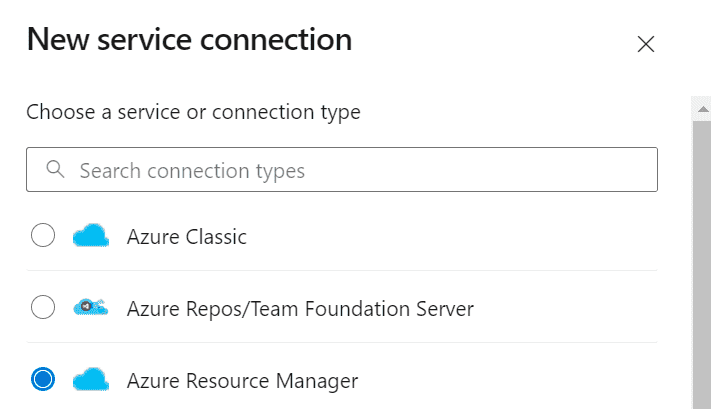
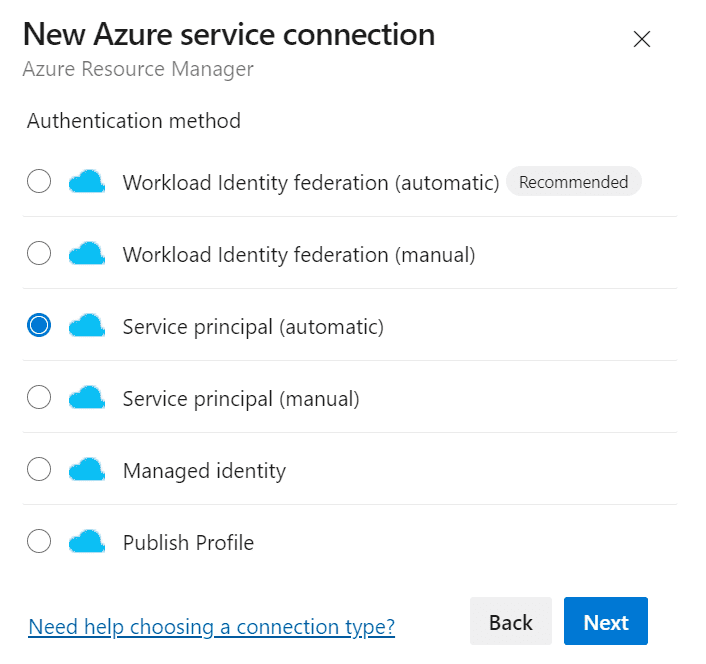
- Create a service connection to connect to Azure:
- Choose New Service Connection
- Provide the Service Principal details to establish a connection. Please write down the name of the Azure service connection, as we will use it later in the YAML file used in the pipeline

Step 3: Create a Repository and Azure Pipeline
- Create a new Git repository within your Azure DevOps project. In this repository, you can store all the scripts and configuration files necessary for your Storage Account implementation
- Create a Pipeline: Create a new Azure Pipeline in your project. Choose the Git repository you just created as the source of your pipeline
- Pipeline configuration: Here, you can use YAML pipeline configuration to set up the steps and parameters, and ensure that the service principal details are securely stored as secrets within Azure DevOps
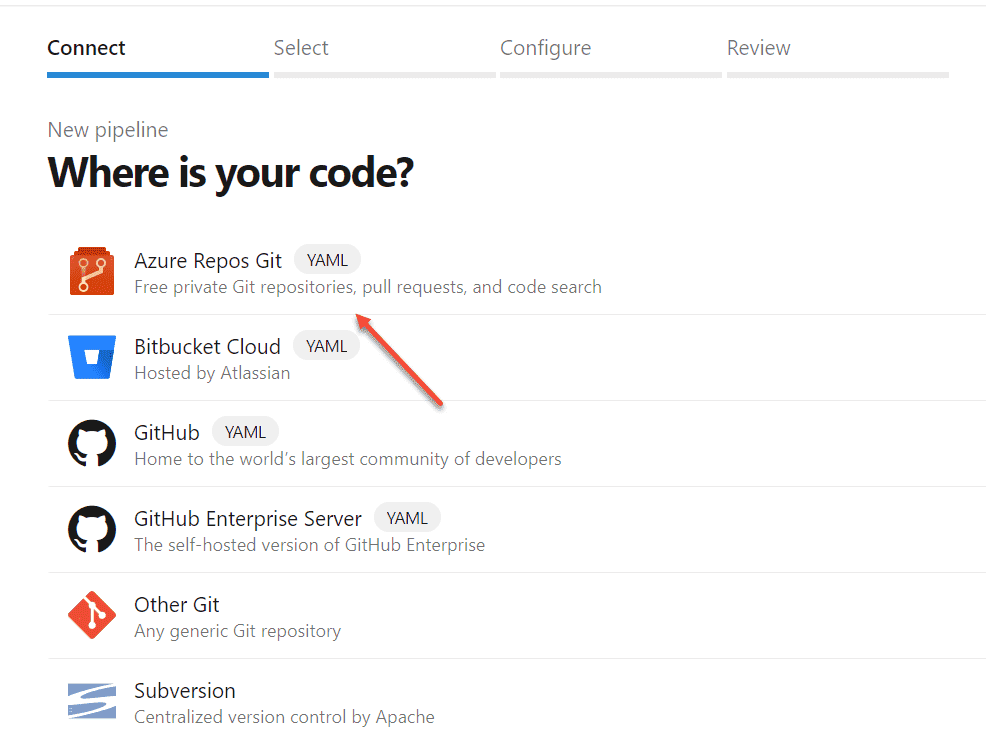
- Choose the Azure Repository you’ve created :
- Choose starter pipeline and use the following example yaml-file:
- Now run your Pipeline :
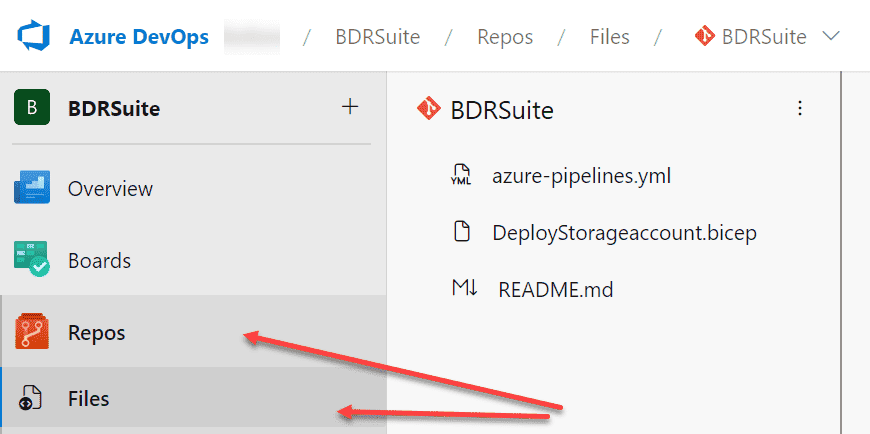
As an example, we will create (or upload) the following script:
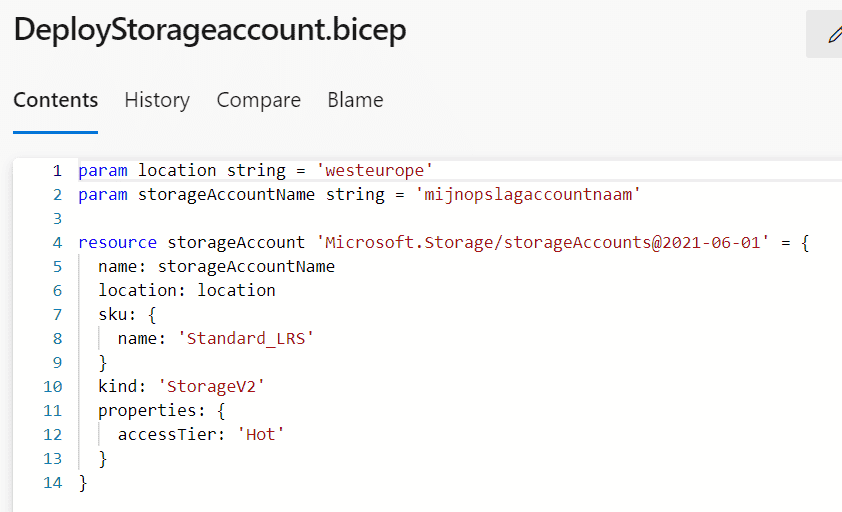
We will use this script within the Azure DevOps pipeline.

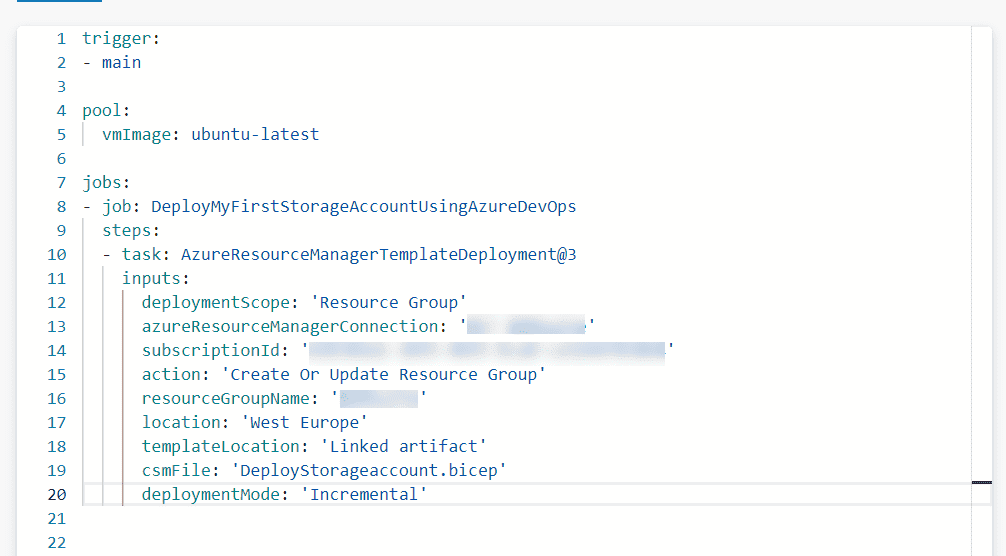
Use the Azure Resource Manager Connection that you created earlier. Enter the subscription ID that you noted earlier in the YAML file. Specify the resource group where you want to deploy the resource.

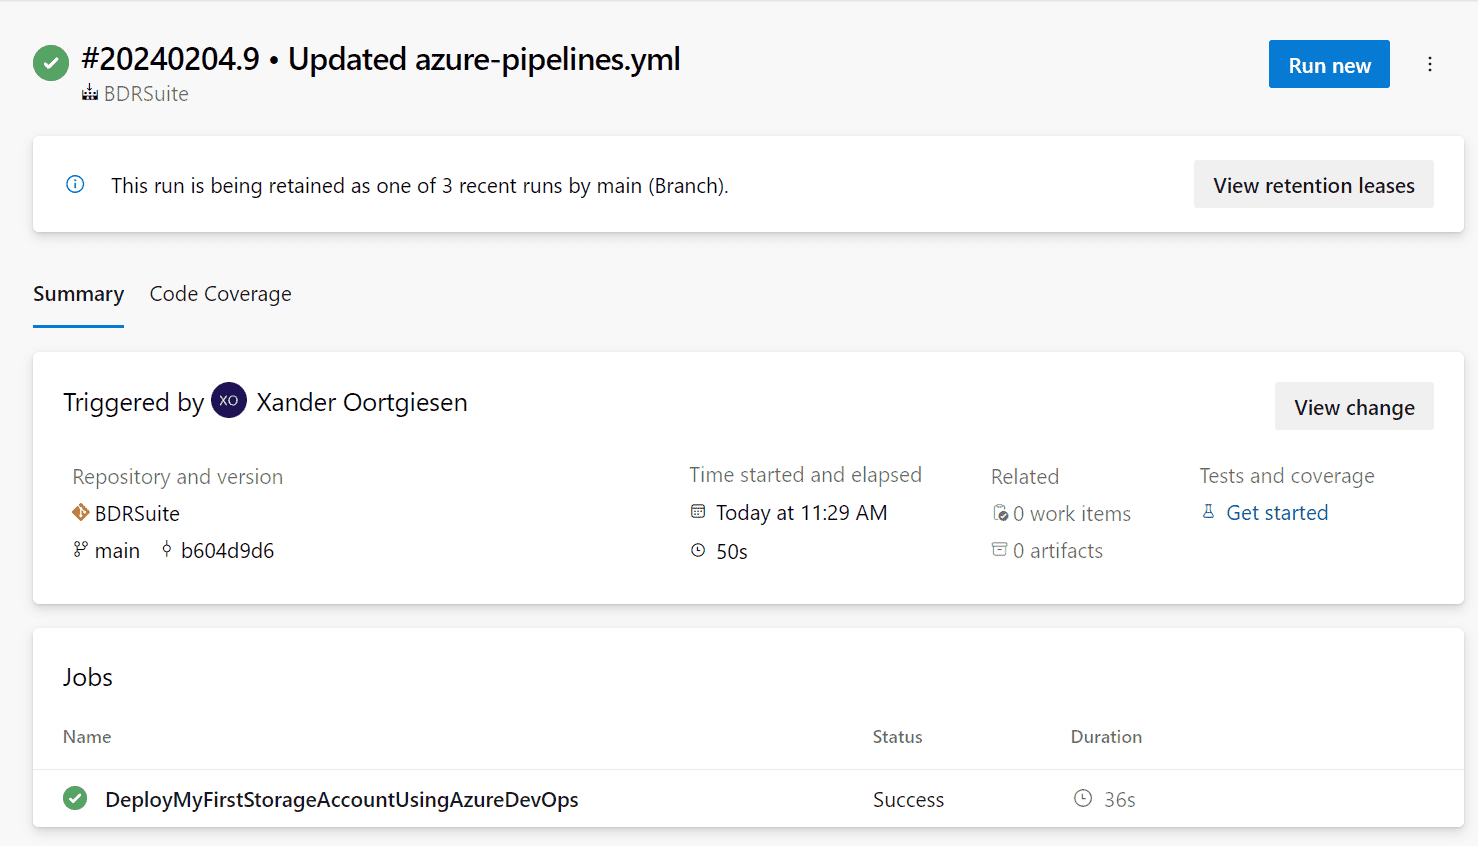
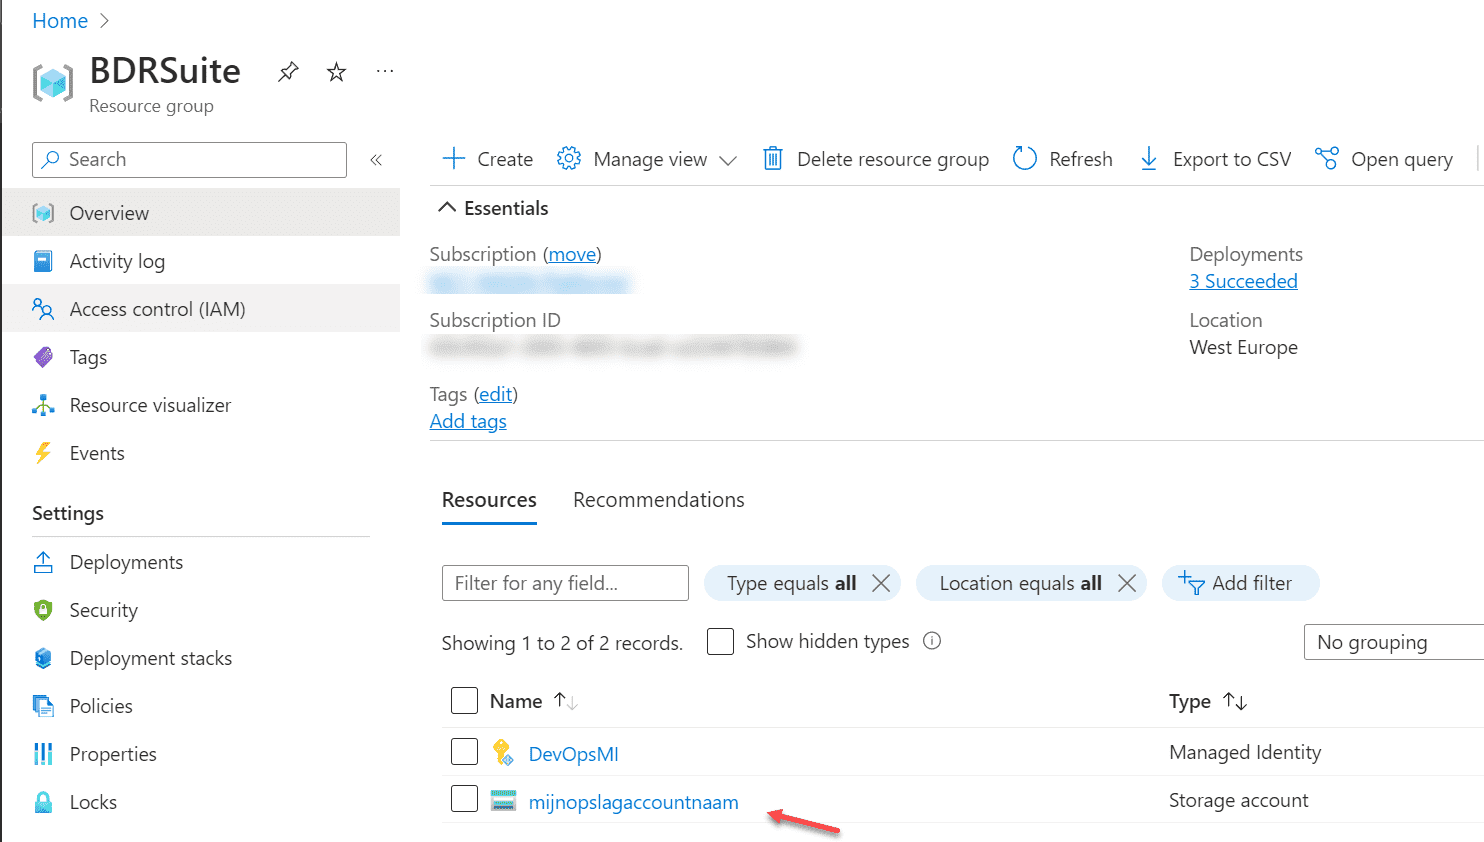
And voila, your newly created Storageaccount is visible in Azure:
Conclusion
In this first blog post of our four-part series, we have laid the foundation for understanding CI/CD with Azure DevOps and Azure. We have learned how to configure Azure DevOps, create a project and repository, and set up a simple YAML pipeline to deploy an Azure resource. It’s important to follow best practices at each step of the process, such as naming organizations, projects, and repositories in a structured manner and documenting code and configuration files.
Related Posts:
Microsoft Azure for Beginners: The Power of AI in Cloud Management: GitHub Copilot and Azure: Part 29
Microsoft Azure for Beginners: Step-by-Step Guide: GitHub Copilot in Visual Studio Code: Part 30
Microsoft Azure for Beginners: Unleashing the Power of GitHub Copilot and Azure in CI/CD Pipelines : Part 31
Microsoft Azure for Beginners: What is Azure Data Services? Part 38
Follow our Twitter and Facebook feeds for new releases, updates, insightful posts and more.


Leave A Comment