
The process to install open source Kernel Virtual Machine (KVM) in an Ubuntu virtual machine is fairly straight forward to do. To start out learning KVM and understanding the installation process, all you need is an Ubuntu Server virtual machine. Let’s take a look at installing KVM in Ubuntu and see what steps are required.
Prerequisites
If you are installing in a virtual machine, which is a great way to learn, you can create a VM in your favorite virtualization environment. Note the following requirements:
- Virtual Machine – Ubuntu 22.04 recommended
- Nested virtualization enabled – KVM needs to have access to the physical properties of the host CPU for proper virtualization. By enabling nested virtualization for the VM, you allow your KVM virtual machine to have physical CPU access and hardware acceleration. You will receive an error message with KVM if this is not the case
- Enough resources for the VM – I would recommend to begin with a sandbox and lab environment with KVM to have 4 vCPUs and 8 GB of RAM assigned
- Internet access – To download Ubuntu updates and the packages needed to install KVM in Ubuntu
Virtual Machine properties
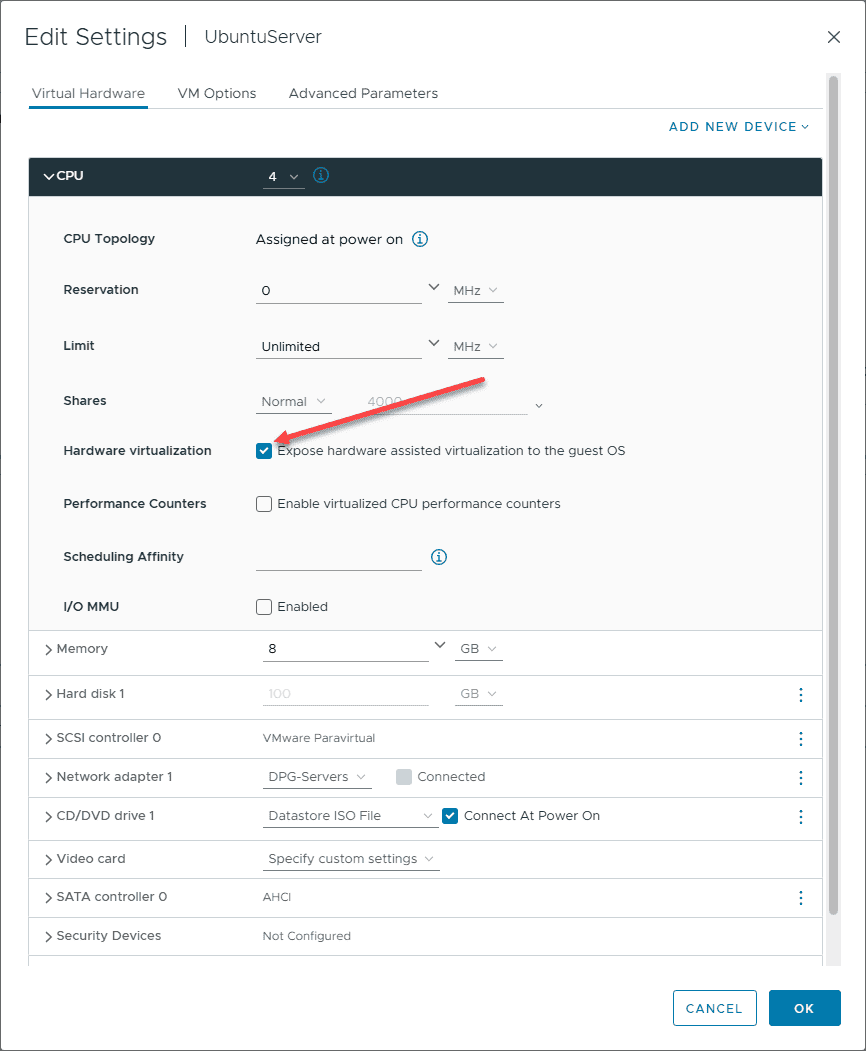
Take a look at the properties of my virtual machine running inside VMware vSphere in the home lab environment. You will note the hardware virtualization is enabled for the vCPU. The ISO I had mounted is the Ubuntu Server 22.04 ISO image.
Installing Kernel Virtual Machine (KVM) in Ubuntu
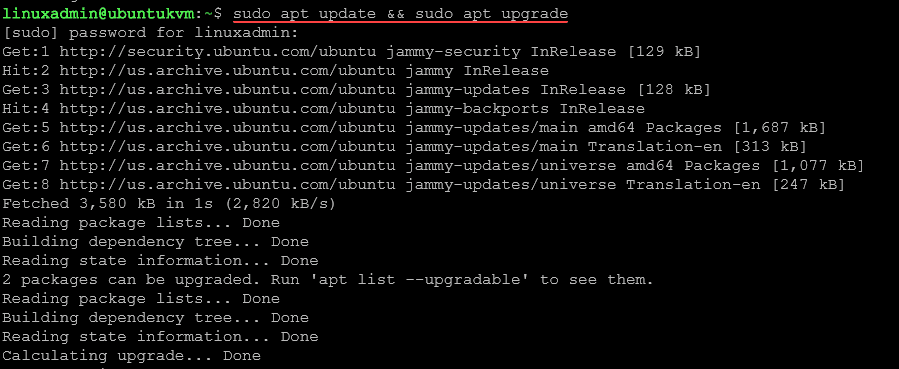
To install KVM in Ubuntu, first update your virtual machine with the latest updates from Ubuntu.

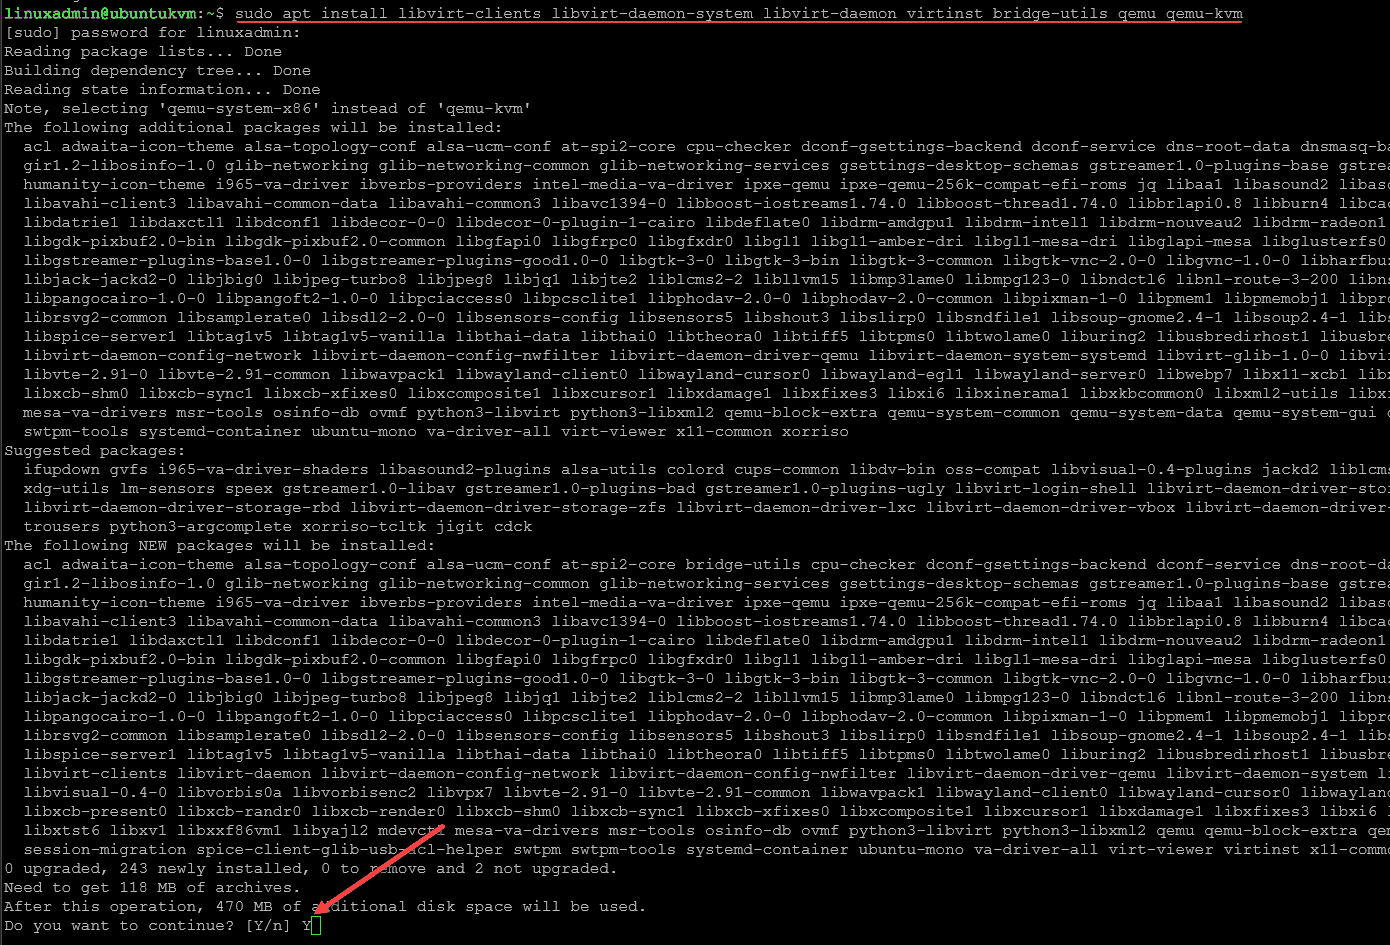
Once we have the latest updates installed on our Ubuntu Server, we can now install Kernel Virtual Machine components in Ubuntu.
sudo apt install libvirt-clients libvirt-daemon-system libvirt-daemon virtinst bridge-utils qemu qemu-kvm
Running the above commands will prompt you to ensure that you verify the components you want to install.
Verifying that KVM is installed correctly
How do we know that KVM is installed and ready to go? There is a handy command that allows us to check the installation to make sure everything is working as expected, and hardware acceleration is detected (if a virtual machine, nested virtualization has been enabled).
The command to check your KVM installation is simply the following:
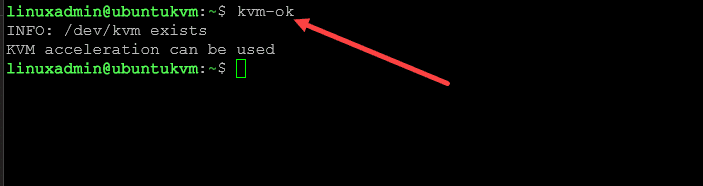
sudo kvm-ok
If everything is ok with the installation of Kernel Virtual Machine, you should see the following output when running the kvm-ok command. You will see:
- /dev/kvm exists
- KVM acceleration can be used
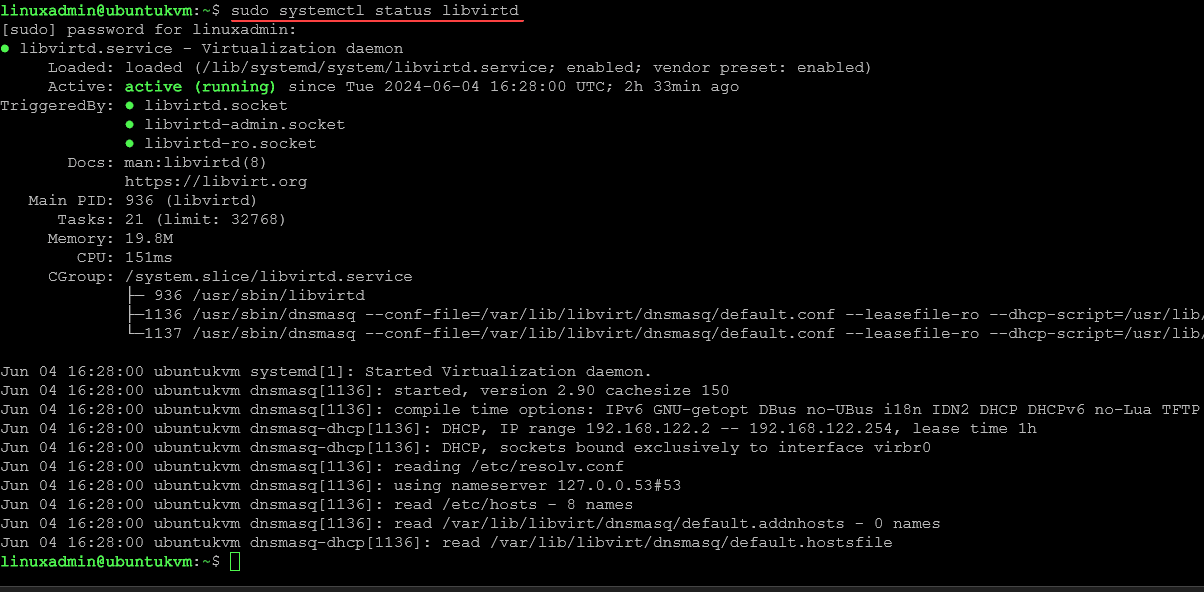
You can also check the status of the Libvirt daemon, using the following command:
sudo systemctl status libvirtd
Creating a virtual machine using the virsh command
Now that we have KVM installed on our Ubuntu Server, we can use the command line to create a virtual machine. To create a basic virtual machine configuration in KVM using virsh, we can use the following basic XML file:
<domain type=’kvm’>
<name>testvm</name>
<memory unit=’KiB’>1048576</memory>
<vcpu placement=’static’>1</vcpu>
<os>
<type arch=’x86_64′ machine=’pc-i440fx-2.9’>hvm</type>
<boot dev=’hd’/>
</os>
<devices>
<disk type=’file’ device=’disk’>
<driver name=’qemu’ type=’qcow2’/>
<source file=’/var/lib/libvirt/images/testvm.qcow2’/>
<target dev=’vda’ bus=’virtio’/>
<address type=’pci’ domain=’0x0000′ bus=’0x00′ slot=’0x04′ function=’0x0’/>
</disk>
<interface type=’network’>
<mac address=’52:54:00:6b:3c:58’/>
<source network=’default’/>
<model type=’virtio’/>
<address type=’pci’ domain=’0x0000′ bus=’0x00′ slot=’0x03′ function=’0x0’/>
</interface>
<graphics type=’vnc’ port=’-1′ autoport=’yes’/>
</devices>
</domain>
Create the QCOW2 disk
Next, we need to create the virtual machine file that is specified in the XML configuration above, testvm.qcow2. Use the following command:
sudo qemu-img create -f qcow2 /var/lib/libvirt/images/testvm.qcow2 20G
Create the VM from the XML file
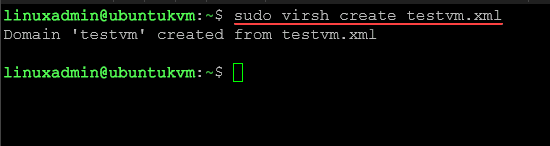
Now that we have created the XML file and the disk file needed for the virtual machine, we can now actually create the virtual machine. To do that, use the command:
sudo virsh create testvm.xml
List virtual machines
You can list only the running virtual machines using the command:
virsh list
If you want to also include inactive virtual machines that are not running, you can use the –all parameter:
virsh list –all
Troubleshooting
There are a few problem areas that some may run into when installing KVM and configuring virtual machines. Note the following issues and the proposed workarounds.
- You are getting permissions issue when installing KVM or creating virtual machines – Make sure you are using a sudo user account. Don’t forget to issue the “sudo” command with your virsh commands
- You receive an error that KVM acceleration is not available – Make sure you have enabled virtualization in the BIOS on a physical computer. If you are using a virtual machine, make sure you have properly enabled nested virtualization
- You don’t want to use virsh or the command line to administer your server as this doesn’t scale well – Use a GUI-based tool like virt manager
Wrapping up
Kernel Virtual Machine (KVM) is a great free and open source solution to run virtualization environments. It is relatively easy to install in Ubuntu Server and with just a few lines of configuration, you can use virsh to create and configure a virtual machine. Most will want to use GUI-based tools as they work on multiple virtual machines and work with multiple KVM hosts.
Read More:
KVM for Beginners – KVM Storage with iSCSI, NFS, GlusterFS, and Ceph – Part 5
Follow our Twitter and Facebook feeds for new releases, updates, insightful posts and more.

Leave A Comment