What is EC2 Snapshot?
Snapshots are point-in-time copies of your EBS (Elastic Block Store) volumes. If data is accidentally deleted or becomes corrupted, you can use a snapshot to restore the volume to a previous state, recovering lost or damaged data.
Snapshots serve as a crucial component of backup and disaster recovery strategies. By regularly creating snapshots, you have a reliable backup that can be used to restore an instance or launch a new one in the event of data loss, hardware failure, or other unforeseen issues.
This article will walk you through how to restore the EBS root volume from the EC2 snapshot using the command line.
Step By Step Guide on How to Replace the Root Volume in AWS EC2 Instance
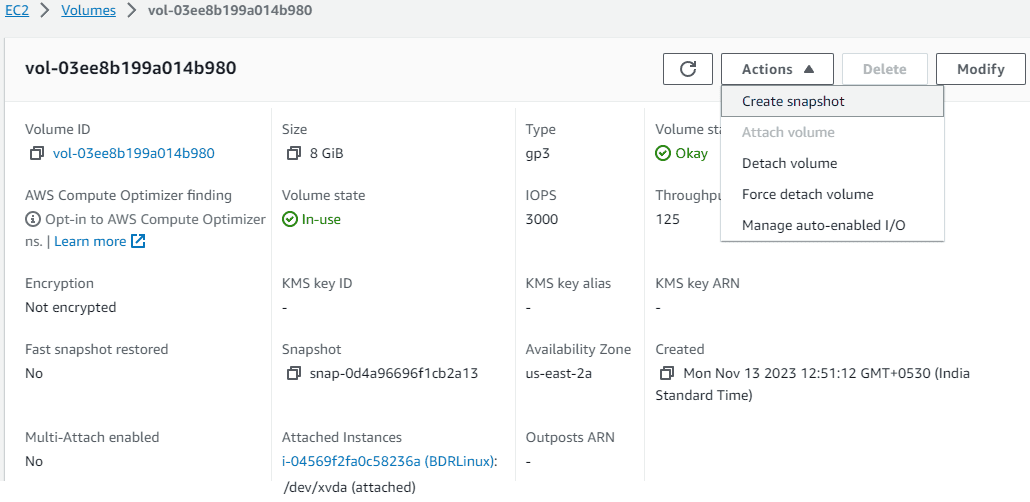
1. Create a Snapshot of the Root Volume (Optional): Before replacing the root volume, it’s advisable to create a snapshot of the existing root volume. This snapshot can be used as a backup in case of any issues during the replacement process.

2. Let’s replace the root volume using a snapshot with the description “Backup-May2023” which was the root volume snapshot.

3. To perform the replacement of root volume, you need AWS CLI. You can either install AWS CLI on your Windows or Linux instance or use the AWS Cloud shell to perform the same.
Then, you need an “instance-id” and “snapshot-id” to perform this.
[cloudshell-user@ip-10-130-11-221 ~]$ aws ec2 create-replace-root-volume-task –instance-id i-04569f2fa0c58236a –snapshot-id snap-0f2074305b42bed66
{
“ReplaceRootVolumeTask”: {
“ReplaceRootVolumeTaskId”: “replacevol-02397fdb4e817dde5”,
“InstanceId”: “i-04569f2fa0c58236a”,
“TaskState”: “pending”,
“StartTime”: “2023-11-13T18:59:30Z”,
“Tags”: [],
“SnapshotId”: “snap-0f2074305b42bed66”,
“DeleteReplacedRootVolume”: false
}
}
[cloudshell-user@ip-10-130-11-221 ~]$
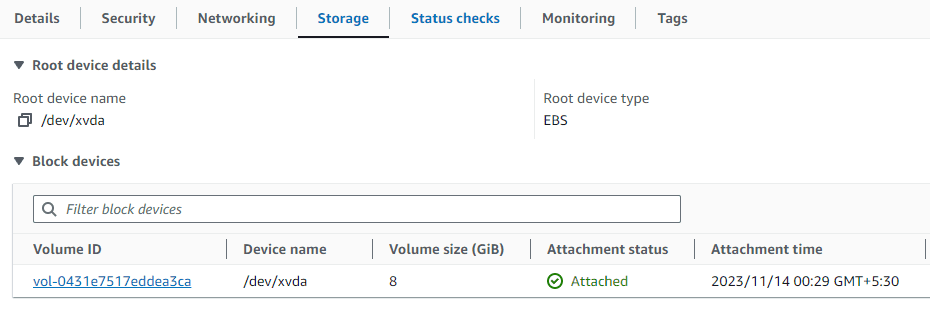
4. During this progress, you can see that AWS CLI automatically detaching the root volume and replacing with newer one.

5. Volume has been replaced with a new one on the fly.

6. You can monitor the task status using “replaceRootVolumeTaskId”.
[cloudshell-user@ip-10-130-11-221 ~]$ aws ec2 describe-replace-root-volume-tasks –replace-root-volume-task-ids replacevol-02397fdb4e817dde5
{
“ReplaceRootVolumeTasks”: [
{
“ReplaceRootVolumeTaskId”: “replacevol-02397fdb4e817dde5”,
“InstanceId”: “i-04569f2fa0c58236a”,
“TaskState”: “succeeded”,
“StartTime”: “2023-11-13T18:59:30Z”,
“CompleteTime”: “2023-11-13T18:59:58Z”,
“Tags”: [],
“SnapshotId”: “snap-0f2074305b42bed66”,
“DeleteReplacedRootVolume”: false
}
]
}
[cloudshell-user@ip-10-130-11-221 ~]$
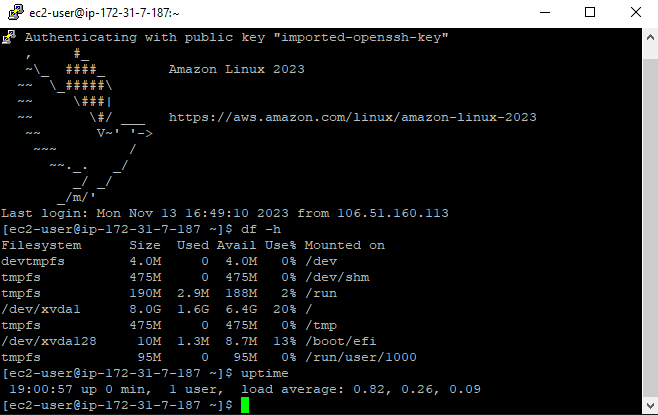
7. Once the instance root volume is replaced successfully, you can able to access it.

By default, the old root volume is preserved but you can pass “–delete-replaced-root-volume” option to delete it automatically.
Conclusion
Replacing root volume becomes simple with the help of the “create-replace-root-volume-task” AWS CLI option. In the past, you needed to perform a sequence of steps including detaching and attaching the volumes on the instances. This procedure applies to all OS instances, including Mac instances.
Read more on AWS:
AWS for Beginners – How to Add Worker Nodes to Amazon EKS Cluster Using AWS CLI – Part 76
AWS for Beginners – Top 7 Commands for Managing Amazon S3 Buckets and Objects with AWS CLI – Part 75
AWS for Beginners: What is Fargate and How Does it Work With EKS – Part 74
Follow our Twitter and Facebook feeds for new releases, updates, insightful posts and more.


Leave A Comment