
In working with Microsoft Azure environments, admins will likely need to create and modify infrastructure as code files. In Microsoft Azure, Azure Resource Manager templates and Bicep files are commonly used. We have considered how to modify Azure Resource Manager templates. We will now look at how we can modify existing Bicep templates.
Understanding Bicep
Many prefer Bicep over Azure Resource Templates because it is a more human-readable format than the JSON-formatted ARM templates. JSON can be complex to write and read, making ARM templates a challenge to manage. Bicep is meant to help with this challenge, as the syntax is much more straightforward. The simpler syntax and easier-to-understand formatting help admins deploy Azure resources more quickly and efficiently.
Setting Up Your Environment
Before modifying an existing Bicep file, having the right environment tools installed and configured is the first step. Note the following tools that are helpful to install on your workstation when modifying Bicep files:
- Azure CLI: It allows you to work with Azure resources from the command line
- Bicep CLI: It allows compiling Bicep files into ARM templates
- Visual Studio Code (VS Code): VS Code, as it is affectionately known, is one of the de facto DevOps tools available. With VS Code and the Bicep extension loaded, you can use syntax highlighting and IntelliSense to write and modify Bicep files. It helps to reduce errors and makes it easier to work with code repos
To install the Azure CLI, take a look at the official Microsoft documentation here: How to install the Azure CLI | Microsoft Learn. You will need to download the MSI installer for your platform and architecture.
Once you have the Azure CLI installed, you can install Bicep with the following:

# Install Bicep CLI
az bicep install# Verify Bicep installation
az bicep version
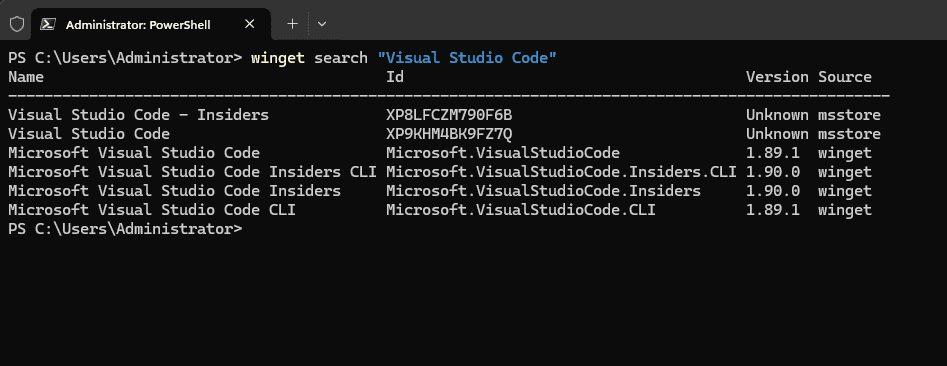
If you are using Microsoft Windows 11, you can install Visual Studio Code easily enough using the following winget command:
winget search “Visual Studio Code”
winget install “Visual Studio Code”
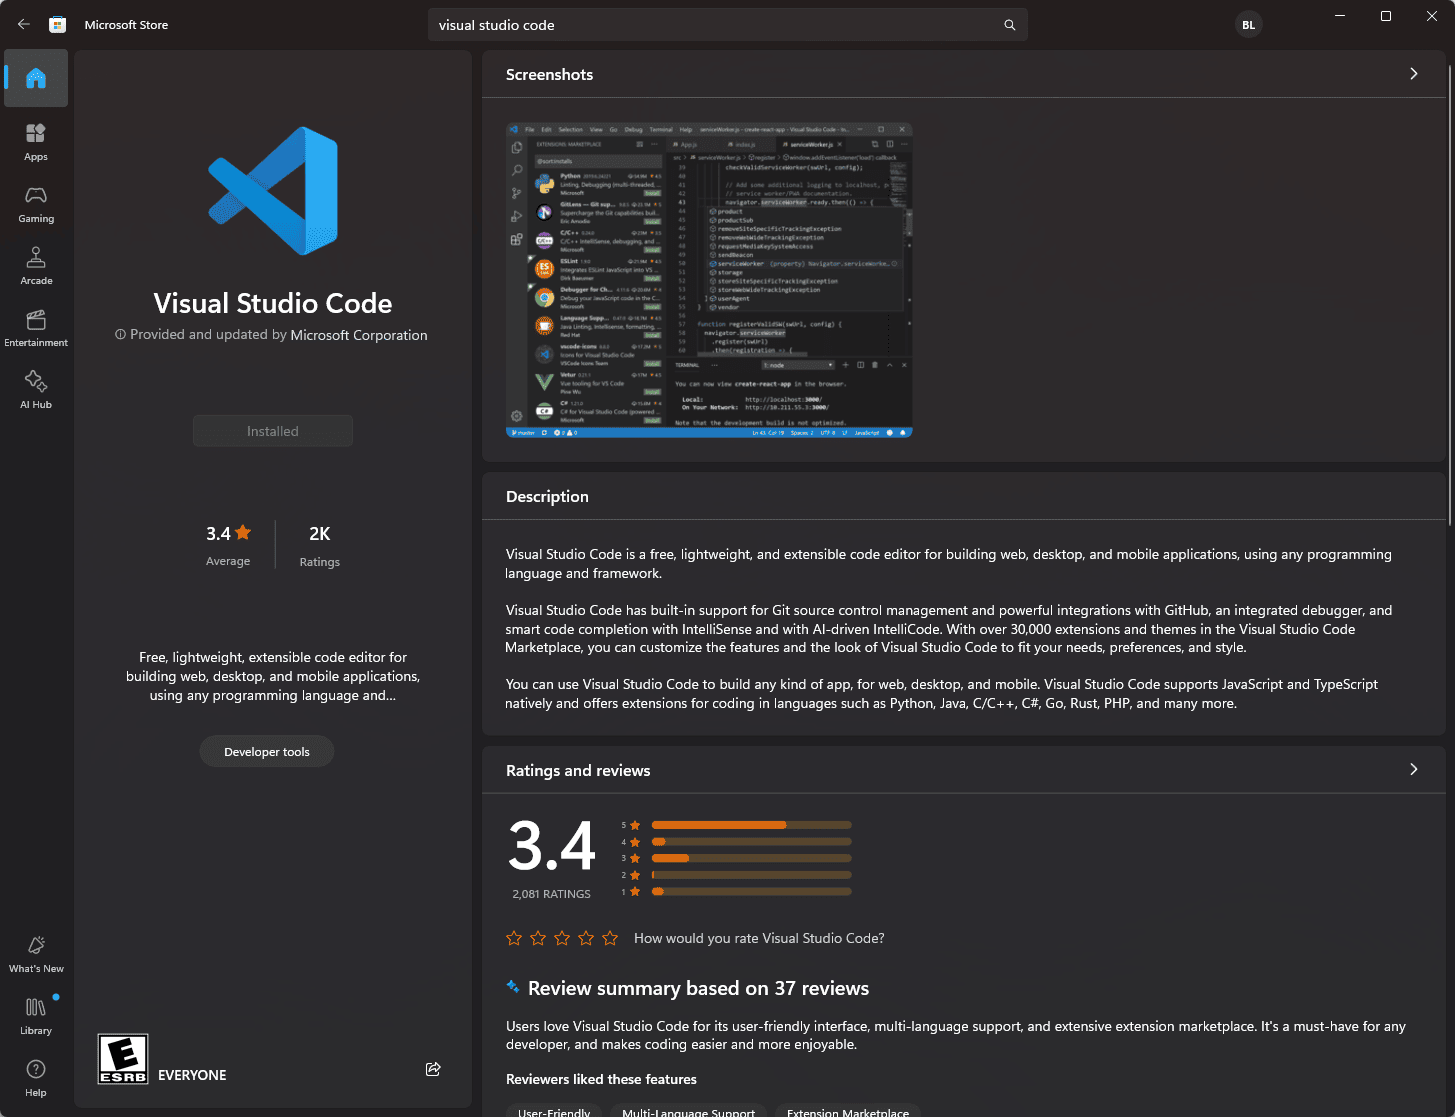
You can also download this from the Microsoft store:
Analyzing the Existing Bicep File
To modify an existing Bicep file, start by understanding its current structure and components. Open the Bicep file in VS Code and review the following sections:
- Parameters: Inputs that can be provided during deployment
- Variables: Values calculated from parameters or constants used within the template
- Resources: Definitions of Azure resources to be deployed
- Outputs: Information returned after deployment
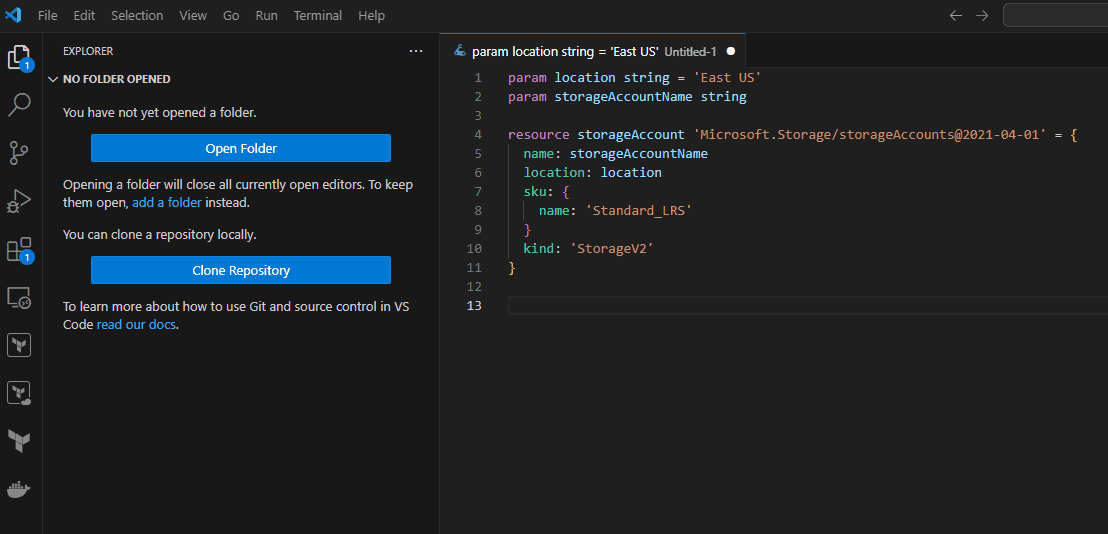
Here’s a sample Bicep file structure:
param location string = ‘East US’
param storageAccountName stringresource storageAccount ‘Microsoft.Storage/storageAccounts@2021-04-01’ = {
name: storageAccountName
location: location
sku: {
name: ‘Standard_LRS’
}
kind: ‘StorageV2’
}output storageAccountEndpoint string = storageAccount.properties.primaryEndpoints.blob
Modifying Parameters and Variables
Parameters and variables make Bicep files flexible and reusable. To modify them, identify the changes needed and update their definitions.
For example, to add a new parameter for the storage account SKU, update the parameter section:
param storageSku string = ‘Standard_LRS’
Then, modify the resource definition to use the new parameter:
sku: { name: storageSku }
Updating Resources
Updating resources involves changing their properties, adding new resources, or removing existing ones. Ensure the changes align with your deployment requirements.
For instance, to add a new blob container to the storage account, update the resources section:
resource blobContainer ‘Microsoft.Storage/storageAccounts/blobServices/containers@2021-04-01’ = {
name: ‘${storageAccount.name}/default/mycontainer’
properties: {
publicAccess: ‘None’
}
}
Checking your changes
Any time you make changes to DevOps code, it is a good idea to check and make sure you don’t have syntax errors. Using something like VS Code is a great help in spotting errors quickly.
Once you have checked your code, you can use the following command to compile the Bicep file into an ARM template:
bicep build main.bicep
Now that the file is built, you can deploy the changes using the Azure CLI:
az deployment group create –resource-group myResourceGroup –template-file main.json
The command deploys the ARM template generated from the Bicep file into the resource group you specify.
Best Practices for Bicep File Management
Best practices with Bicep file modifications and management align with general coding best practices. However, note the following best practices to consider:
- Use Descriptive Names: Ensure parameters, variables, and resource names are meaningful
- Modularize: Break down large Bicep files into smaller, reusable modules
- Version Control: Use source control systems like Git to manage changes and have proper versioning and collaboration tooling
- Documentation: Add comments to explain complex sections of code and changes made
Wrapping up
Bicep is an extremely powerful language for implementing infrastructure as code in Microsoft Azure. It has a human-readable format and is much easier to troubleshoot and modify than the JSON code of Microsoft Azure Resource Manager Templates. You will want to have tools installed to work with Bicep. These tools include the Azure CLI, Bicep CLI, and VSCode, including the VS Code Bicep extension. Use good coding best practices to make sure Bicep code is commented well, structured using modules, and intuitive. Be sure to understand Bicep and how to modify it to make necessary changes, like adding resources and deploying these to your Microsoft Azure environment. The AZ-104 exam will test your knowledge of understanding Bicep and how it can be used for Azure automation.
Follow our Twitter and Facebook feeds for new releases, updates, insightful posts and more.

Leave A Comment