Vembu BDRSuite v5.5.0 is Generally Available now!
BDRSuite – #1 Cost-Effective Backup Software
BDRSuite is a Comprehensive Backup & Disaster Recovery Software designed to protect data across Data Center/Private Cloud (VMware, Hyper-V, Windows, Linux, Applications & Databases), Public Cloud (AWS), SaaS (Microsoft 365, Google Workspace), and Endpoints (Windows, Mac).
Check out what’s new in BDRSuite v5.5.0
We would like to share some of the most interesting and important features in BDRSuite v5.5 with our customers in a series of blogs.
We will discuss the new feature – “Google Shared Drive Backup & Recovery” in this post.
Feature Overview:
BDRSuite already supports backup and recovery for User Mailbox – Mails, Contacts, Calendars, Google Drive in Google Workspace Organization. From v5.5, BDRSuite supports backup and recovery for Shared Drives in Google Workspace Organization too.
How to Backup Google Shared Drive
Step 1: Download and Install BDRSuite Backup Server. Click here for installation instructions.
Step 2: Log in to the BDRSuite Server console. Navigate to the Microsoft 365/Google Workspace main menu.
Step 3: Add Google Workspace Organization
- Navigate to Data Sources -> Add Google Workspace Organization page
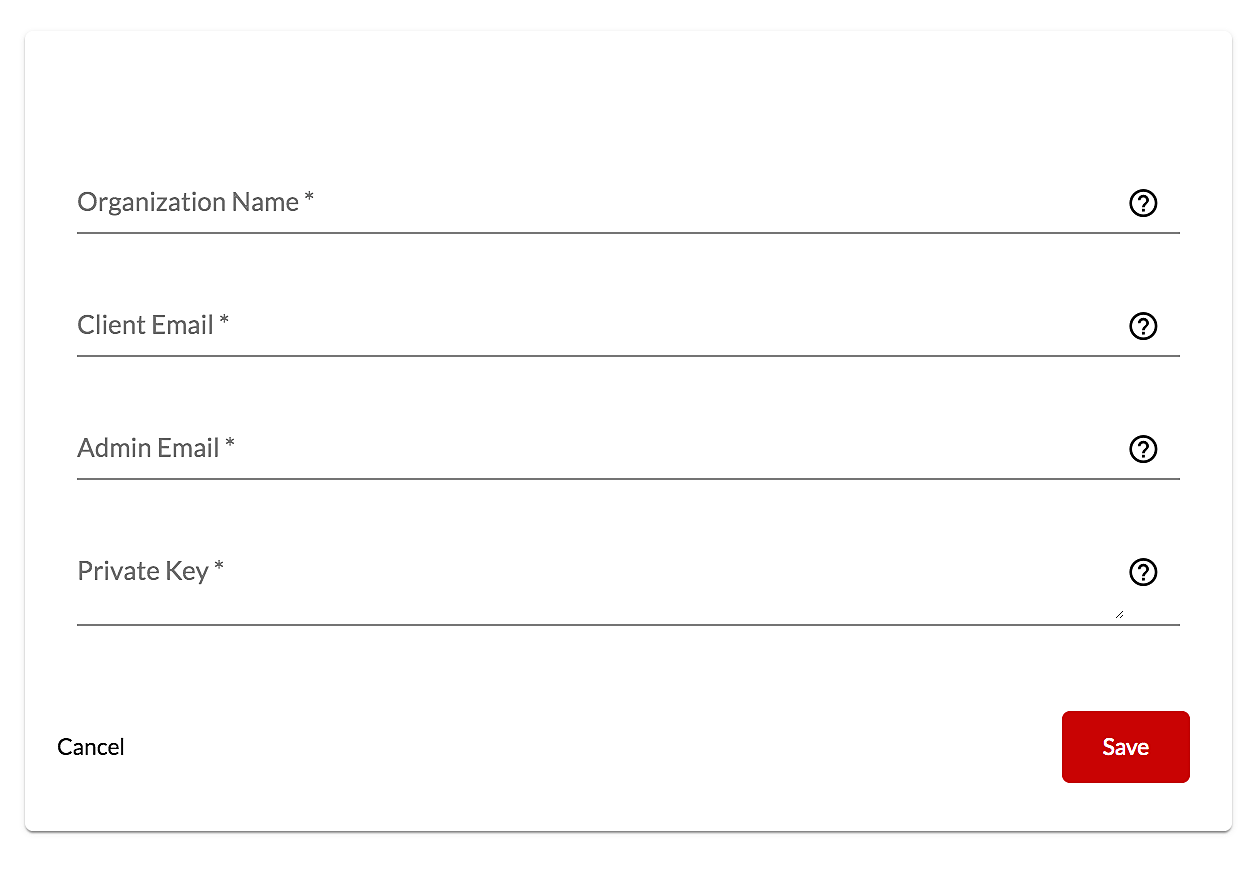
- Click “Add Google Workspace Organization” button. Enter the Organization credentials and save it to the BDRSuite Server. Make sure to add organization with the edition that supports shared drives. Refer to Prerequisites To Add Google Workspace Organization here
Step 4: Configuring Backup Repository to Store Backup Data
- Navigate to Backup Server Tile -> Block Storage (or) Backup Server Tile -> Object Storage
- BDRSuite supports a wide range of scalable storage targets as backup repositories:
- Block Storages – Direct, NAS, SAN
- Object Storages – AWS S3, Azure Blob, & S3 Compatible storage like Wasabi, Backblaze, etc
Refer to BDRSuite User Guide for more details on backup repository configuration
Step 5: Shared Drive Backup Configuration:
1. Go to the Backup -> Configure Backup -> Google Workspace page.
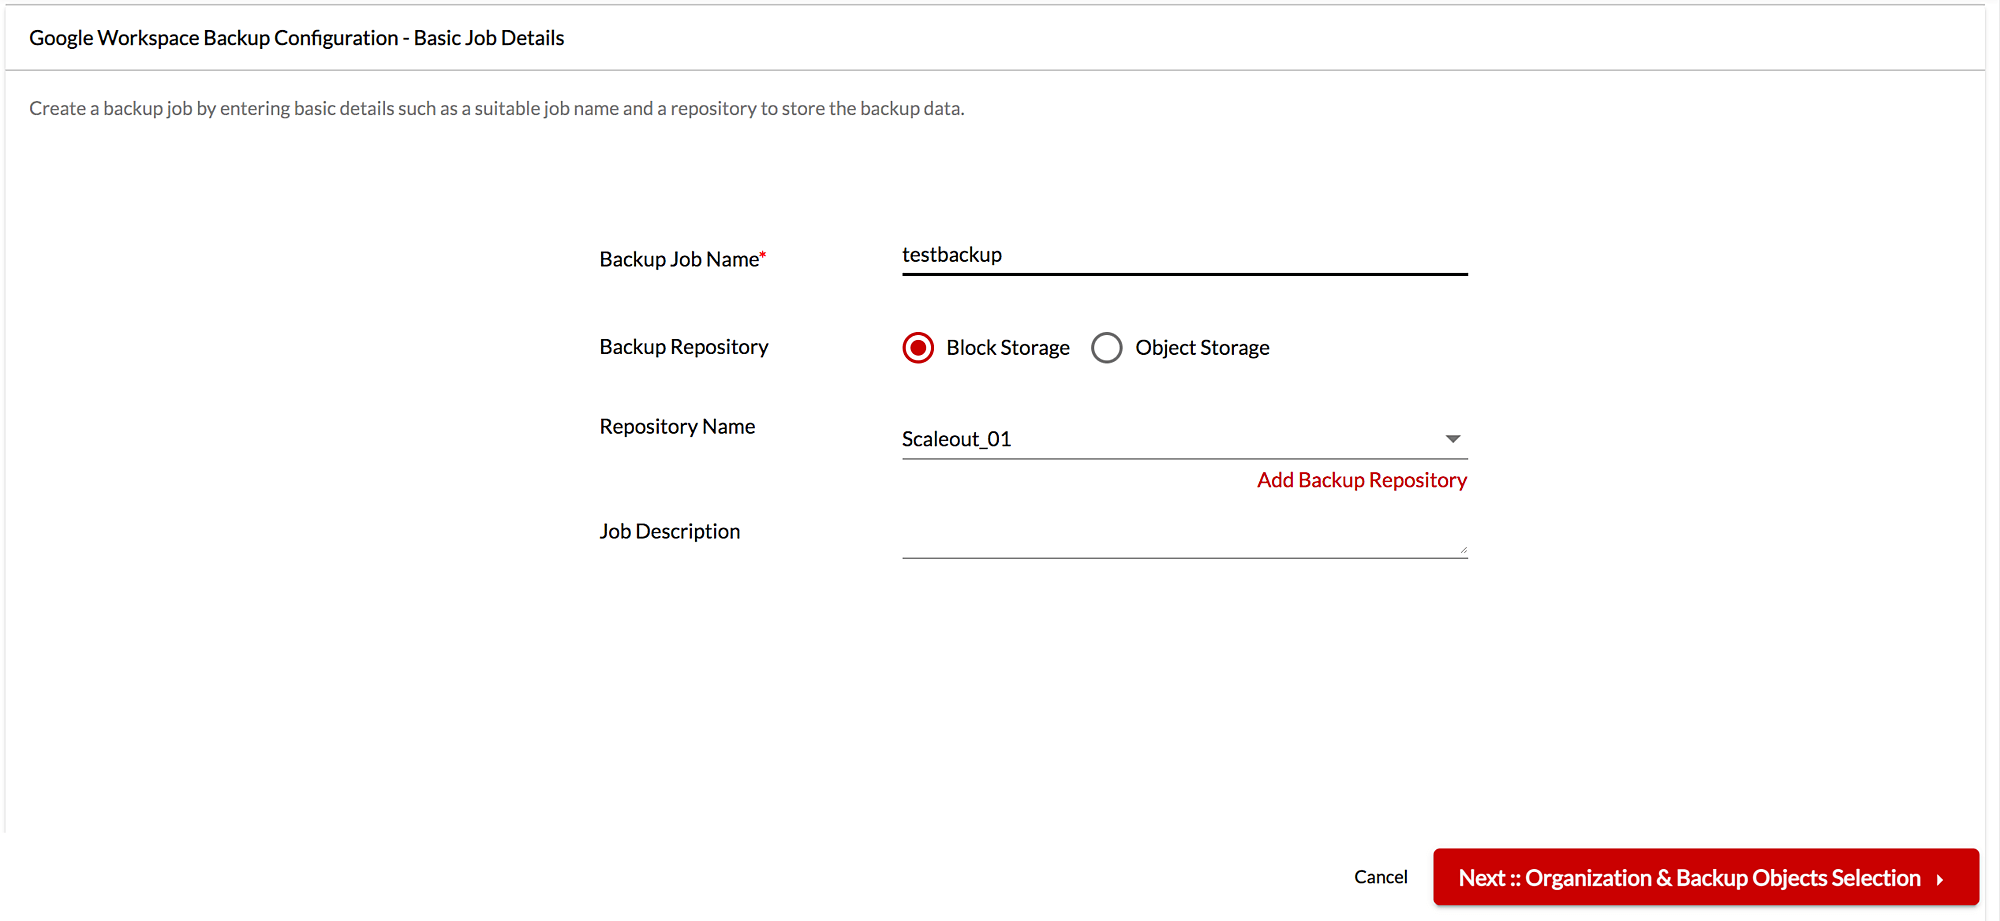
2. Basic Details: Enter the Backup Job Name, select the backup repository where you want to store the data, and then provide a job description (optional). Then, click Next.
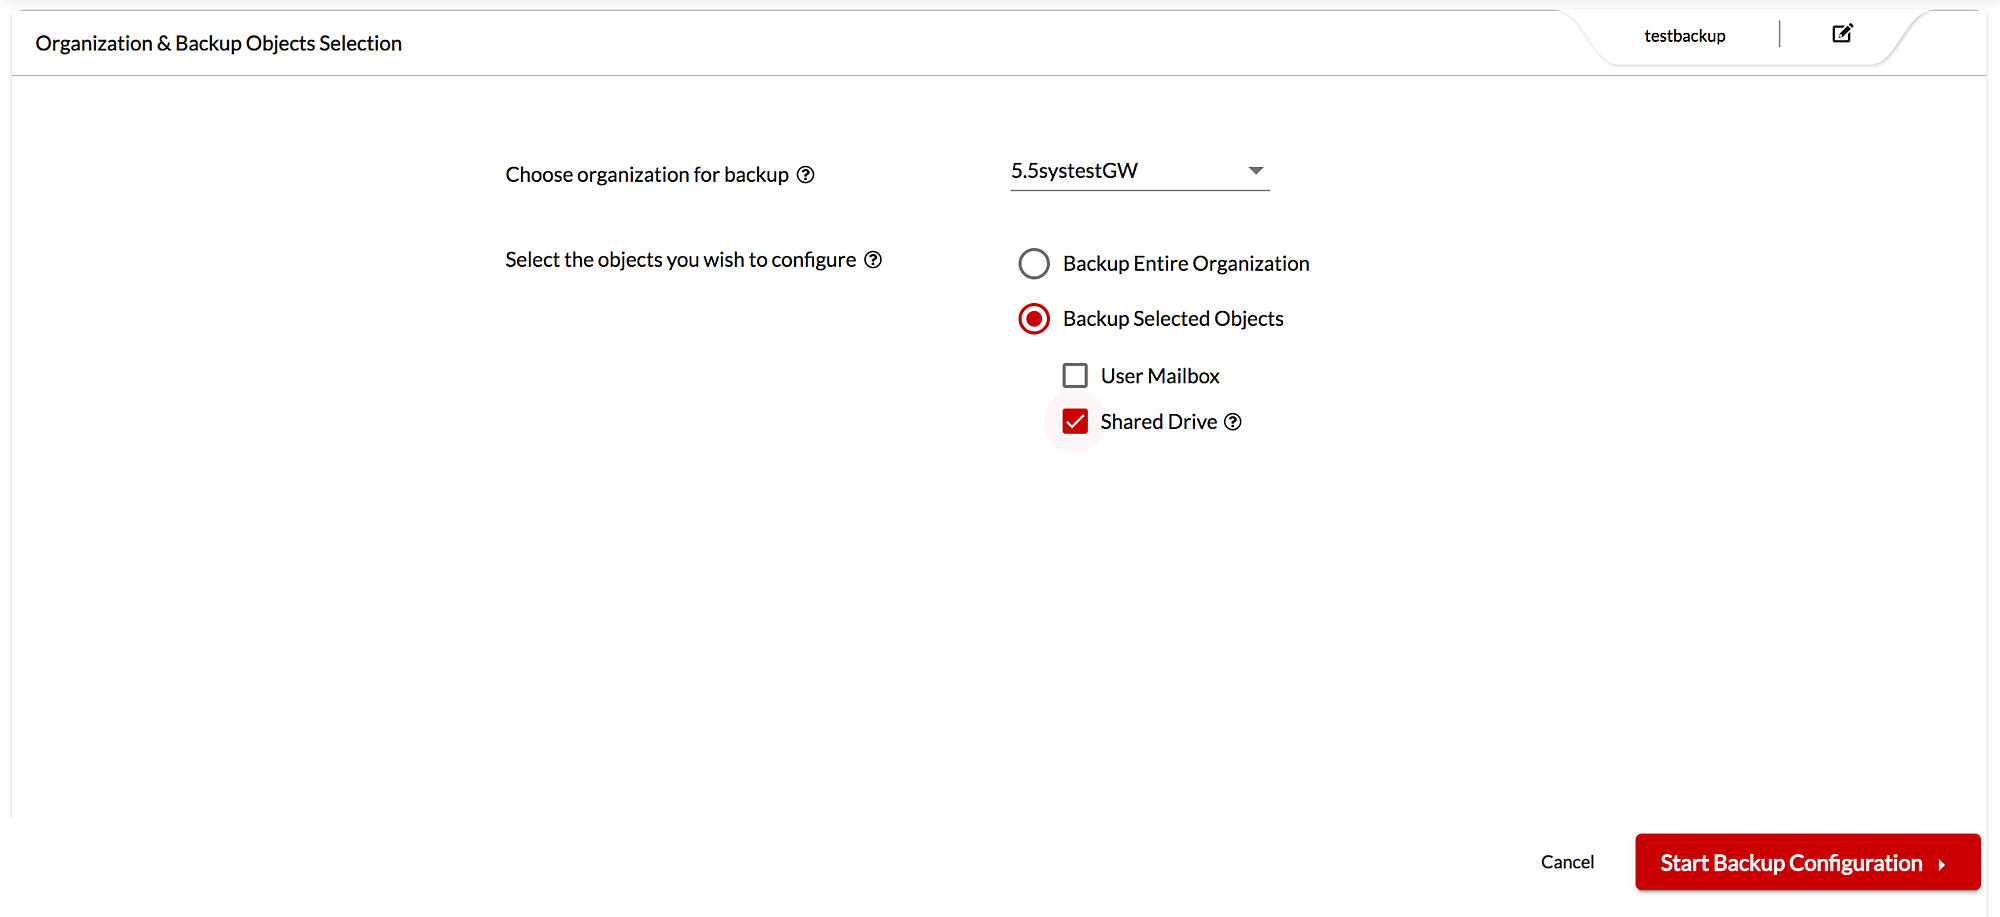
3. Organization & Backup Object Selection: In this screen, select the organization from which you want to backup the shared drives. The choose the option “Backup Selected Objects” and select “Shared Drive” and then proceed to the next step.
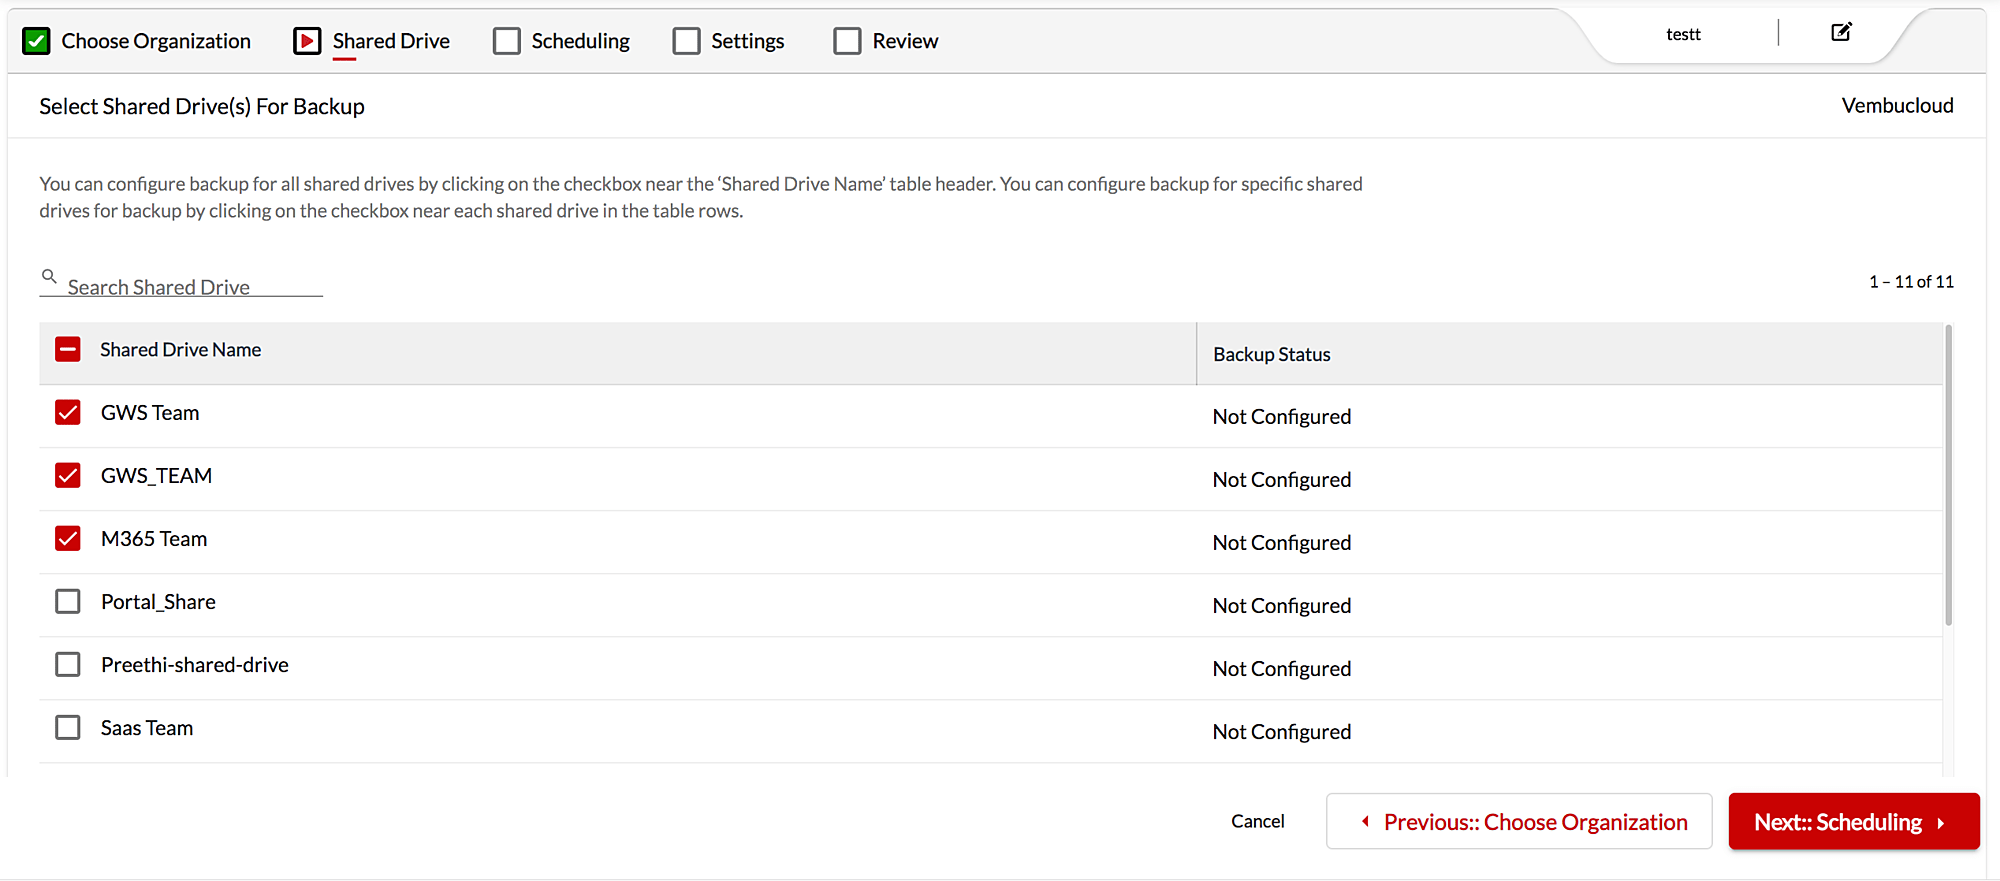
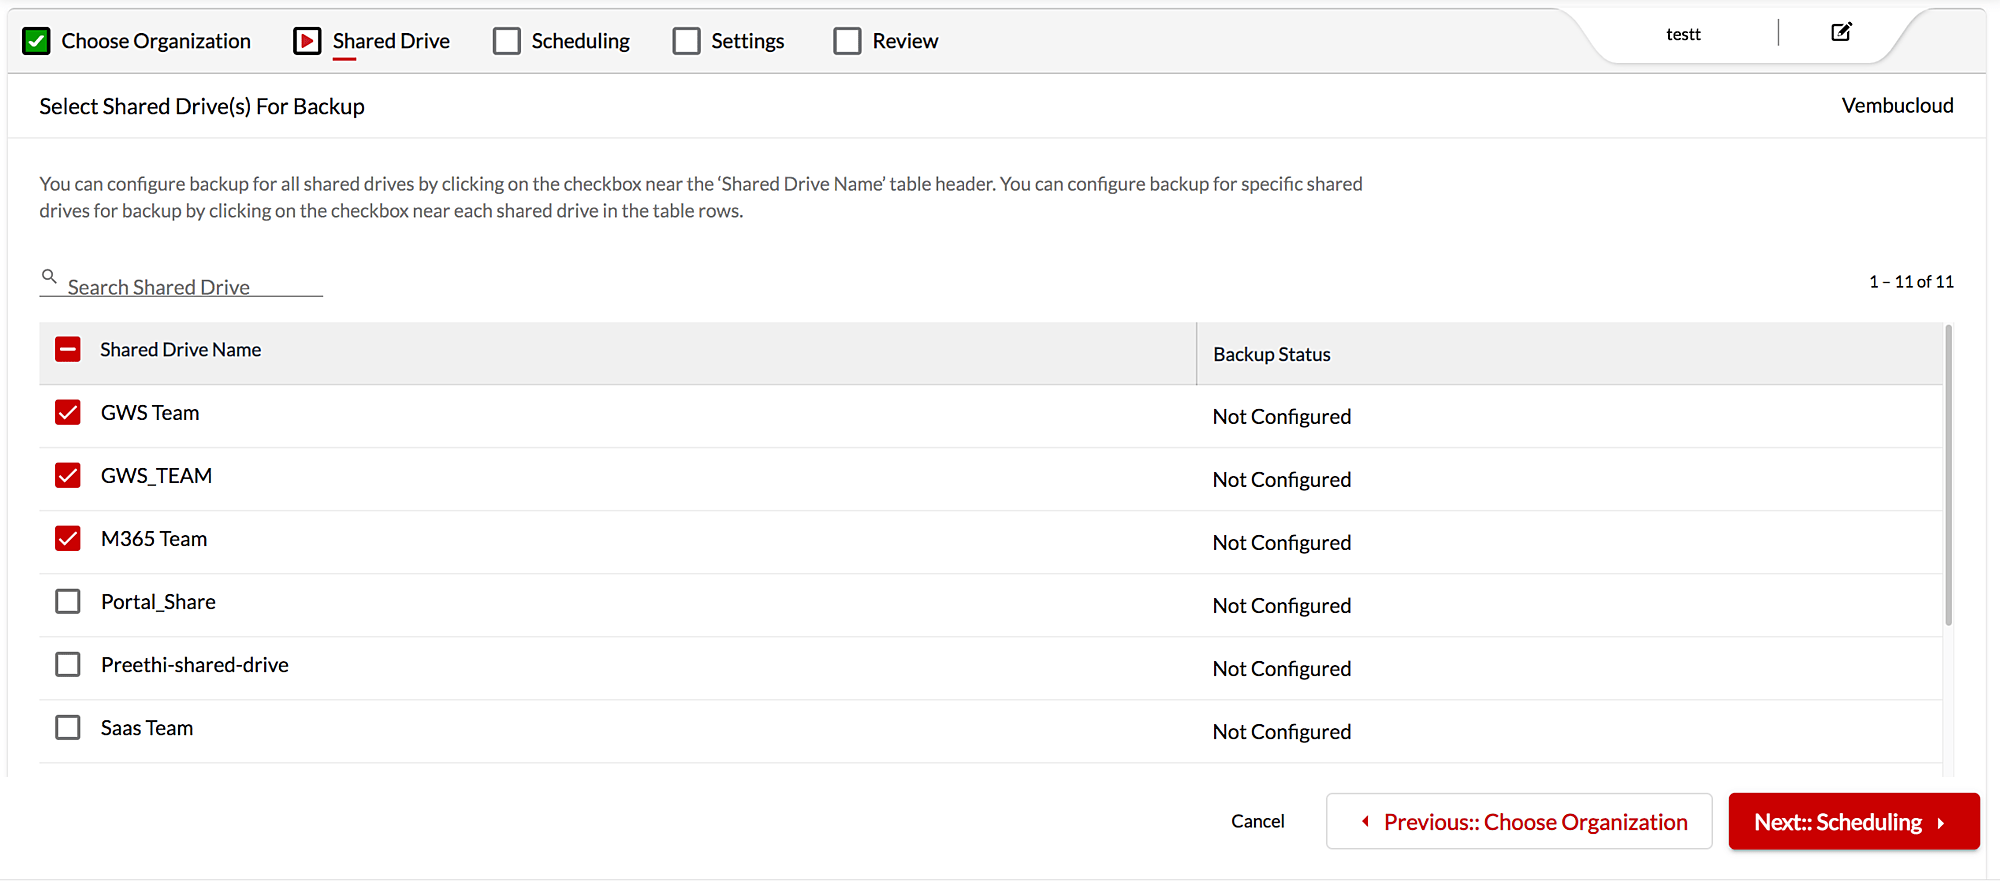
4. Shared Drive Selection: On the next page, it will show the list of Shared Drives which all are available in the added organization. choose the Shared Drive(s) that you want to backup and click next.
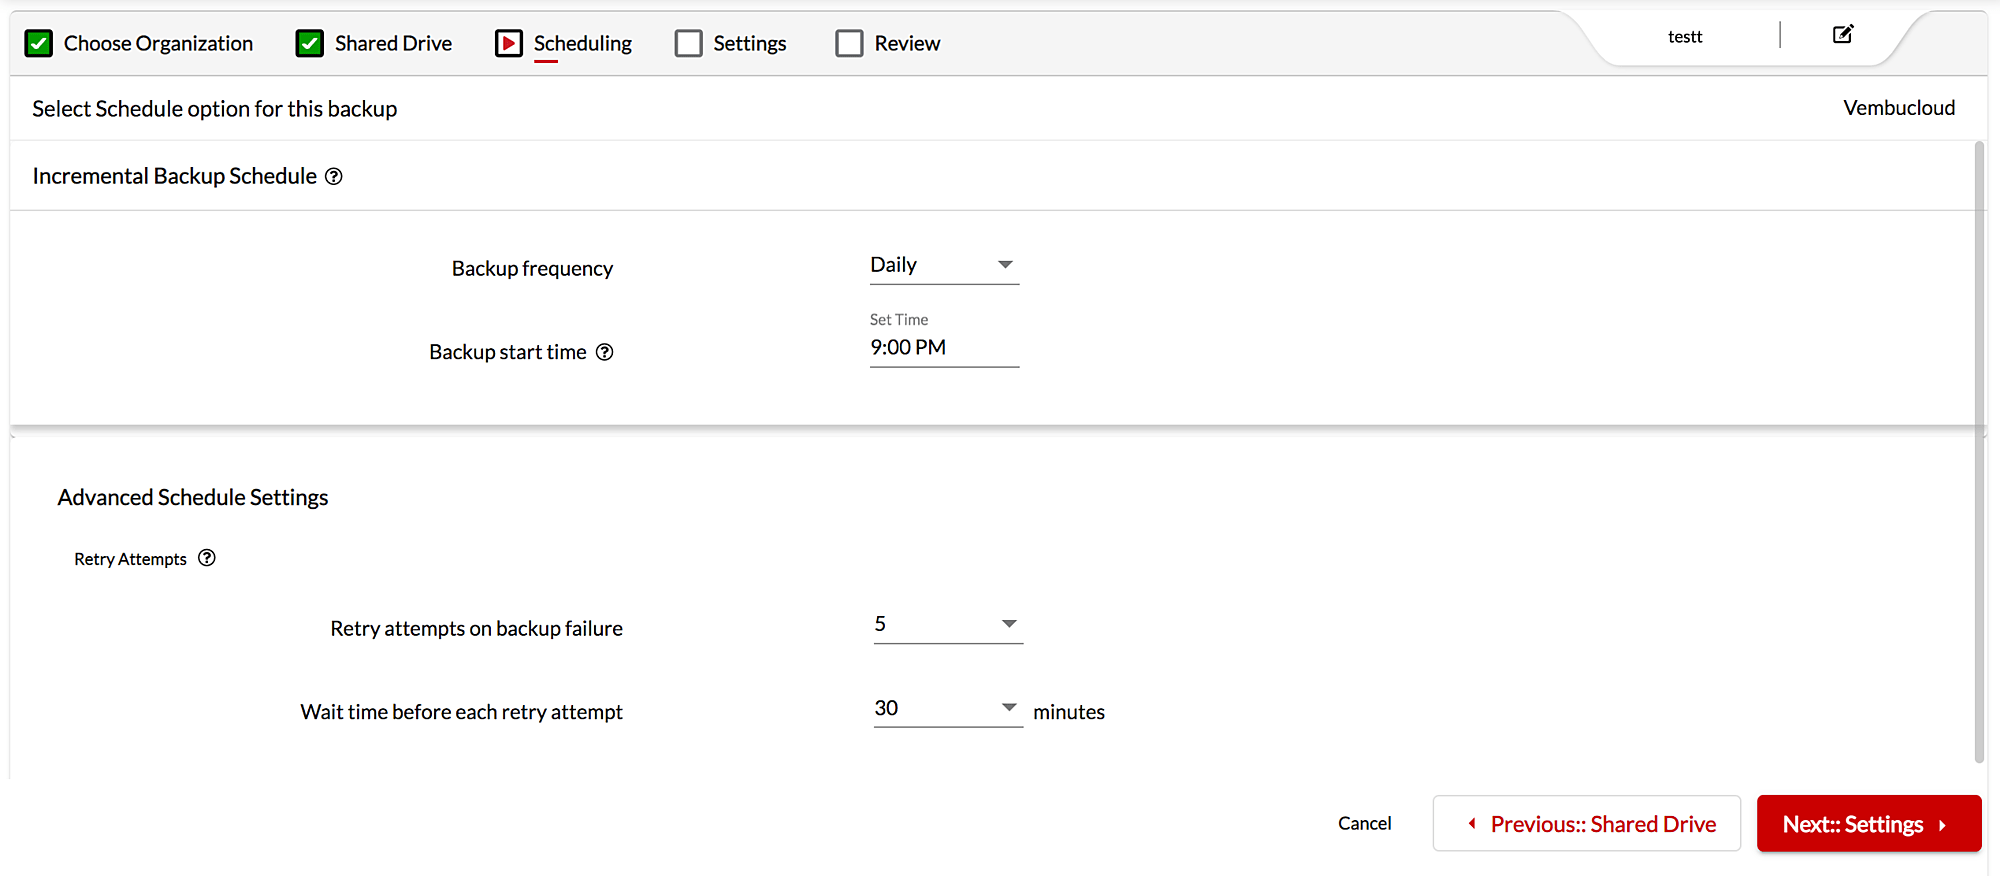
5. Scheduling: On this screen, you need to configure how frequently you want to backup. You can backup every few mins/hours, daily/weekly/monthly basis, and even one-time. You can also set retry attempts on backup failure and wait time on the same page.
6. Scheduling: On this screen, you need to configure how frequently you want to backup. You can backup every few mins/hours, daily/weekly/monthly basis, and even one-time. You can also set retry attempts on backup failure and wait time on the same page.
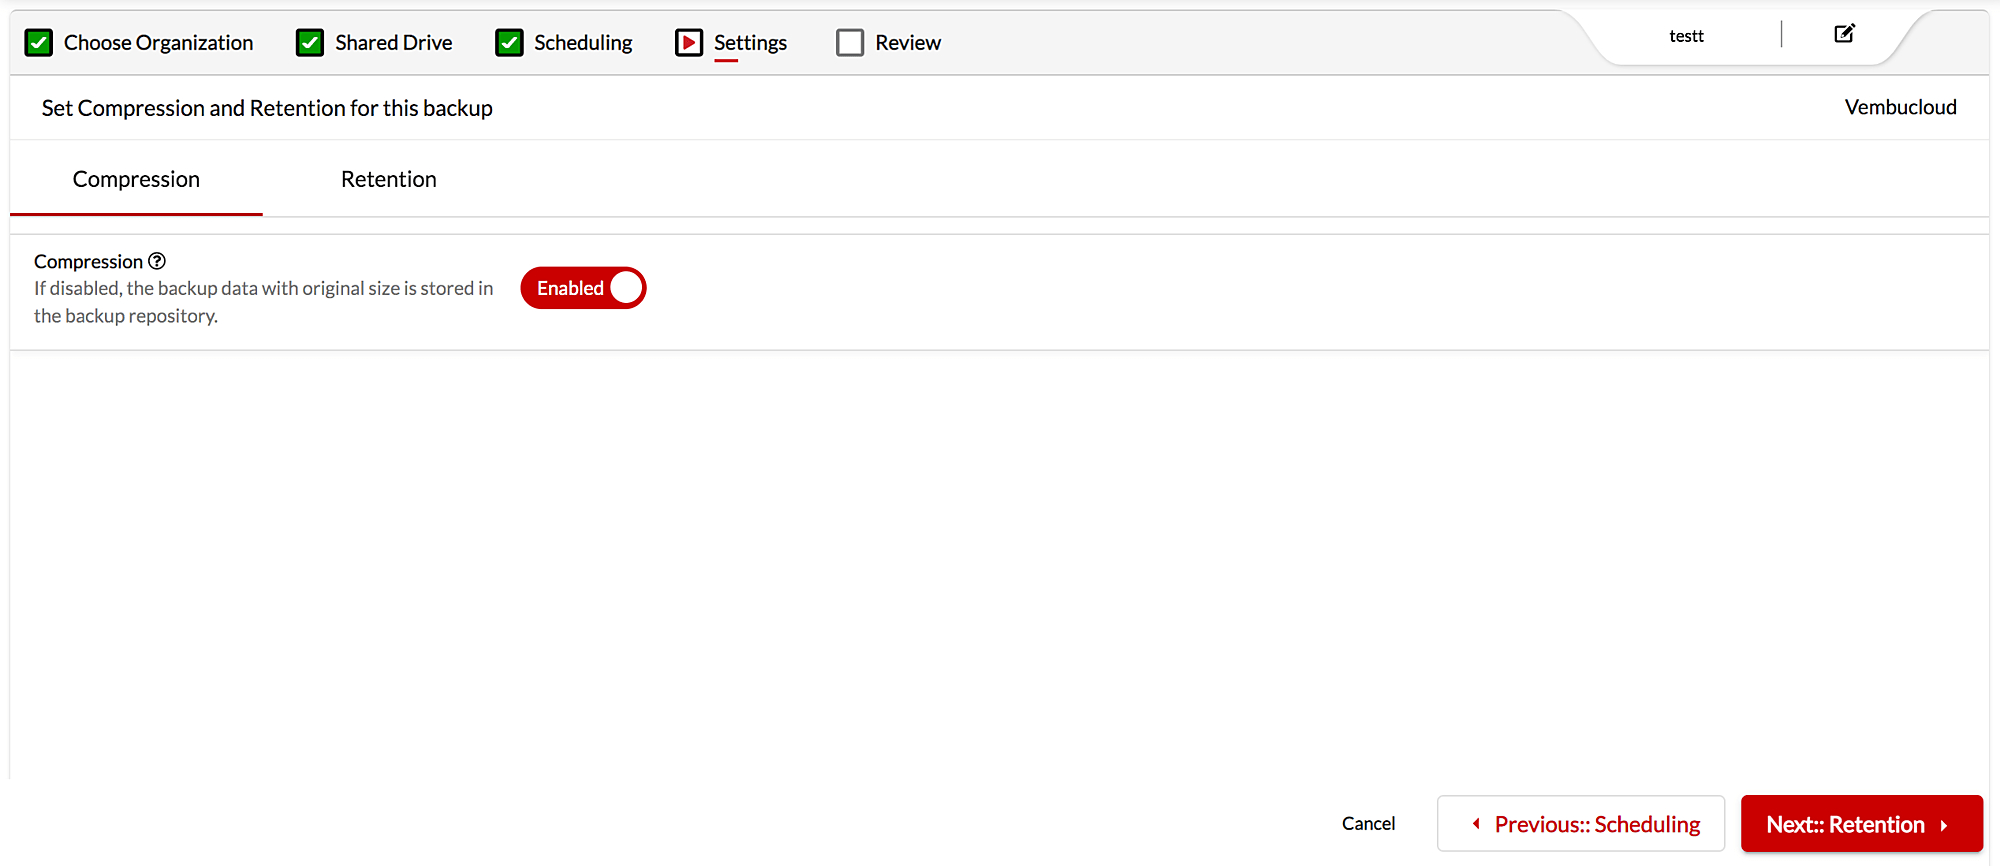
7. Settings: On this page, you will be able to configure Compression settings for this backup. By default, all the backup data is compressed while stored in the backup repository. If disabled the original size of the backup data will be stored
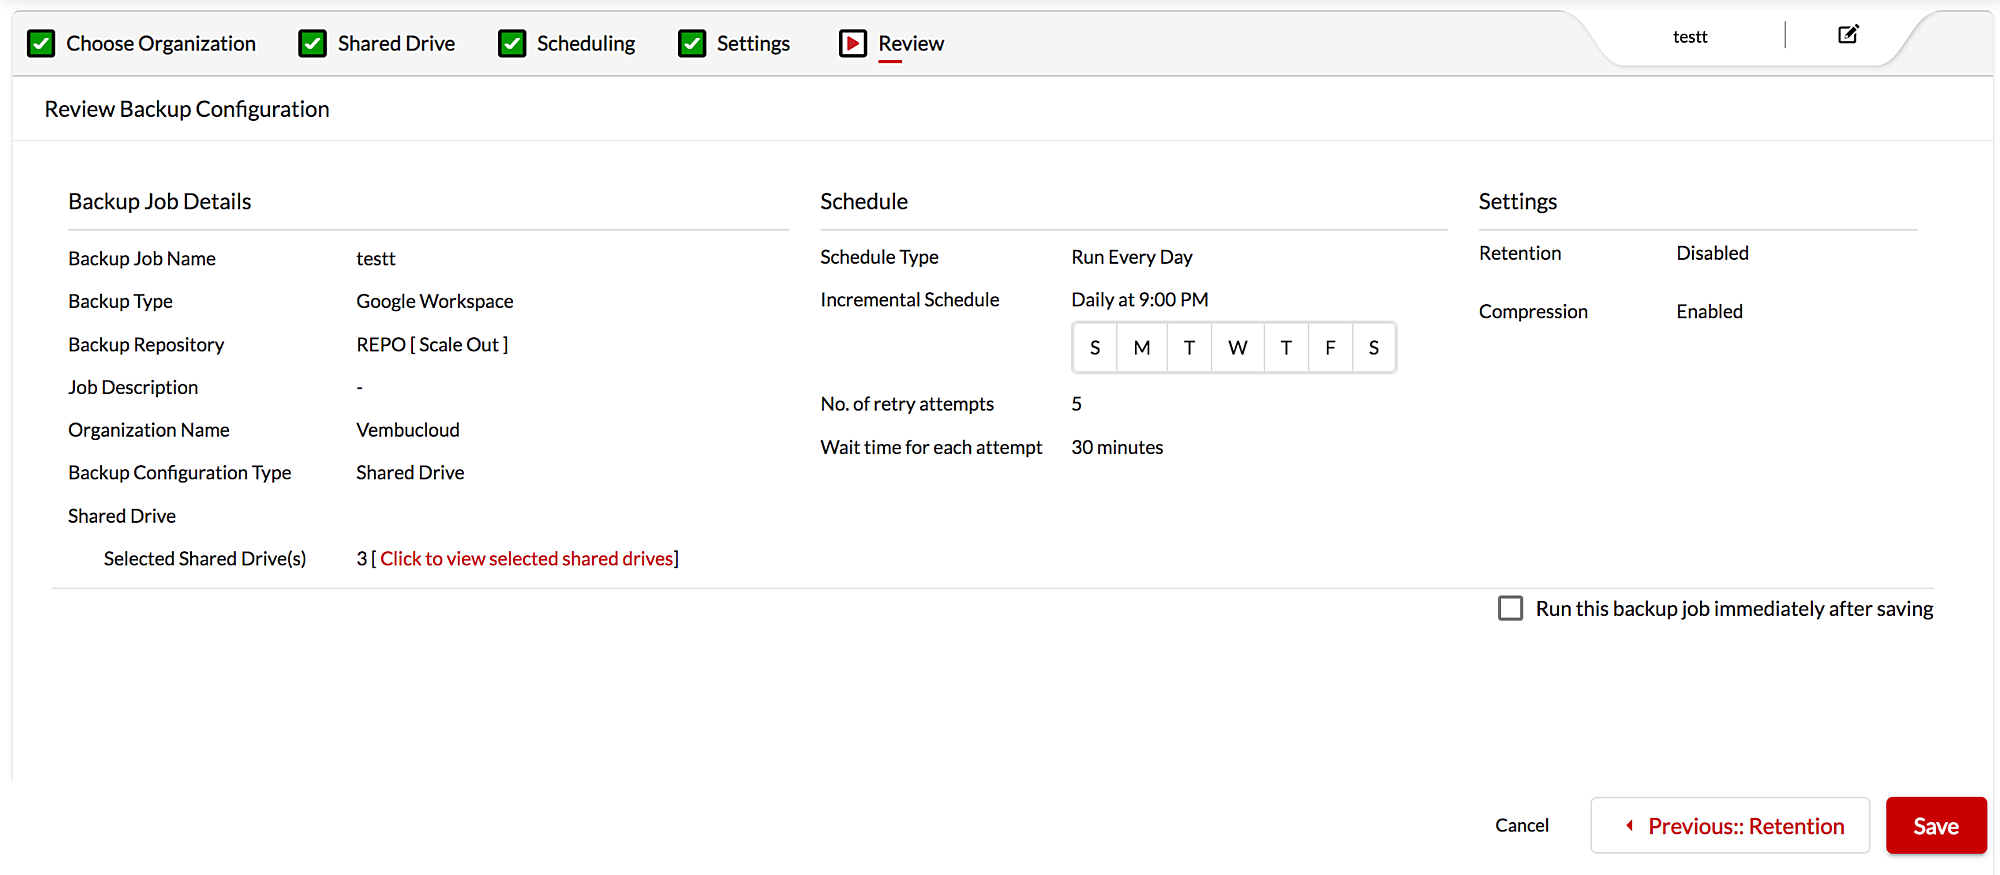
8. Review: Lastly, review the backup configuration and save the backup job. The backup will start to run based on the configured scheduling policy (or) you can immediately schedule the job by enabling the checkbox “ Run this backup job after saving”.
How to Restore Google Shared Drive
1. Navigate to the Recovery page. All the backup jobs will be listed here. Click on the ‘Restore’ button alongside the job you want to restore.
2. Choose Restore Type: On this page, select the “Restore Shared Drive” option and click next. Then choose the restore version and proceed.
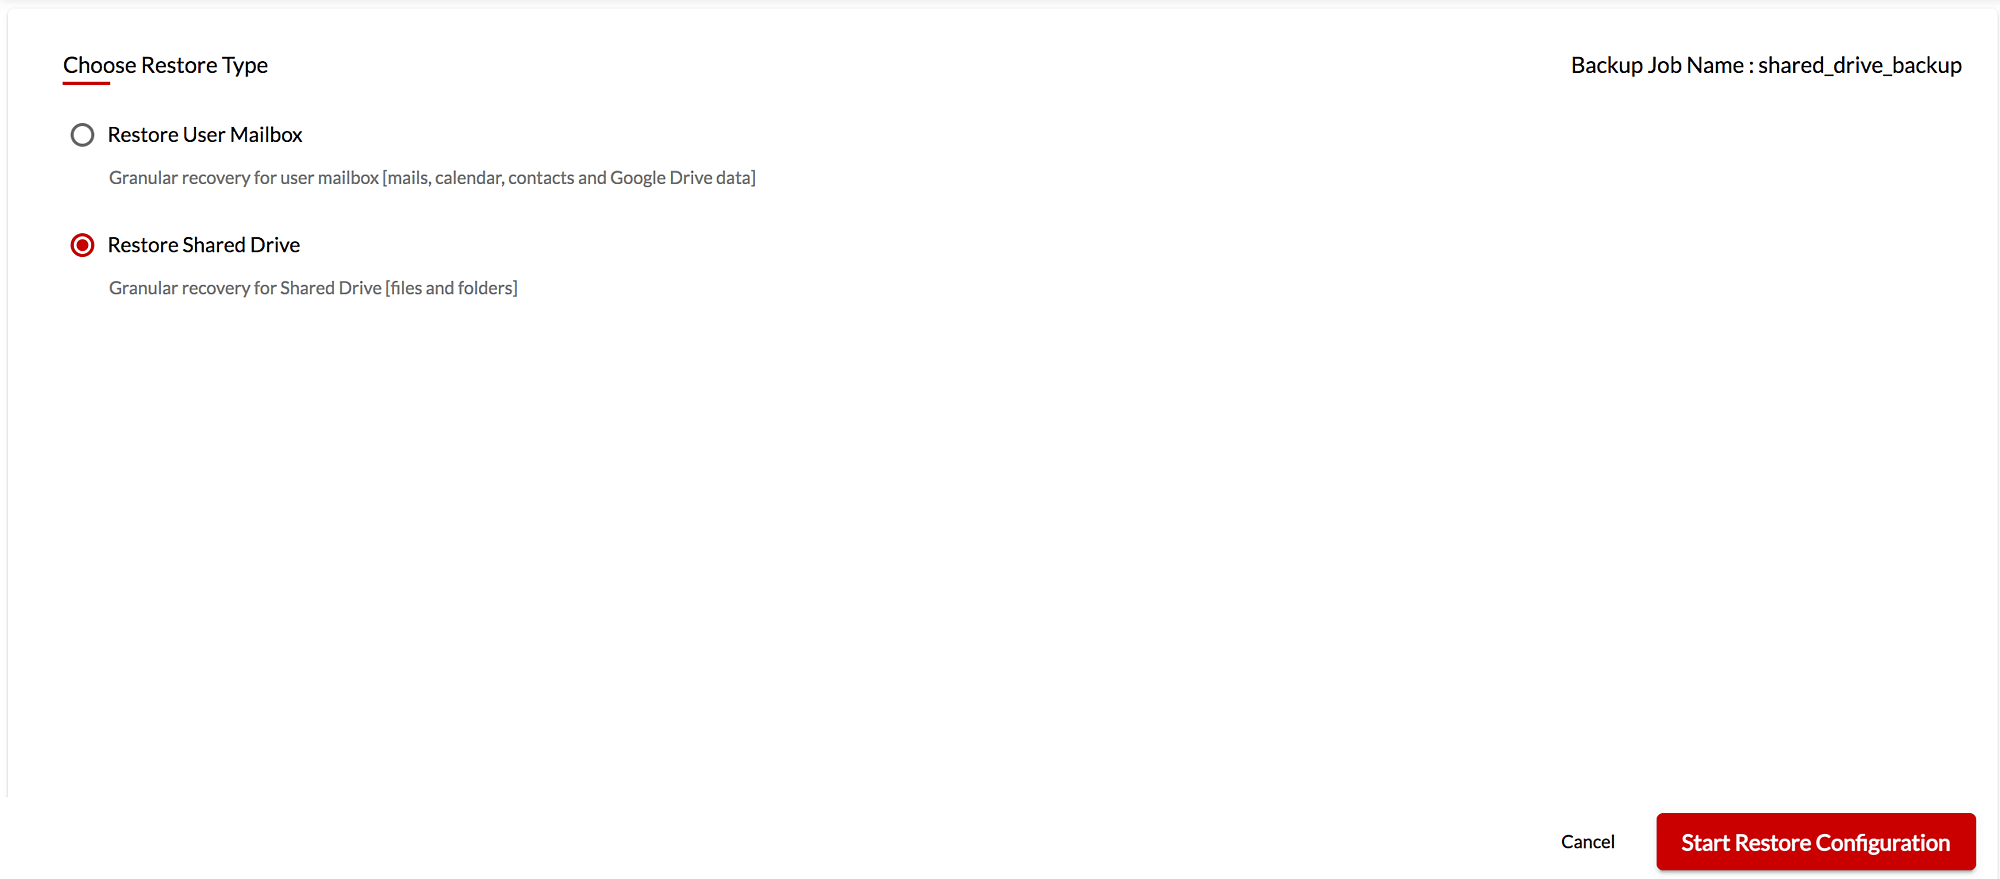
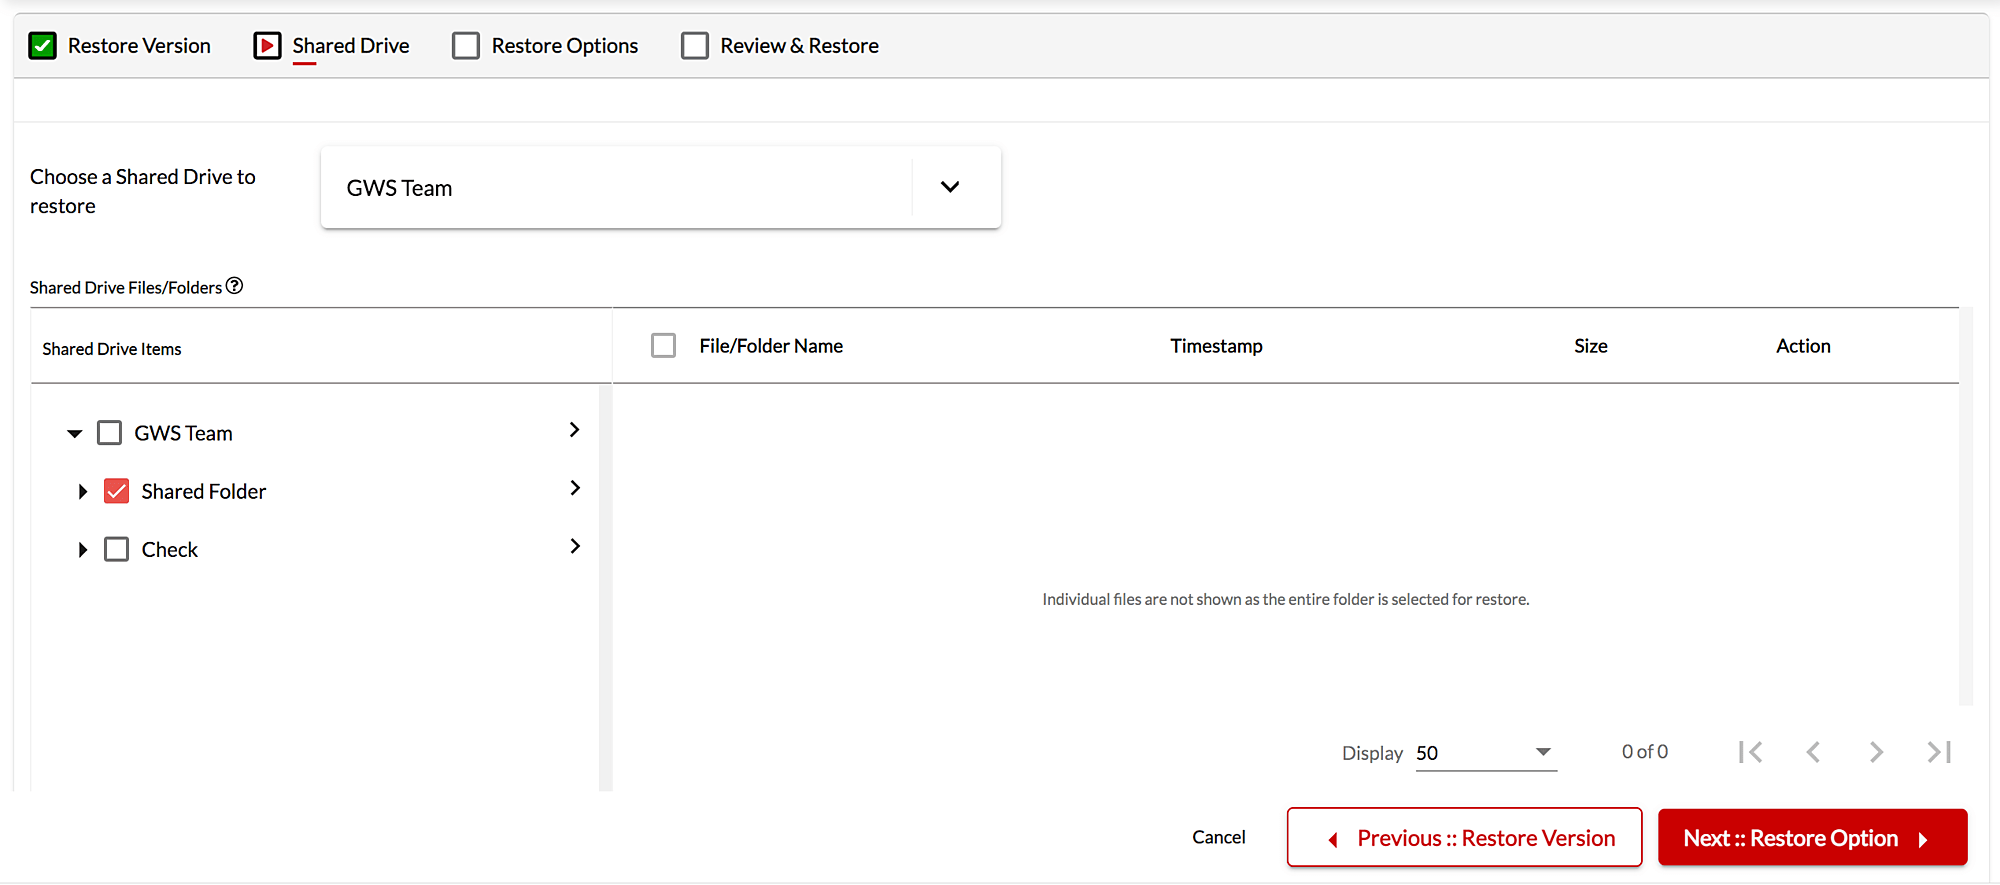
3. Shared Drive On the next page, choose the Shared Drive which you want to restore, and then select the desired Folder(s)/Files(s) that you want to restore and click next.
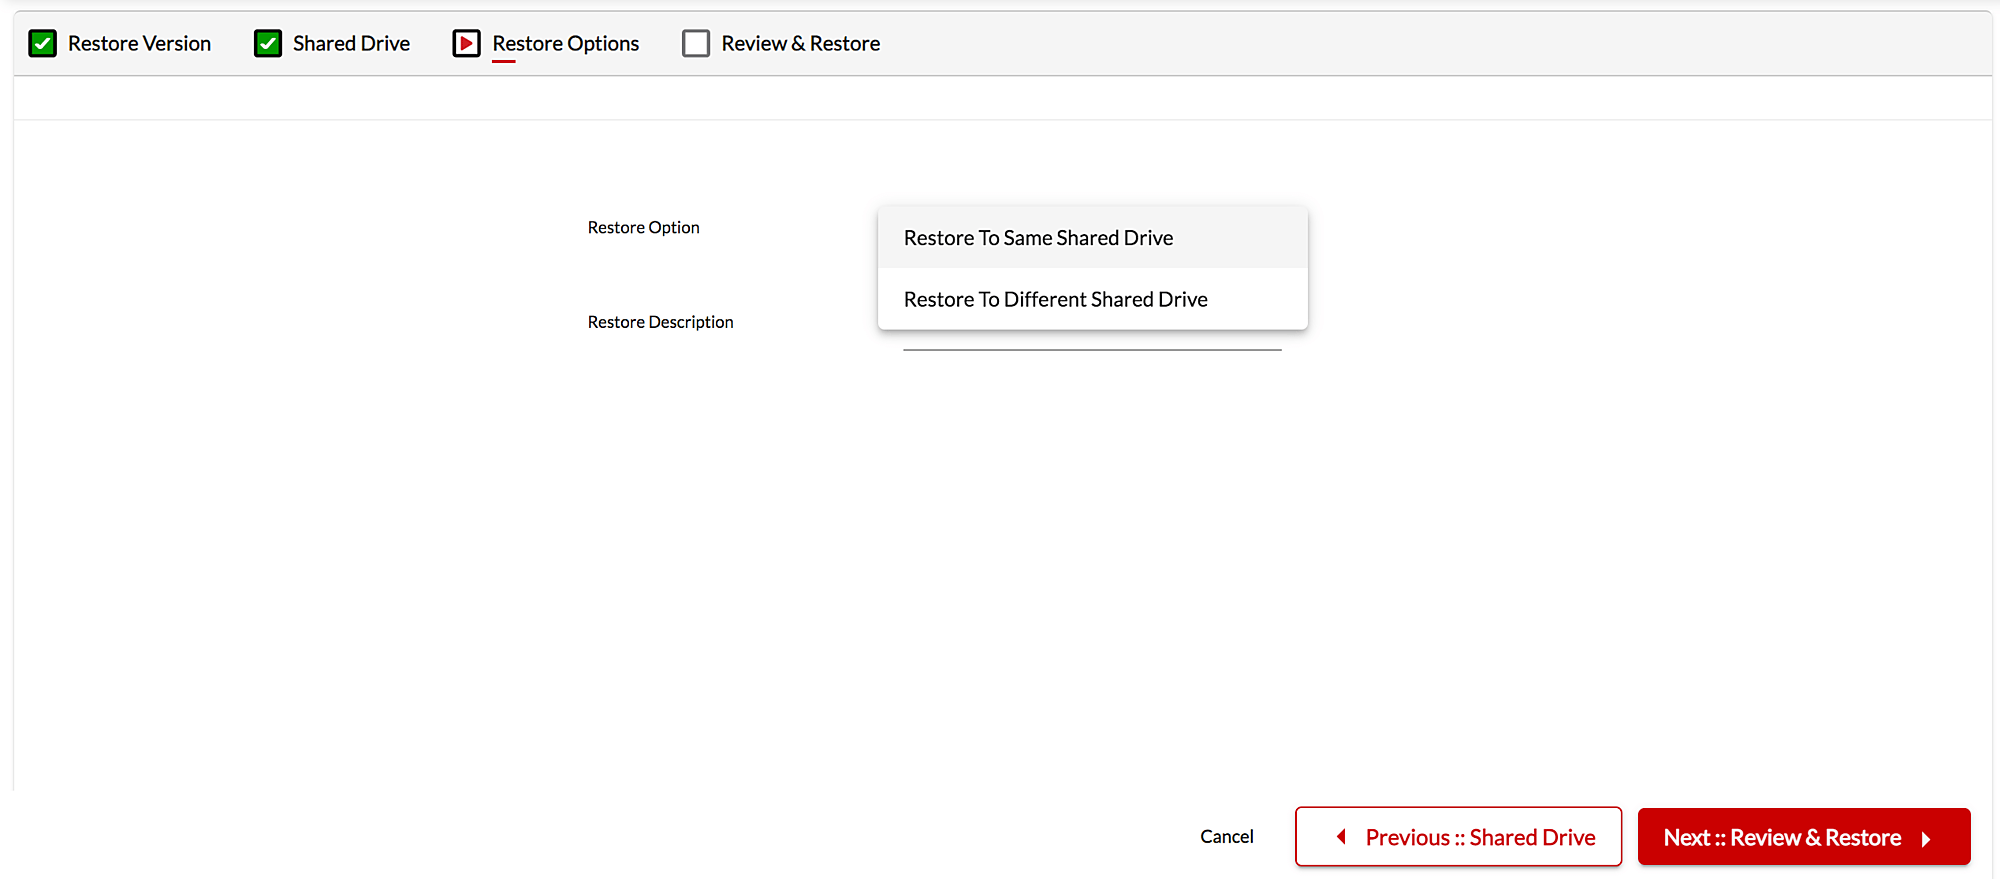
4. Restore Options: You can choose one of the following restore options:
a. Restore to Same Shared Drive – If you choose this option, then the selected data will be restored to the same source shared drive.
b. Restore to Different Shared Drive – If you choose this option, then you can restore data to a different shared drive.
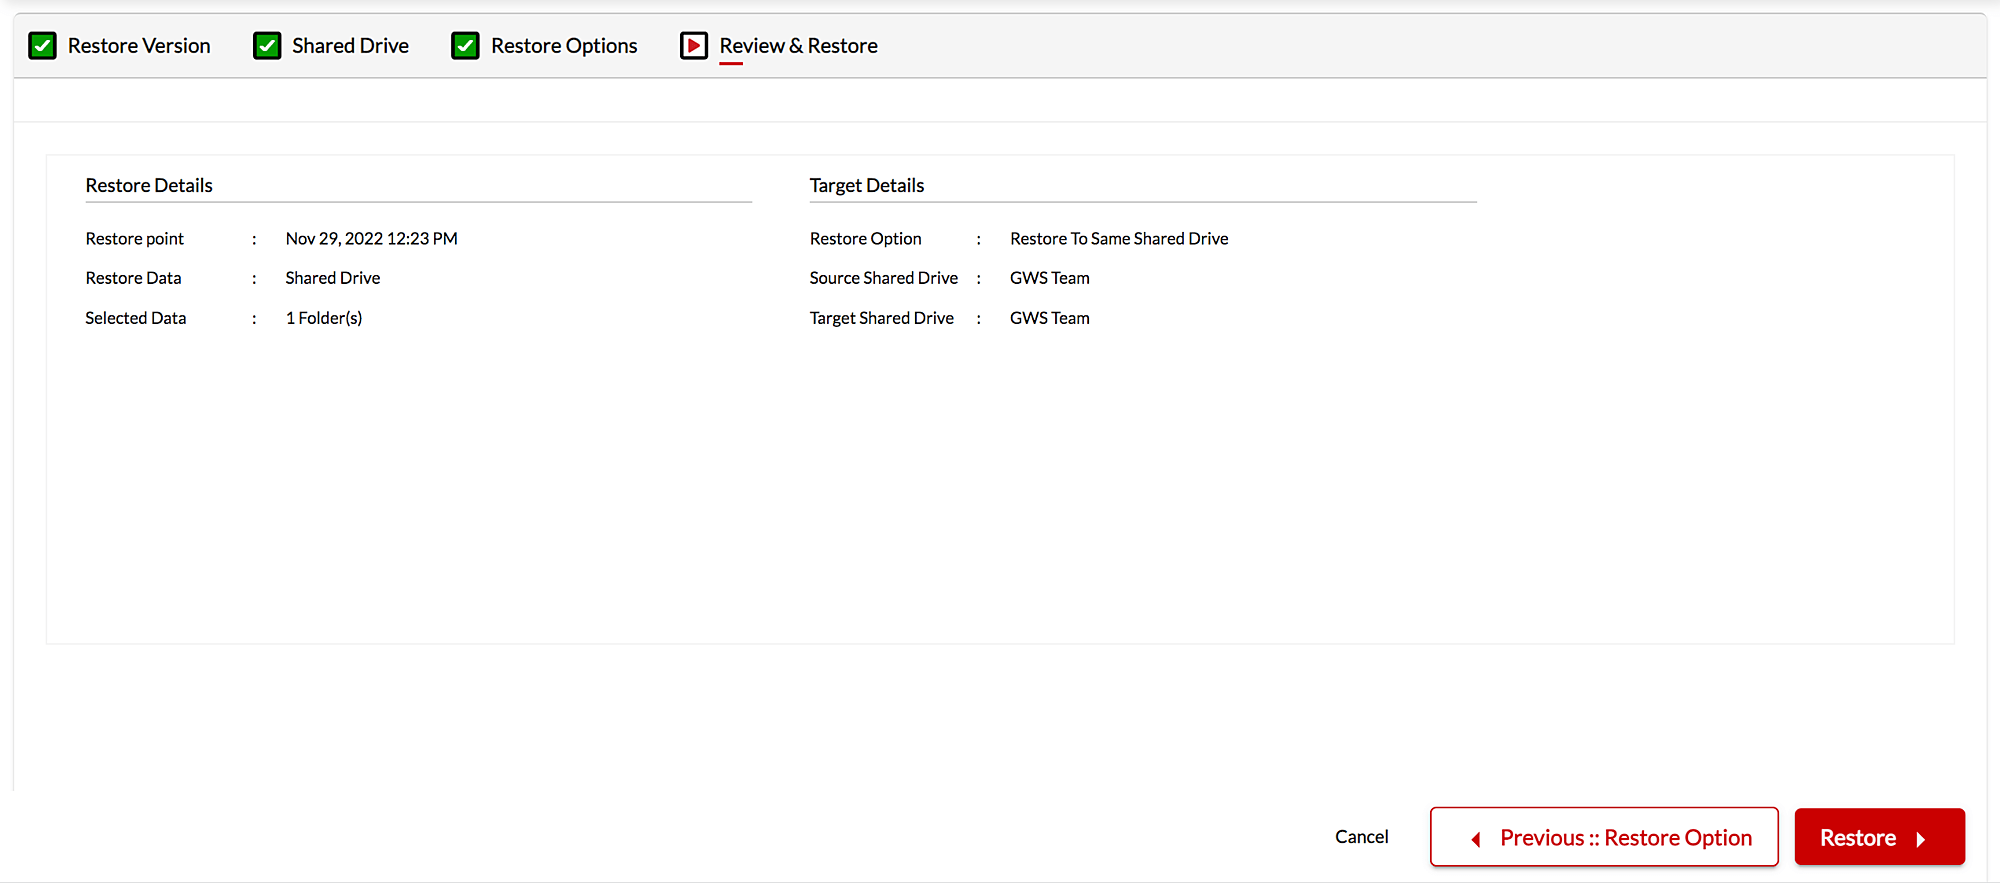
5. Review: On the next page, review the selected restore configuration. Click the Restore button to initiate the restore process. The backed up shared drive data will be successfully restored onto the target shared drive.
Be sure to download and explore BDRSuite in your environment with our fully-functional 30-day free trial version
Follow our Twitter and Facebook feeds for new releases, updates, insightful posts and more.


Leave A Comment