We have discussed many aspects of running Docker containers on a Windows Server, including installing Docker. Running an Internet Information Server as a Docker container is a very suitable containerized workload, as many businesses run full virtual machines to host single IIS websites. In this Windows IIS container for beginners’ walkthrough, we will consider pulling down an IIS container and running a simple IIS website using Docker in Windows.
Table of Contents
- Why run IIS in a Docker container?
- Creating a docker file to build an IIS container
- Building a Windows IIS Docker container
- Running the new Windows Docker IIS image
- Verifying connectivity to the new IIS website
- Managing the IIS running in Docker
- Docker IIS container FAQs
- What is a Docker file?
- Why run IIS websites in Docker?
- What does Docker build do?
- Wrapping Up
Why run IIS in a Docker container?
For years now, organizations have run IIS websites in full virtual machines. Virtual machines are now considered traditional infrastructure. Businesses are now looking to leverage the benefits of containerized workloads in their environment. The benefits of running applications inside containers are many. Containerized workloads allow applications to be quickly spun up and down as needed.
Containers are scalable, portable, and have all the dependencies included in the container image, making them excellent platforms for running applications like webservers in production.
Creating a docker file to build an IIS container
Let’s step through building a Windows IIS Docker container and see what is involved in this process. First, spinning up a new customized container of any variety is accomplished using a “docker file.” A docker file is a special file that contains instructions for Docker to build your container using the commands specified.
When we build an IIS container, the docker file specifies the base image of the container and any customizations we need to make to the IIS configuration for our Docker image.
To build our IIS container, we will use the following code for the docker file:
# escape=`
FROM mcr.microsoft.com/windows/servercore/iis# Setup Remote IIS management
RUN powershell Install-WindowsFeature Web-Mgmt-Service; `
New-ItemProperty -Path HKLM:\software\microsoft\WebManagement\Server -Name EnableRemoteManagement -Value 1 -Force; `
Set-Service -Name wmsvc -StartupType automatic;#Add user for Remote IIS Manager Login
RUN net user iisadmin Password1 /ADD
RUN net localgroup administrators iisadmin /add
RUN powershell -NoProfile -Command Remove-Item -Recurse C:\inetpub\wwwroot\*
WORKDIR /inetpub/wwwroot
COPY . /inetpub/wwwroot
RUN dir
In the above docker file directives, we are configuring the container’s base image, mcr.microsoft.com/windows/servercore/iis. Then we configure the container with various configuration commands that do the following:
- Enabling remote management
- Setting the WMSVC service to start automatically
- Adding a remote management user
- Adding the remote management user to the administrators group
- Removing any existing files in the inetpub\wwwroot directory
- Setting the working directory
- Copying files
- Running a dir command to list out the files
Building a Windows IIS Docker container
We can build our IIS container image now that we have our docker file. To build the docker image for the IIS docker container, we can issue the following command:
docker build -t
.
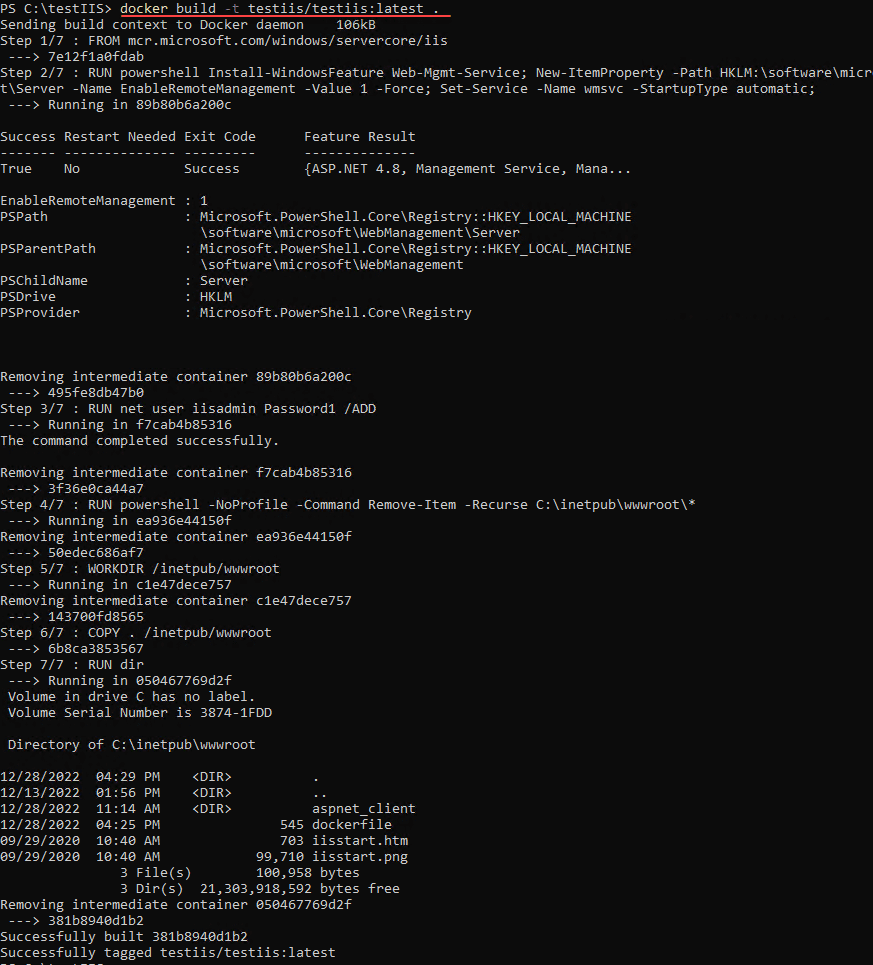
The container should build successfully. You can see your new container image in your docker container images using the command:
docker image ls

Running the new Windows Docker IIS image
Now that we have the new Docker IIS image ready to go, we can run the container. To run a new Docker IIS container, we can use the command:
docker run -d -p 80:80 –name testwebsite testiis/testiis:latest
In the command above, we are telling Docker which port we want to expose externally and where the port translates to on the internal container side. The name parameter allows us to create a friendly name for the new container. Finally, we tell Docker which image we want to use for the container.

Verifying connectivity to the new IIS website
At this point, we should be able to verify that we have connectivity to the new IIS website in Docker. We can browse to the localhost address, IP address, or hostname of the IIS container and it should pull up the website.
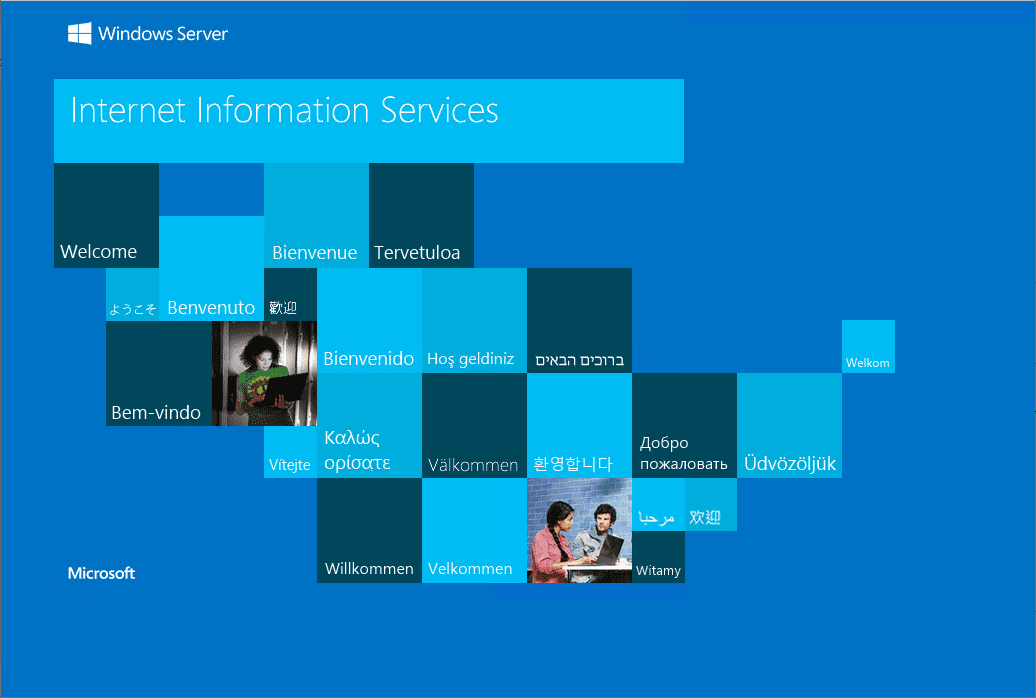
Managing the IIS running in Docker
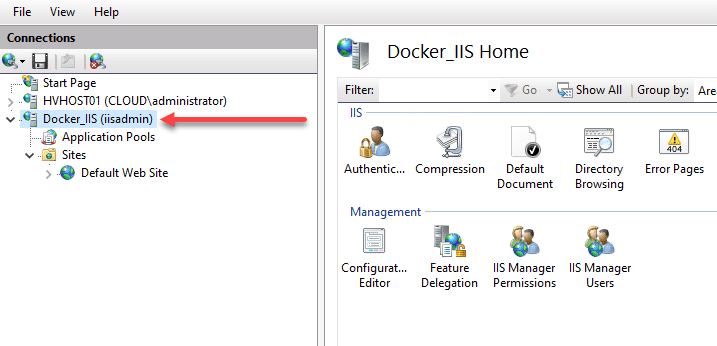
Now that we have a new IIS website running in Docker, can we manage it with the traditional IIS Manager console? Yes, as we recall, we enabled remote management and created a user for management. We can connect to the IIS site using the IIS Manager console with that information.
First, we need to get the internal Docker IP address for managing the container. To get your IP address for the running IIS container, we need to issue the command:
docker inspect
We should see the network information when we scroll down toward the bottom of the JSON output.

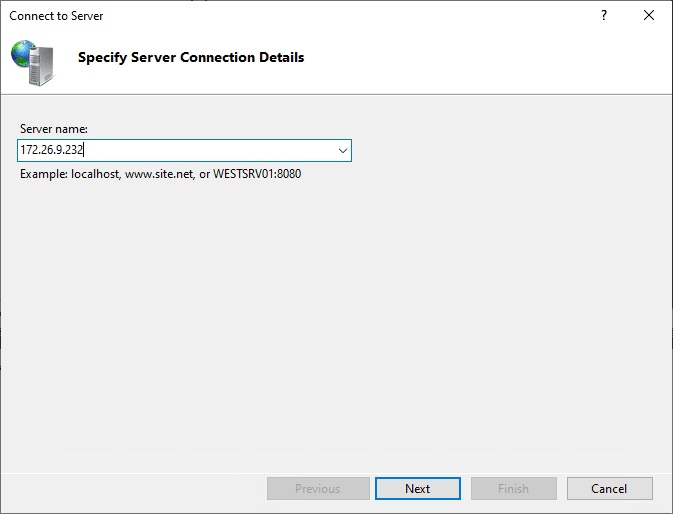
With this internal IP address from the Docker host, we can manage the IIS website in Docker. Add a new connection in IIS Manager. Enter the IP address.
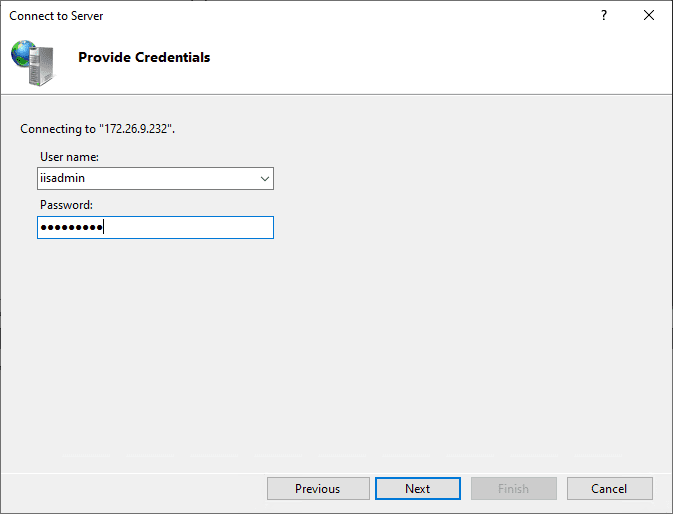
Use the username and password configured in the Docker file to add the connection.
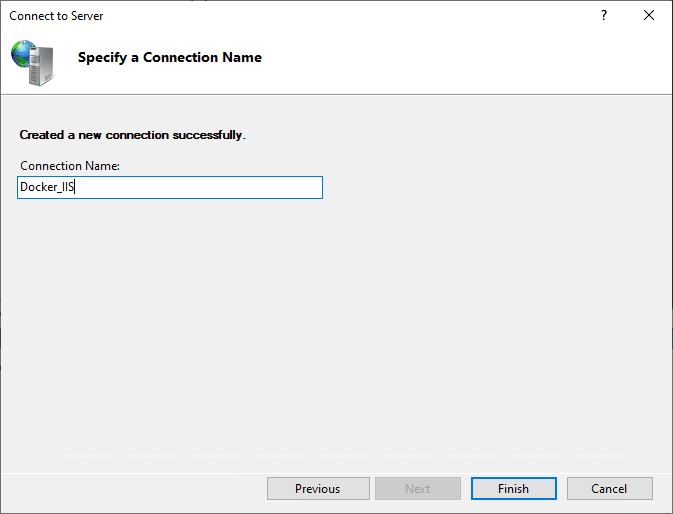
Name the connection to the Docker IIS container.
The connection is successfully added to the Docker IIS container.
Docker IIS container FAQs
What is a Docker file?
A Docker file is a special file that allows building a custom Docker container with the commands, components, and configurations you need in the environment.
Why run IIS websites in Docker?
Running simple IIS websites in full virtual machines is inefficient and not the best use of resources. Instead, you can more efficiently run IIS sites in Docker and have all the prerequisites required bundled in the container without worrying about the VM environment. Having IIS in Docker allows easily moving the website to a new Docker host and scaling the solution if needed.
What does Docker build do?
Docker build takes a Docker file and builds the Docker image specified by the file contents.
Wrapping Up
Running IIS websites in Docker containers is a great way to make the best use of resources and have all the underlying requirements for the website contained in the container. Furthermore, moving the container to another Docker host is easy if needed. In addition, each container is isolated from another. If you want further isolation, you can use Hyper-V isolation mode for your containers for even more robust security.
Read More:
Beginners Guide for Microsoft Hyper-V: Top 8 Basic Docker Commands You Should Know – Part 36
Beginners’ Guide for Microsoft Hyper-V: Windows Docker Container Networking in Hyper-V – Part 37
Hyper-V Mastery: A Step-by-Step Guide for Beginners to Elevate Your IT Skills and Boost Your Career
Follow our Twitter and Facebook feeds for new releases, updates, insightful posts and more.


Leave A Comment