Read on:
Microsoft Azure for Beginners: Understanding Azure Terminologies – Part 1
Microsoft Azure for Beginners: How to Create an Azure Virtual Machine – Part 2
Microsoft Azure for Beginners: What is Azure Governance – Part 3
Read More
In previous articles, we’ve discussed Azure Bicep and ARM (JSON) templates for deploying resources to Azure. However, we have not yet discussed Terraform until now.
What is Terraform?
Terraform is a tool created by HashiCorp that allows users to define infrastructure as code (IaC) and use it for various Cloud providers, including Azure, AWS, and Google. It can also be used to provision infrastructure on-premises or in other environments. Terraform uses the HashiCorp Configuration Language (HCL), which describes the infrastructure you want to create.
Terraform is open-source software and is freely available for anyone to use. The source code is available on GitHub. Of course, you have to pay for the resources that you deploy. Additionally, while the open-source version of Terraform is free, HashiCorp also offers a paid enterprise version called Terraform Enterprise (TFE) that includes additional features and support options.
I’ll cover Terraform in this article by deploying an example resource to Azure. We will go into more depth in later articles.
What do we need?
- An Azure subscription – In this example we will deploy a virtual machine to Azure, so we need access to an Azure Subscription. Of course, you can sign up using a free trial
- Terraform installed on your local machine – You will need to have Terraform installed on your local device to run Terraform command and create resources in Azure
- Azure CLI installed on your local machine – The Azure CLI is required to configure the Azure provider in Terraform and to authenticate to Azure
- Access to Azure– Access Azure using an Azure service principal or authenticate using a username/password
- Terraform configuration file – A Terraform configuration file defines the resources you want to create. You will need to create a new Terraform configuration file and specify the virtual machine, storage, and network resources that you want to create
Let’s get started!
The first step (assuming you already have access to an Azure subscription) is downloading and installing Terraform.
Here is the link to download Terraform: https://www.terraform.io/downloads.html
You can also use Chocolatey to install Terraform using the command below:
choco install terraform
Verify that Terraform has been installed by running the command below:
terraform -v
You can also use Chocolatey to install Azure CLI using the command below:
choco install azure-cli
Verify that Azure CLI has been installed using the command below:
az –version
NB : To use Chocolatey, you must download and install it first.
Yesss, everything is downloaded and installed. Let’s go!
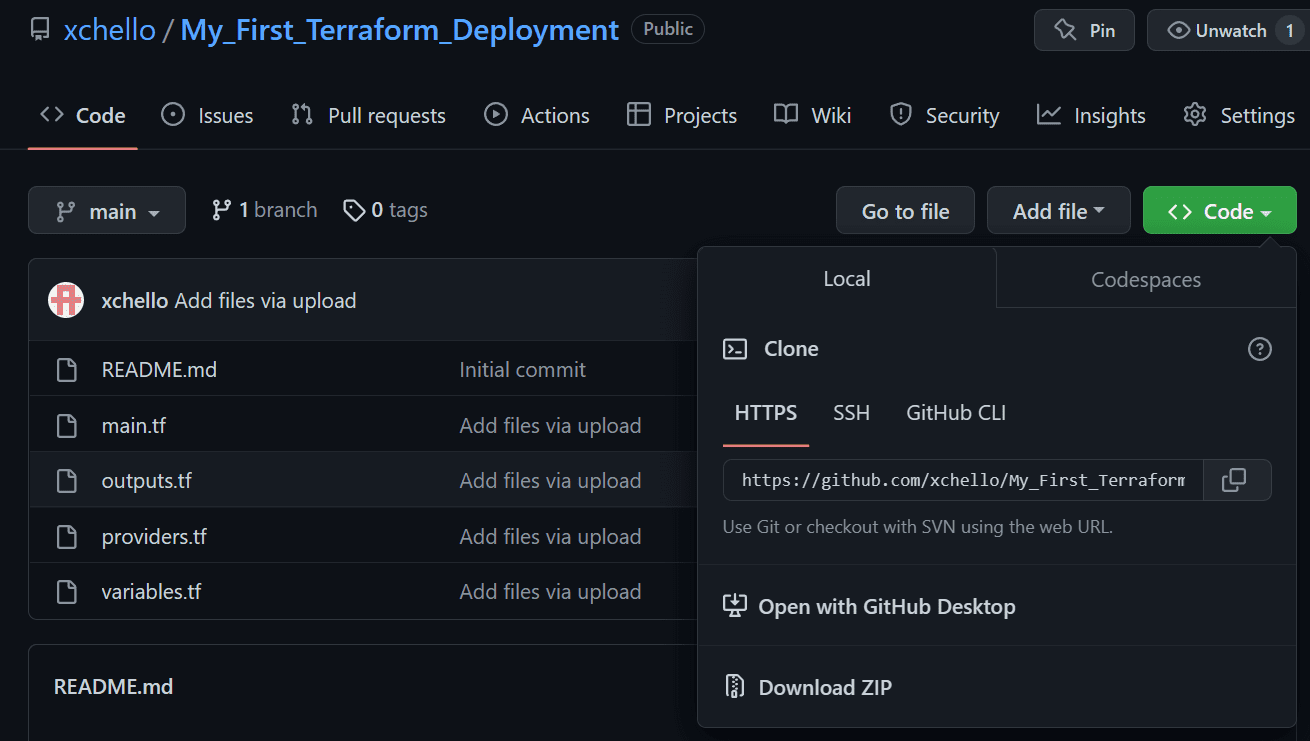
To make this article easy to read, I’ve created an example template and uploaded it to my GitHub repository. You can download it from :
https://github.com/xchello/My_First_Terraform_Deployment
You can use the green button to download the examples :
Extract the contents to your local drive and open the folder in Visual Studio Code :
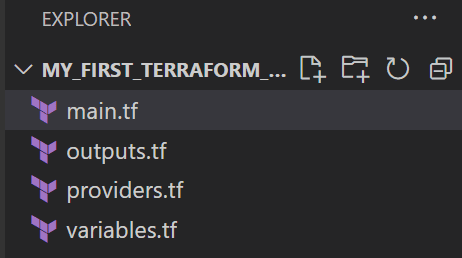
I have uploaded 4 files :
- main.tf (this contains the specification of the resource(s) we want to deploy)
- outputs.tf (this includes the output after deployment)
- providers.tf (here we specify to which provider we are going to deploy and which API version to use)
- variables.tf (this contains the variables for the main.tf file)
For demonstrating purposes, I’ve created 4 separate files, but it can also be combined into a single file (which I don’t recommend)
Let’s take a closer look at the different files
Main.tf
In this file you specify the configuration of the resource(s) we will deploy. In this example, we will deploy a virtual machine in a resource group. All the different options (which vnet, which NSG etc) are configured in this file.
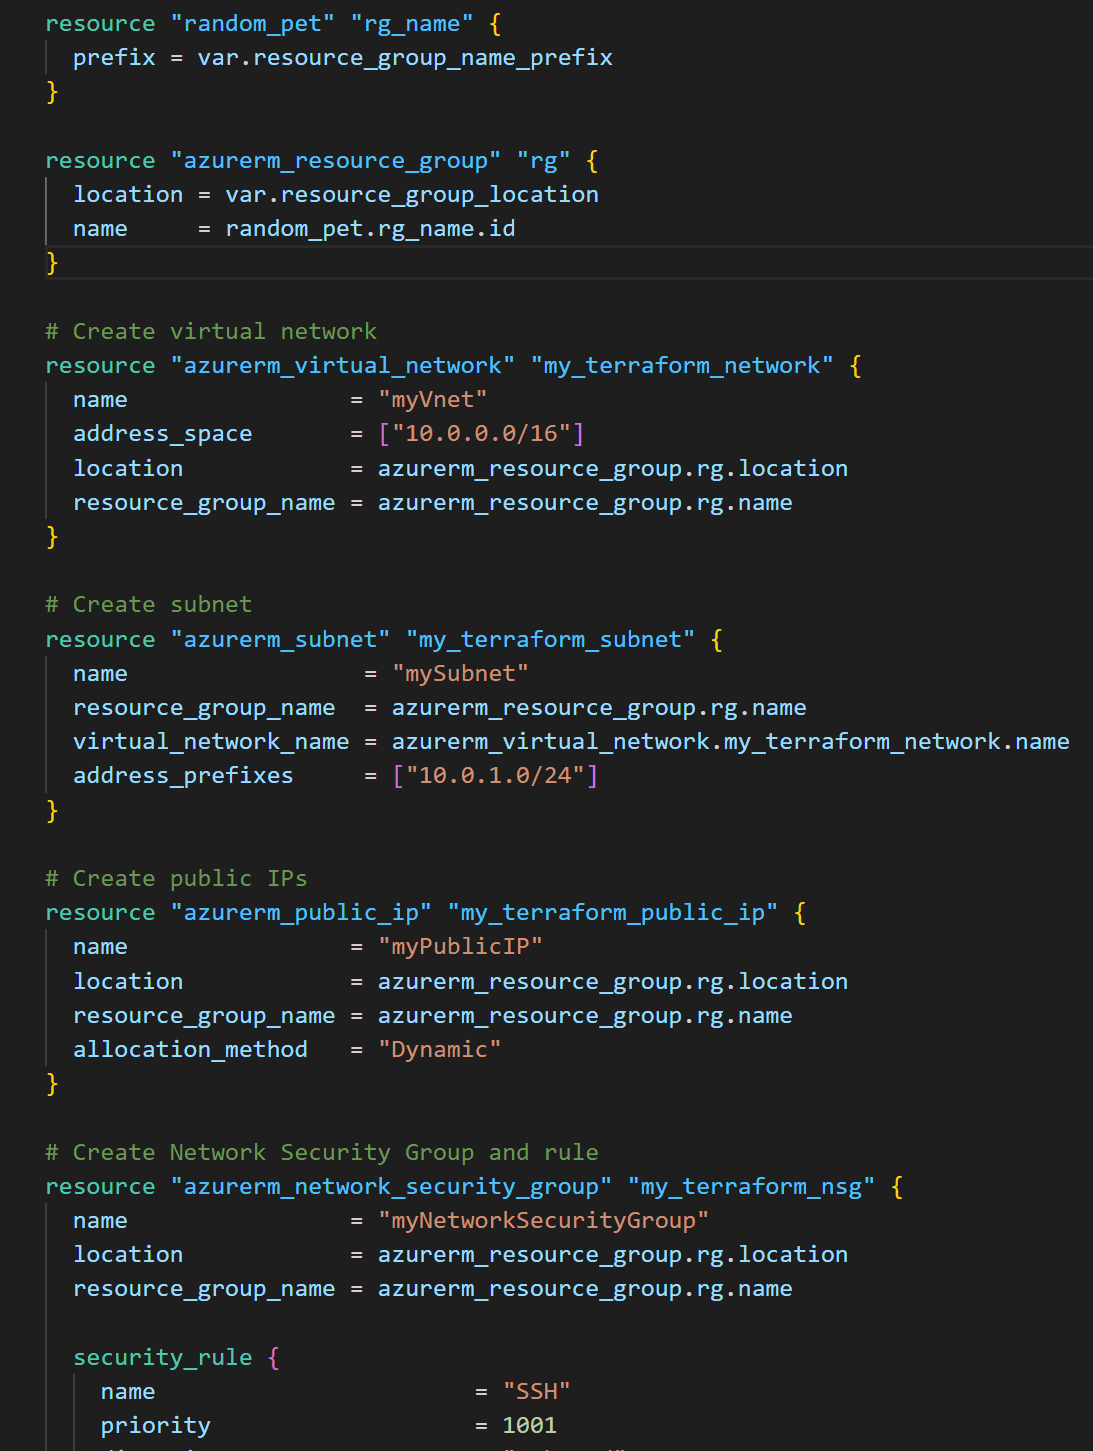
In a future article we will go into more detail about the syntax, but by looking at the code a lot will already become clear.
Outputs.tf
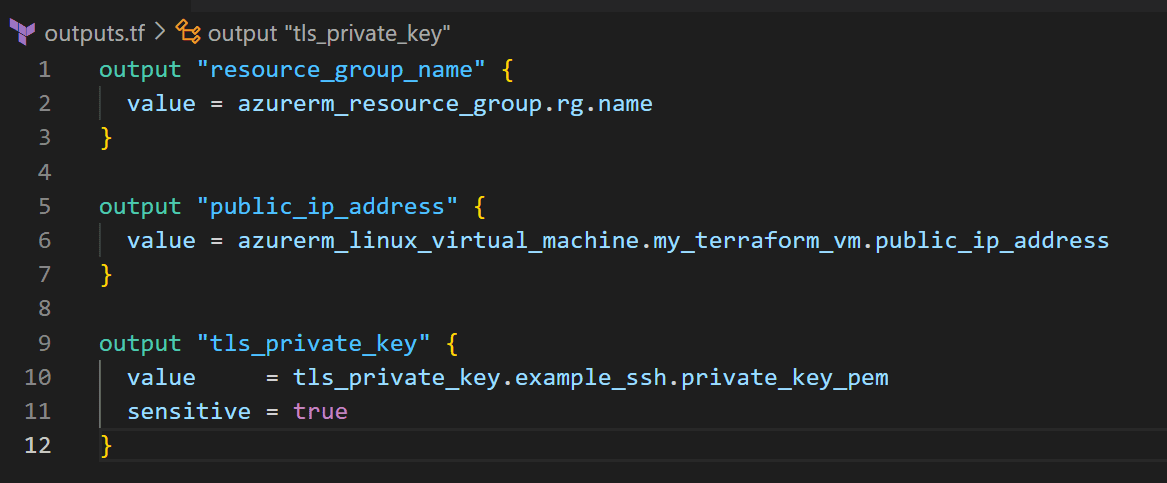
This file specifies what information/feedback we want to see after the resource(s) are deployed. In this example, we want to see the resource group, public IP address and private key.
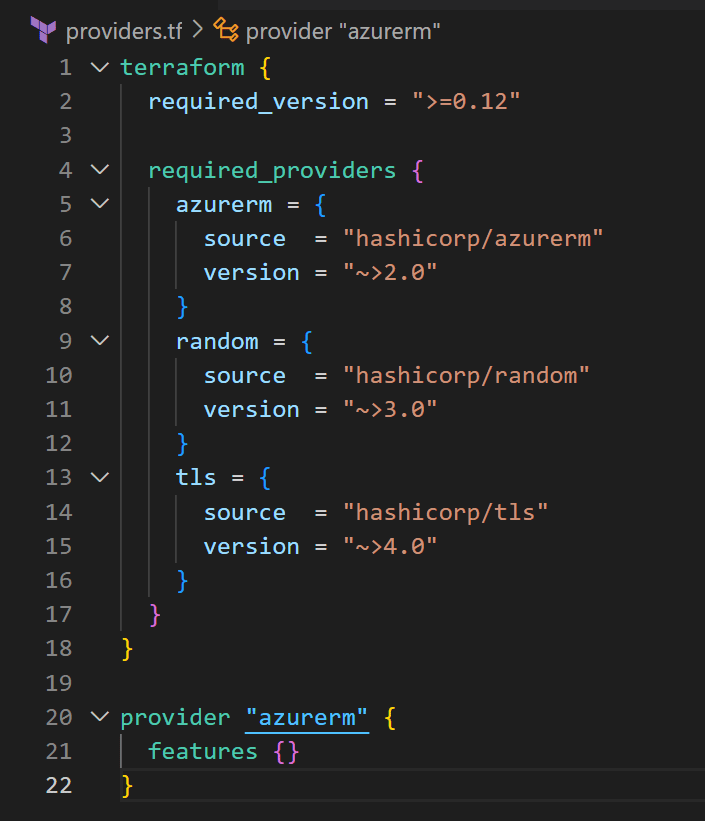
Providers.tf
In this file, we specify which version of Terraform we are using, which Cloud (resource) provider we want to use, and how we want to connect. In this file, we can also allow partial access. We will cover this in a later article.
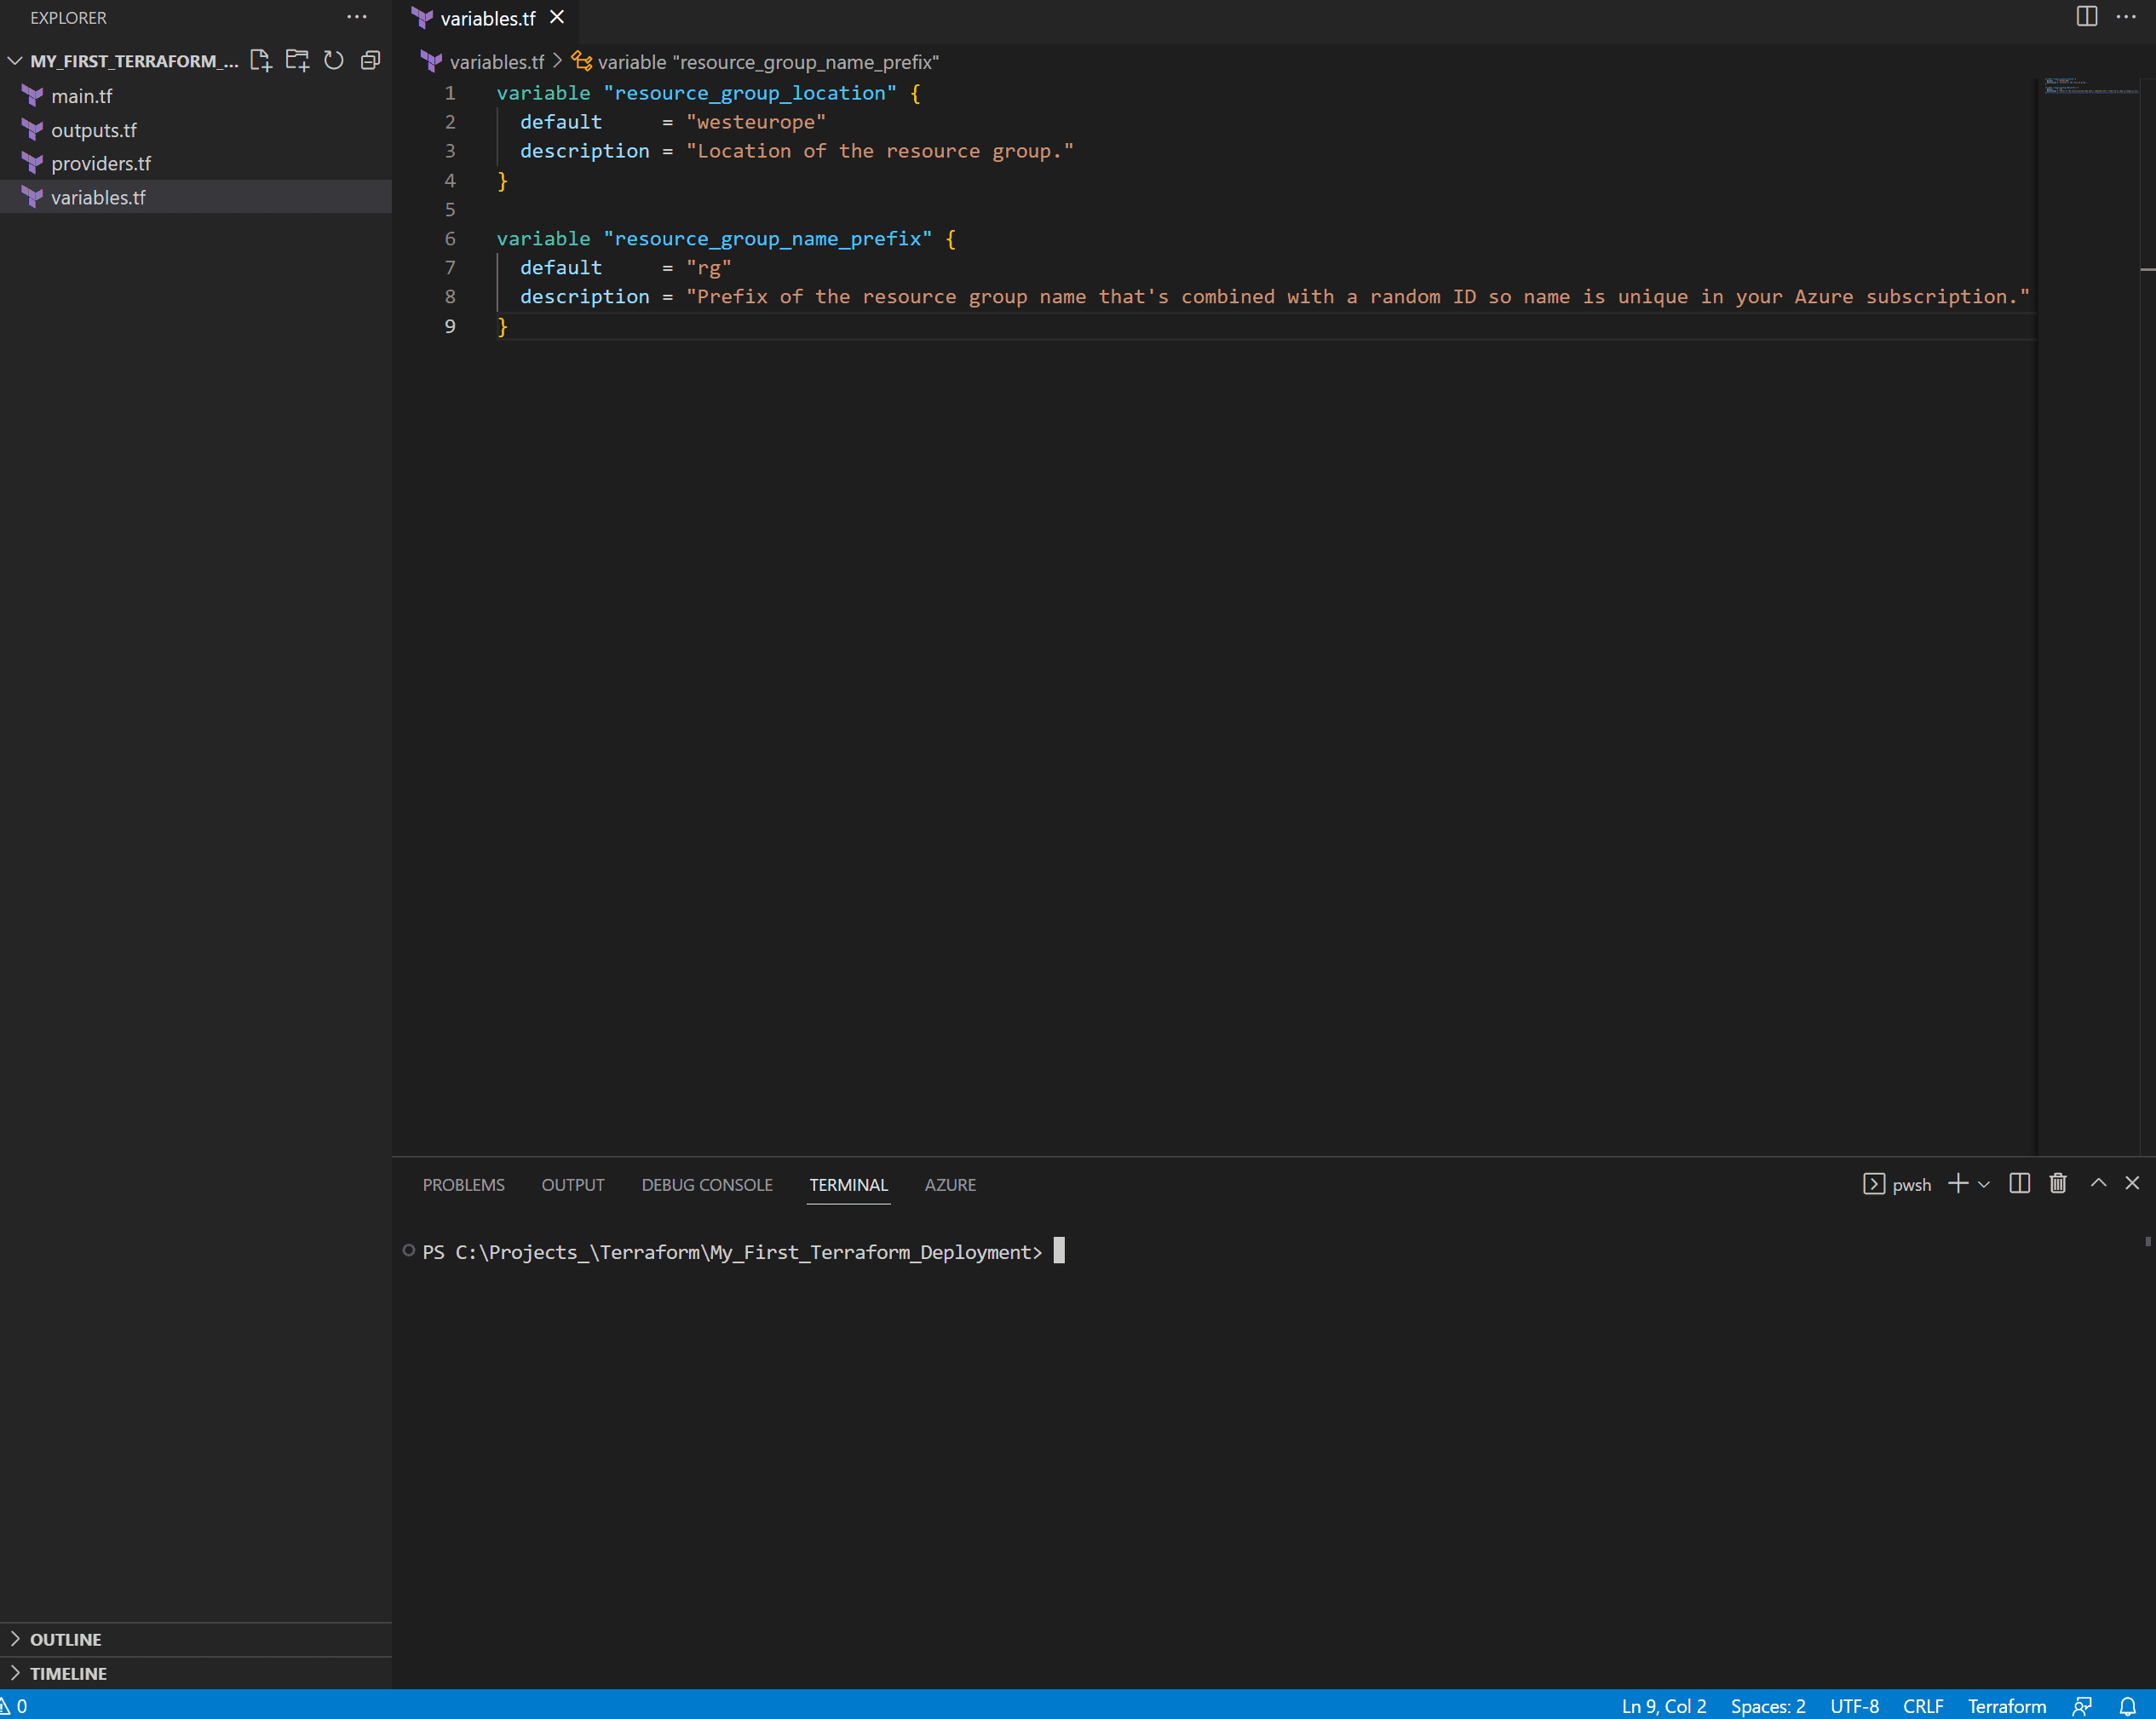
Variables.tf
This file specifies the parameters to use (call) in the main.tf. Using parameter files is highly recommended so that your templates are reusable. Then, you need to modify the parameters, and your template file is ready for another client or project.
In this example I have created 2 parameters, the resource group location and the prefix. This is to keep it short and clear.

The deployment…yeehaw!
If all goes well, you now have Visual Studio Code open. Also open the terminal.
We must now first log on to the azure environment. We do this with the following command :
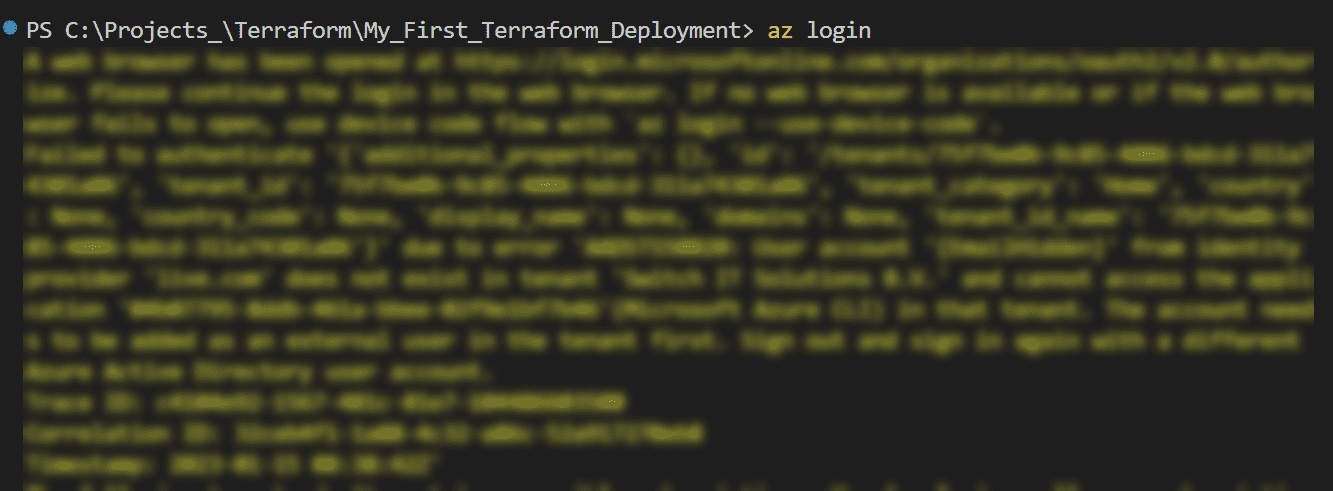
You are redirected to the Azure login page and receive confirmation that it has succeeded :

Now we need to run terraform init to prepare the directory and pull down the resources that we have defined in our files.
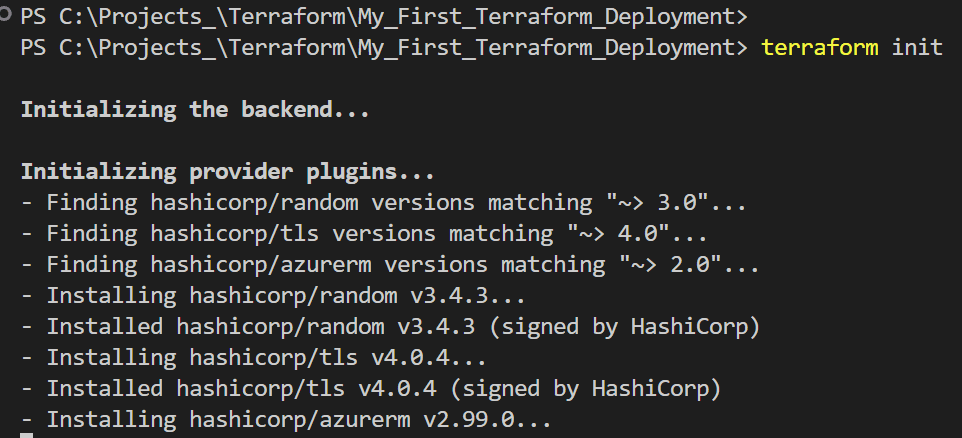
Now we are going to build the terraform file
Terraform apply
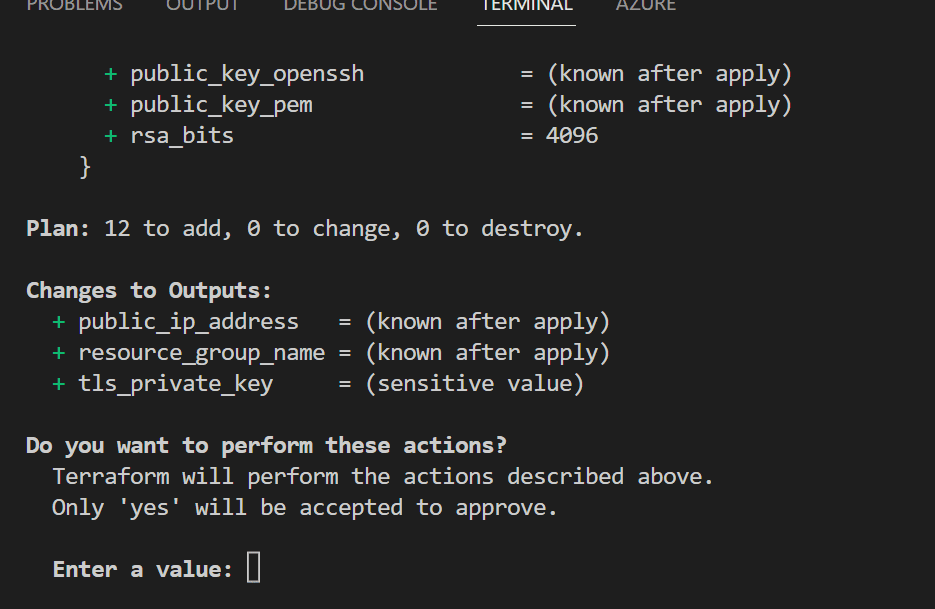
Terraform informs you that it will deploy after confirmation and that the specified output parameters will be displayed after generation of the resource(s).
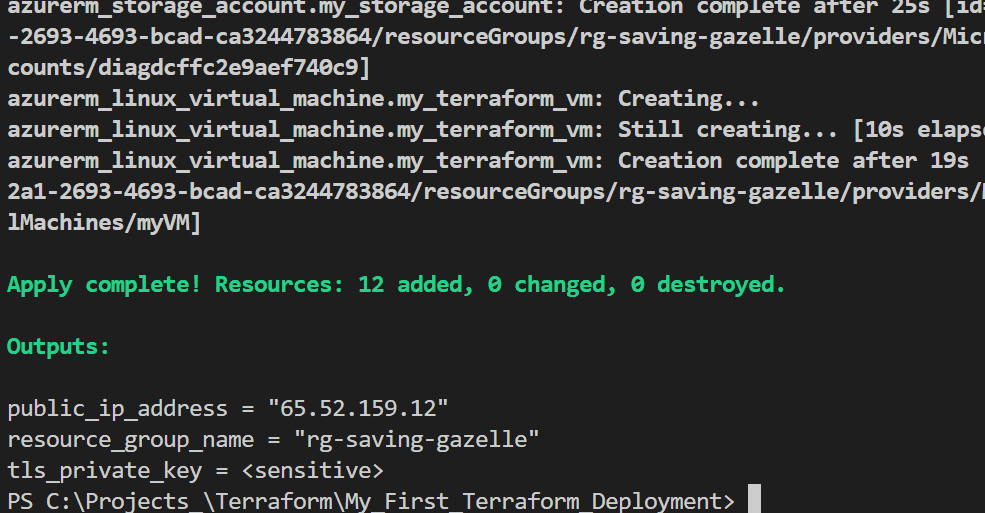
In this example, you see the public IP address, the resource group, and the private key has been created.
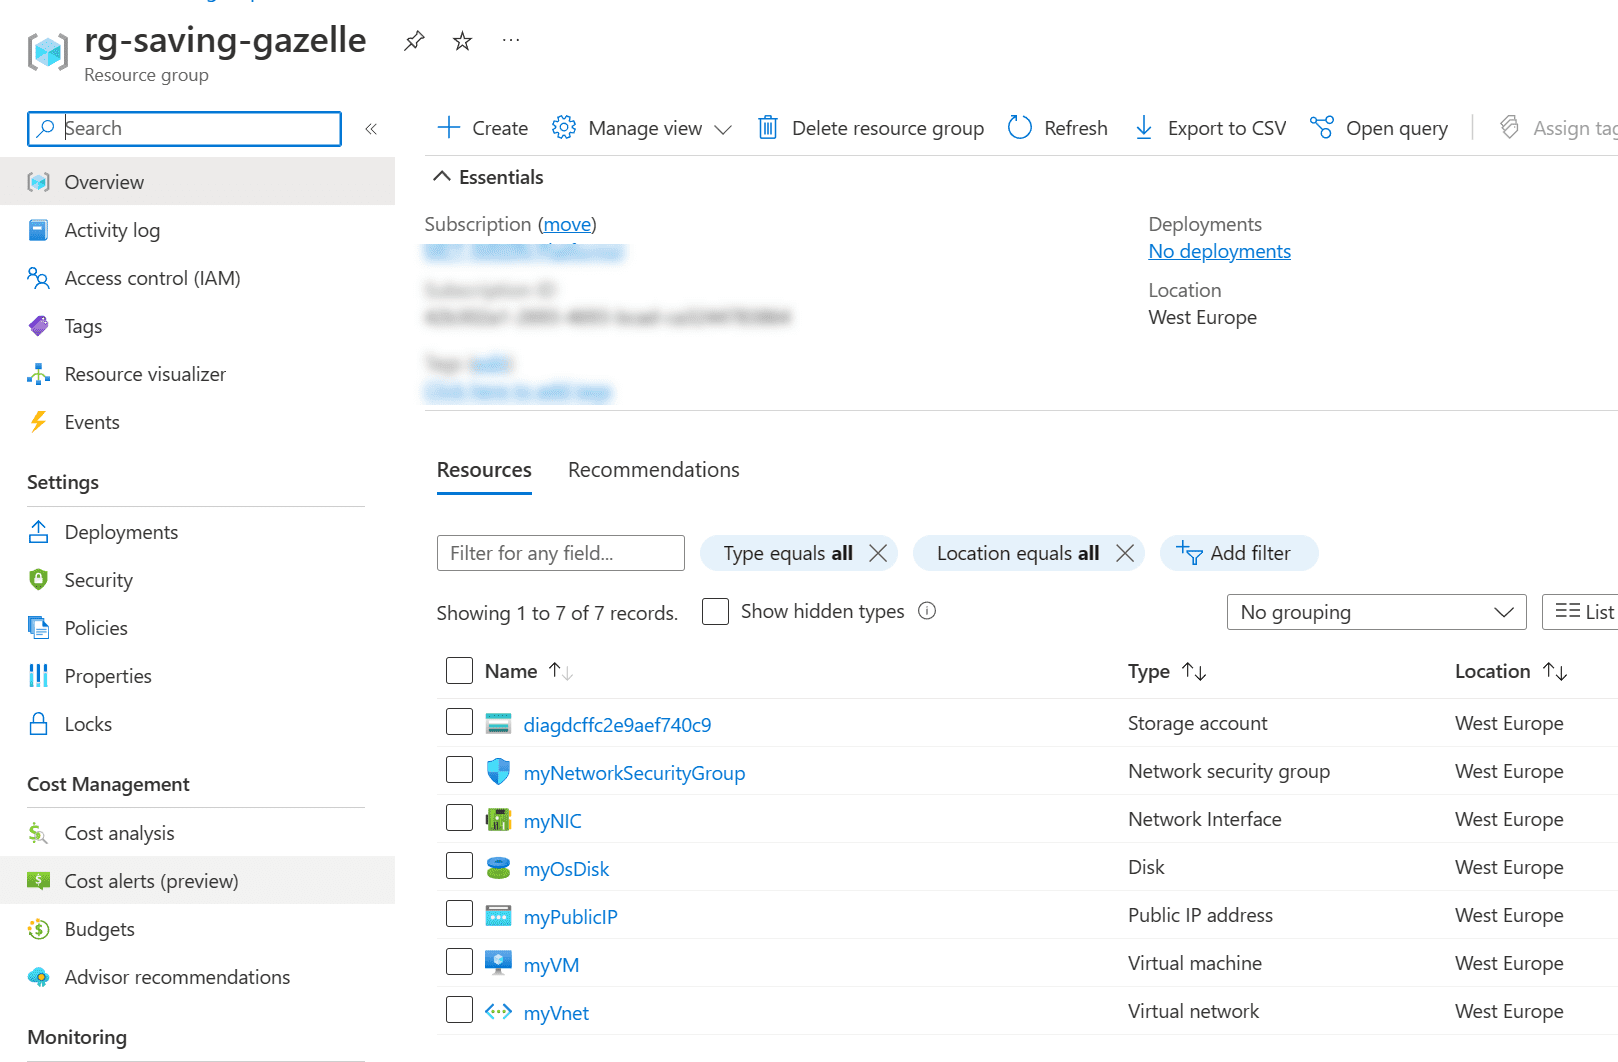
The evidence
Let’s cleanup
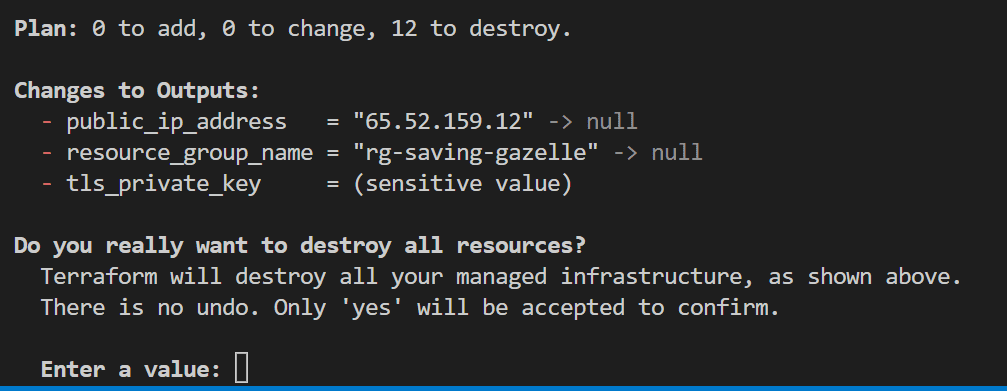
You can use the -destroy parameter to remove all the resources you have just created :

After confirmation (yes), the resources are cleaned up:
Conclusion
In this example we discussed the requirements of a successful deployment to Azure using Terraform. Then, we walked through the steps which are necessary for installing the requirements (Terraform/AZ CLI/Chocolatey) and downloaded the demo templates.
We discussed how to divide the terraform configuration file into 4 separate files and why this is best practice.
Next, we deployed and checked the configuration. Then, finally, we cleaned up the resources again.
So much for this first look at Terraform. I hope this practical example has given you a clear idea of what Terraform can do. Terraform can do much more; as I said, we will go into more depth in later articles. I hope to inform you again then!
Microsoft Azure for Beginners: What is Azure PaaS – Part 4
Microsoft Azure for Beginners: Cloud Adoption Framework – Part 5
Microsoft Azure for Beginners: How to Create your First Azure Bicep Template – Part 6
Microsoft Azure for Beginners: How to Create Modules with Azure Bicep – Part 7
Microsoft Azure for Beginners: 10 Tips for using Azure Bicep – Part 8
Follow our Twitter and Facebook feeds for new releases, updates, insightful posts and more.


Leave A Comment