Introduction:
This document provides a comprehensive guide on how to back up an AWS RDS MySQL database and store the backup in Amazon S3. Backing up your database is crucial for data protection, disaster recovery, and compliance purposes. By following the steps outlined in this document, you can ensure the safety and availability of your valuable data.
Backing Up AWS RDS MySQL Database to Amazon S3
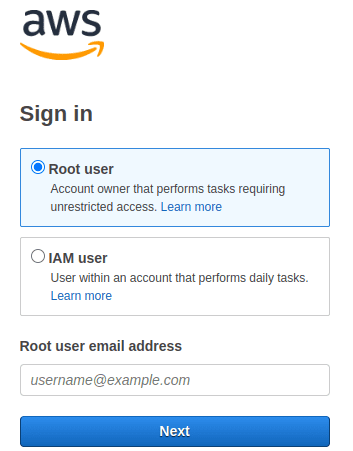
Step 1: Accessing the AWS Management Console
Log in to your AWS account using appropriate credentials.
Step 2: Navigating to the RDS Service
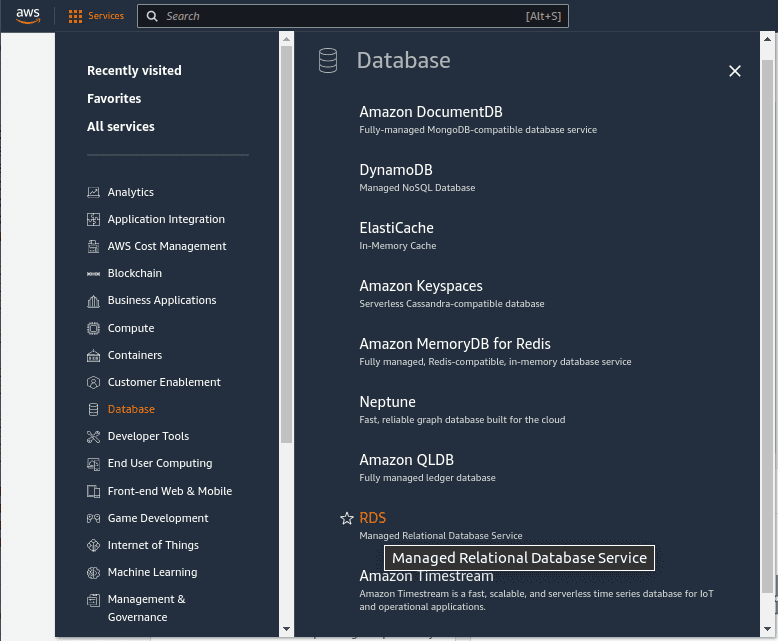
Once logged in, select the “Services” dropdown menu at the top of the console.
In the “Database” section, click on “RDS” to open the Amazon RDS service.
Step 3: Selecting the RDS MySQL Database
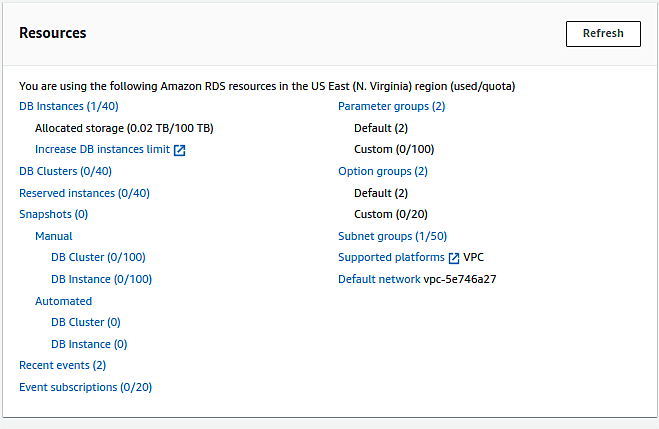
In the RDS service, choose the desired region from the top-right corner.
Locate and select the RDS MySQL database instance you want to back up.
In this tutorial, we will backup the MySQL database named mysql-test-db-1

Step 4: Enabling Automatic Backups (If Not Enabled)
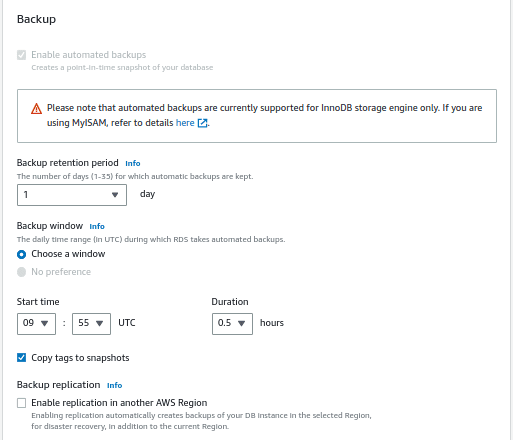
If automatic backups are not already enabled for your RDS instance, follow these steps:
- Select the database
- Select “Modify” to modify the RDS instance settings
- In the “Backup” section, enable automatic backups and specify the retention period
- Save the changes

Step 5: Creating an IAM Role
Open a new tab or window in your web browser and access the IAM (Identity and Access Management) service in the AWS Management Console.
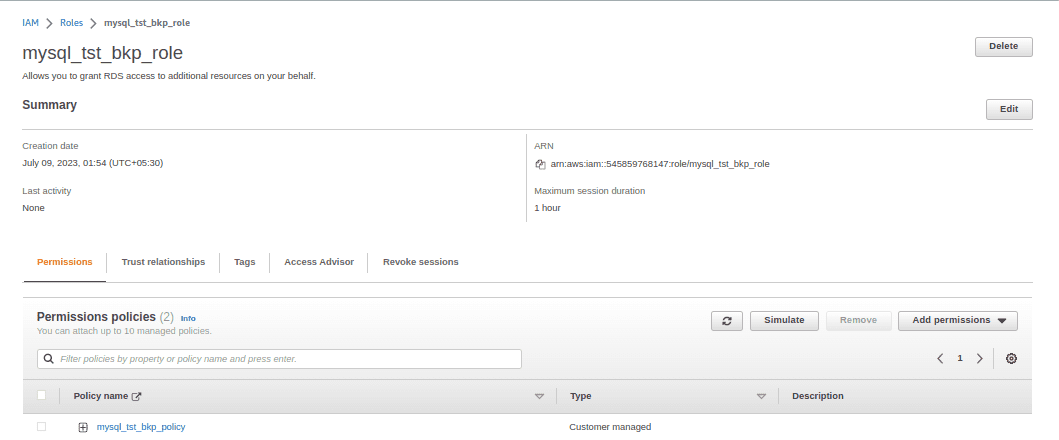
Follow the IAM service instructions to create a new IAM role that grants write permissions to your desired Amazon S3 bucket. In this tutorial, we will use the s3 bucket mysql-tst-s3-bkp.
Note down the name of the IAM role for future reference. In this case a new role “mysql_tst_bkp_role” is created for this purpose.
The role must have the below trust relationship configured so that, the RDS backup snapshot can be exported to S3.

Step 6: Creating an IAM Policy
In the IAM service, navigate to the “Policies” section.
Click on “Create policy” and select the “JSON” tab.
Enter a policy document that allows the required permissions to interact with Amazon S3, replacing YOUR_BUCKET_NAME with the actual name of your S3 bucket.
Save the policy with a meaningful name. In this case we created a policy “mysql_tst_bkp_policy”
Step 7: Attaching IAM Policy to the Role
Return to the “Roles” section in the IAM service.
Locate and select the IAM role created in Step 5.
Attach the IAM policy created in Step 6 to the selected IAM role.
Step 8: Configuring Backup Options
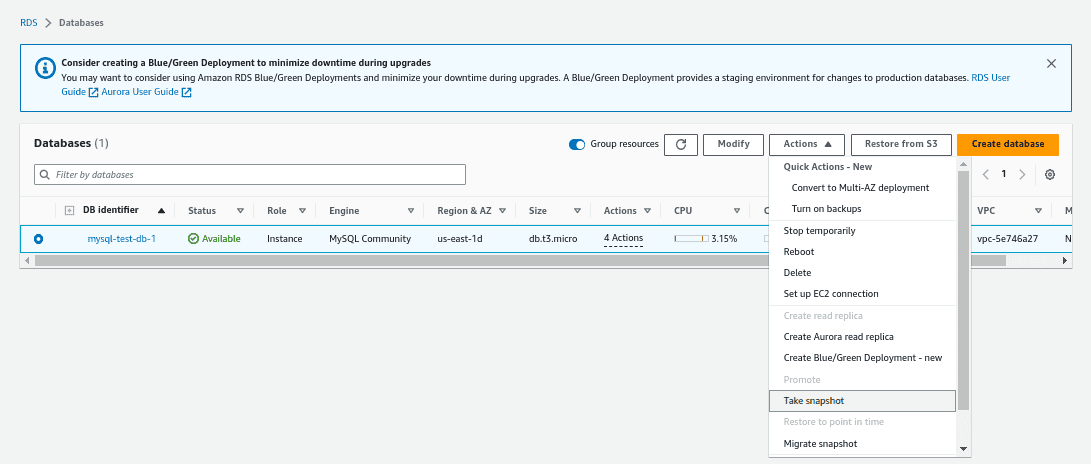
Go back to the RDS console, select your RDS MySQL instance, and click on “Instance actions” drop down menu and then “Take snapshot” to initiate the snapshot backup process.
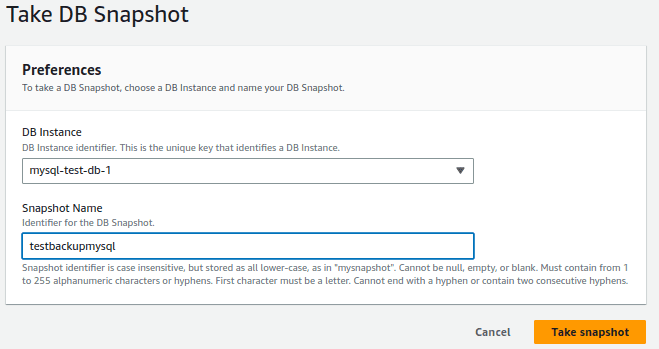

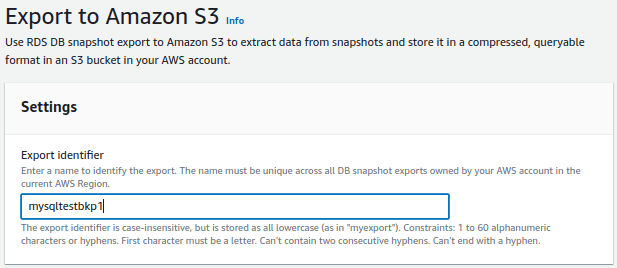
Once the snapshot is created, we will export the snapshot to Amazon S3. Select the snapshot and select the drop down “actions” and select export to Amazon S3.

Enter an export identifier
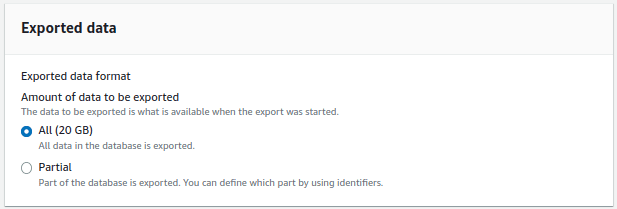
Select all the data to be exported
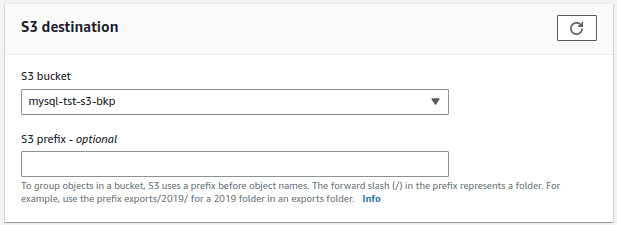
Select the S3 bucket destination
Select the role created earlier in Step 5

If Encryption is required, enter the AWS Key ARN. Here, we have a key created and using the ARN for this backup

Initiate the export now and the export will start. The time taken depends on the size of the DB.

Once completed, you can access the backup in your specified Amazon S3 bucket.
Here you can find the exported snapshot in S3 bucket mysql-test-s3-bkp bucket.
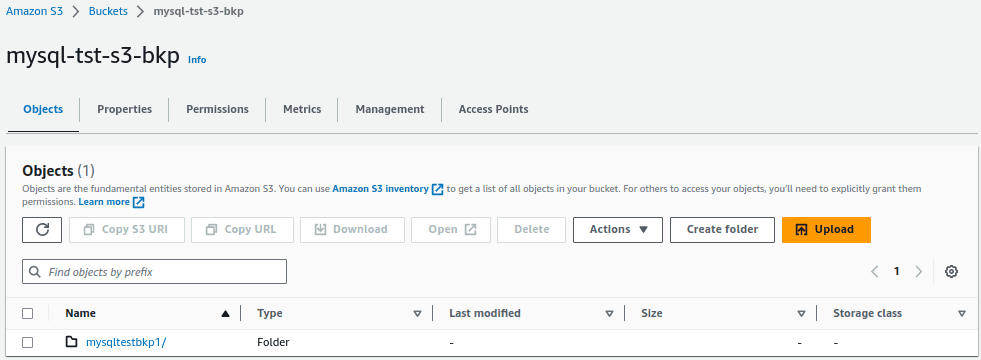
In the objects list, you can find the export backup of the DB.

Conclusion
By following the detailed steps outlined in this document, you have successfully backed up your AWS RDS MySQL database to Amazon S3. Regularly performing backups ensures the availability and security of your data, allowing you to recover from potential data loss or disasters effectively.
Read More:
AWS for Beginners: What is IAM Access Analyzer for S3: Part 41
Follow our Twitter and Facebook feeds for new releases, updates, insightful posts and more.


Leave A Comment