
Disk encryption has been around for a long while, and it has been an important way for organizations to secure data as it sits on disk. What about the cloud? These support disk encryption as well. In Microsoft Azure, you can use Azure Disk Encryption (ADE) to encrypt your disk volumes in Azure Virtual Machines. Also, the AZ-104 exam will include questions about these concepts and implementing disk encryption. Let’s take a look at how to configure Azure Disk Encryption and the steps needed.
Overview of Azure Disk Encryption
Azure Disk Encryption (ADE) uses BitLocker for Windows VMs. DM-Crypt is used for Linux VMs. Both BitLocker and DM-Crypt provide volume encryption. When you use encryption for your Azure Virtual Machines, it helps to make sure the data on disk is safe. This can help with compliance audits and protect against unauthorized access to data.
Since encryption requires encryption keys, you need to have a secure way to manage those encryption keys and secrets. ADE integrates with the Azure Key Vault to store these encryption keys and secrets.
Azure Disk Encryption Prerequisites
What is needed for ADE? Note the following requirements:
- Azure Subscription – An Azure subscription is needed, and you will want to have the permissions to create and manage resources, both for encryption and the actual virtual machines
- Key Vault – The Azure Key Vault is a secure place to store your encryption keys and is meant for this purpose. You will need to make sure the key vault is set up in the same region as your VM
- Permissions – Whatever user or service principal that performs the disk encryption must have permissions on the Key Vault and the virtual machine. This is also true for managed identities. Make sure these have access to the Key Vault
Azure Disk Encryption configuration
Now that we have a good overview of Azure Disk Encryption and its prerequisites, let’s look at the steps needed to configure it.

1. Create an Azure Key Vault
First, you need to create an Azure Key Vault, unless you already have one created. This Key Vault will store the encryption keys that will be used by ADE. On the configuration screen, fill in the information needed for configuring the vault. This will include the key vault name and region, pricing tier, days to retain deleted vaults, etc.
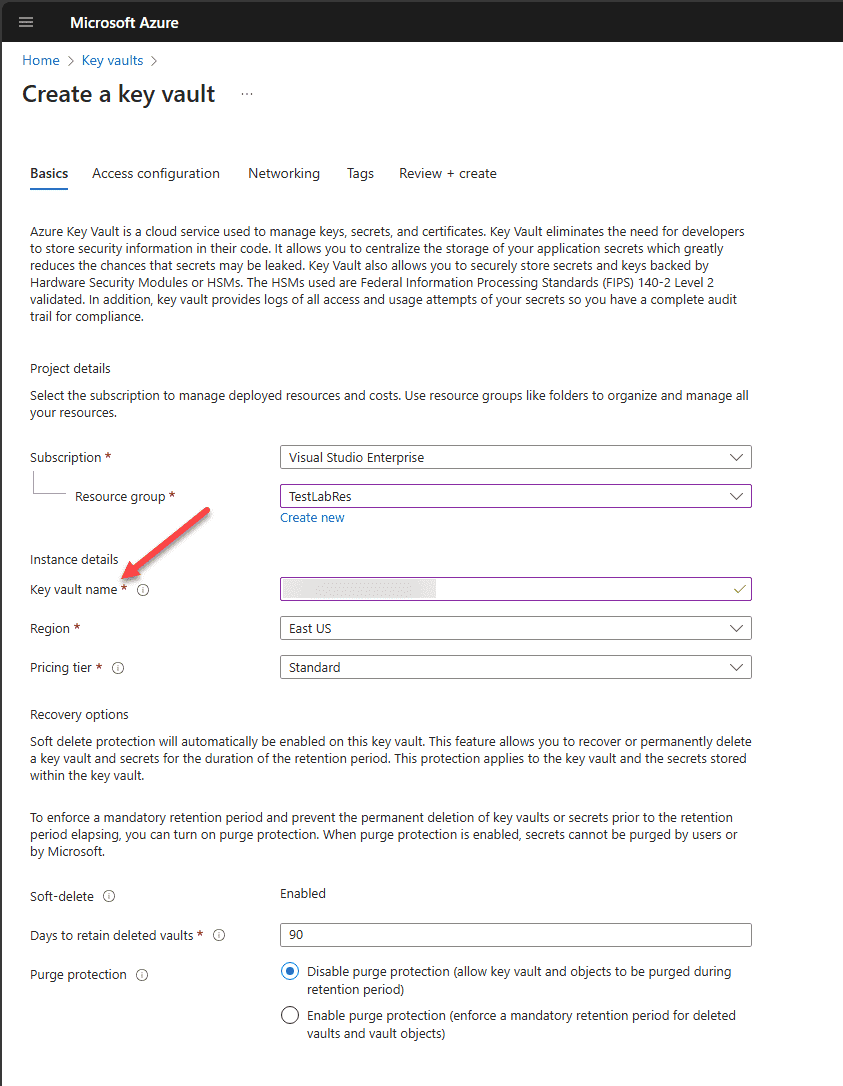
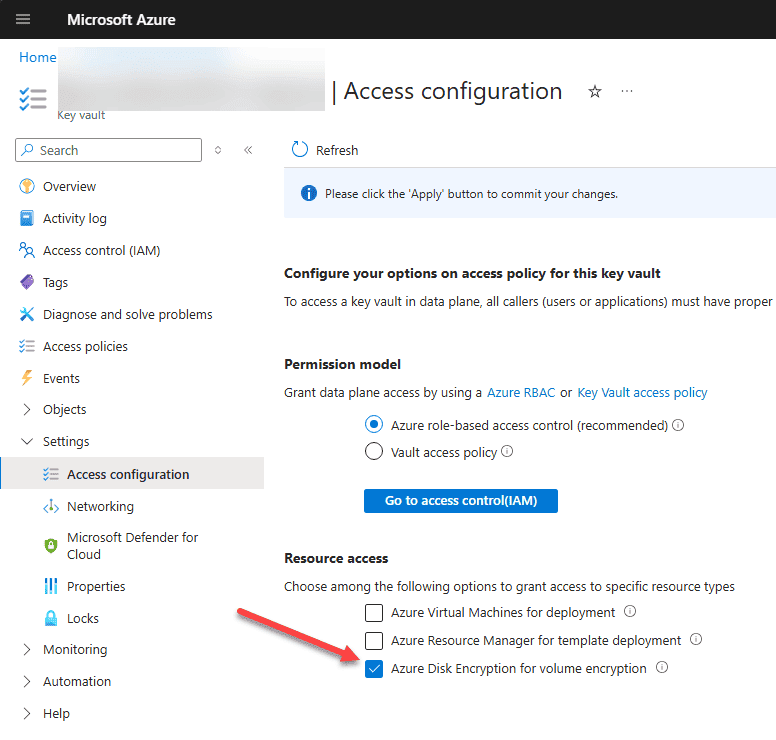
Next, you can also configure the Access configuration for the new key vault. Under the permissions model, you have the choice to use Azure role-based access control, which is the recommended configuration, or you can use the Vault access policy.
We also need to make sure we check the option Azure Disk Encryption for volume encryption under Resource access.
2. Create a Key Encryption Key (KEK)
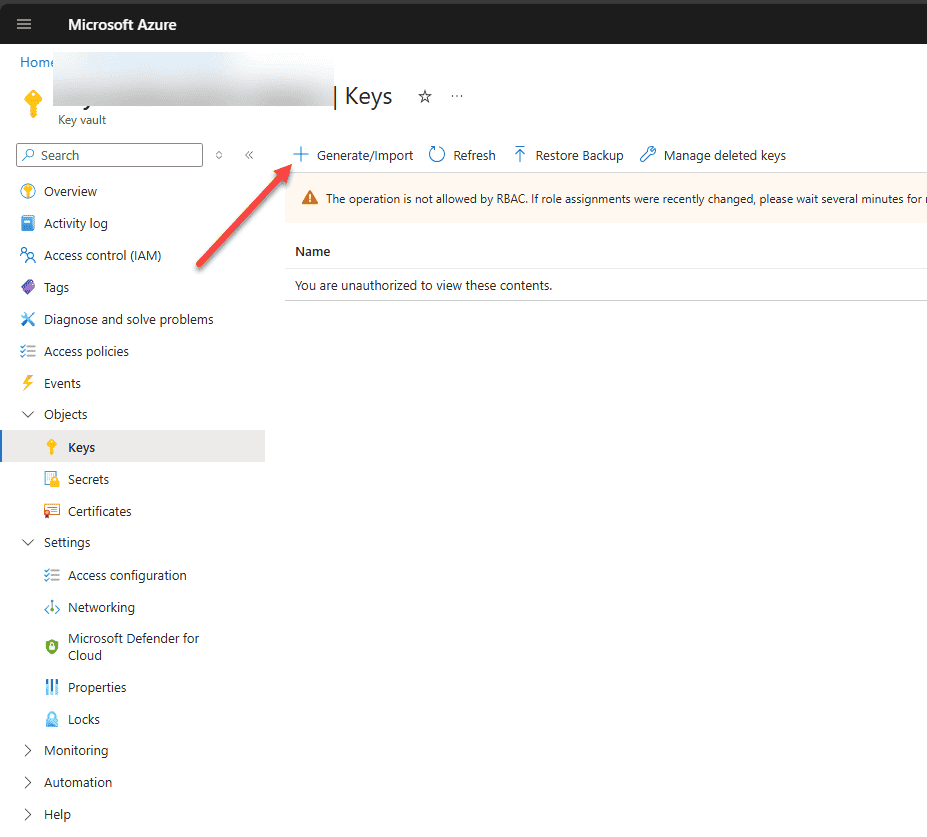
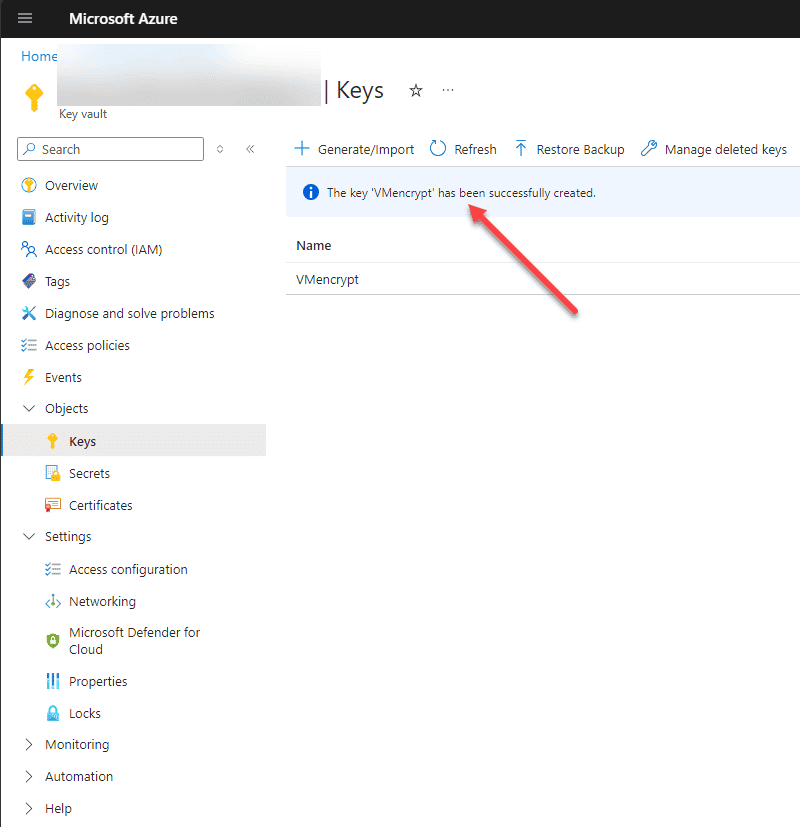
A Key Encryption Key (KEK) is one of the requirements for ADE. Let’s look at the steps to create this key encryption key (KEK). Navigate in your Azure Key Vault that you created to the Objects > Keys menu and click the + Generate/Import button.
On the Create a key page, name your KEK and choose the RSA key size. Set any of the other options that you would like to use for the key. For example, you can set a key rotation policy if you want as well as make the key immutable.
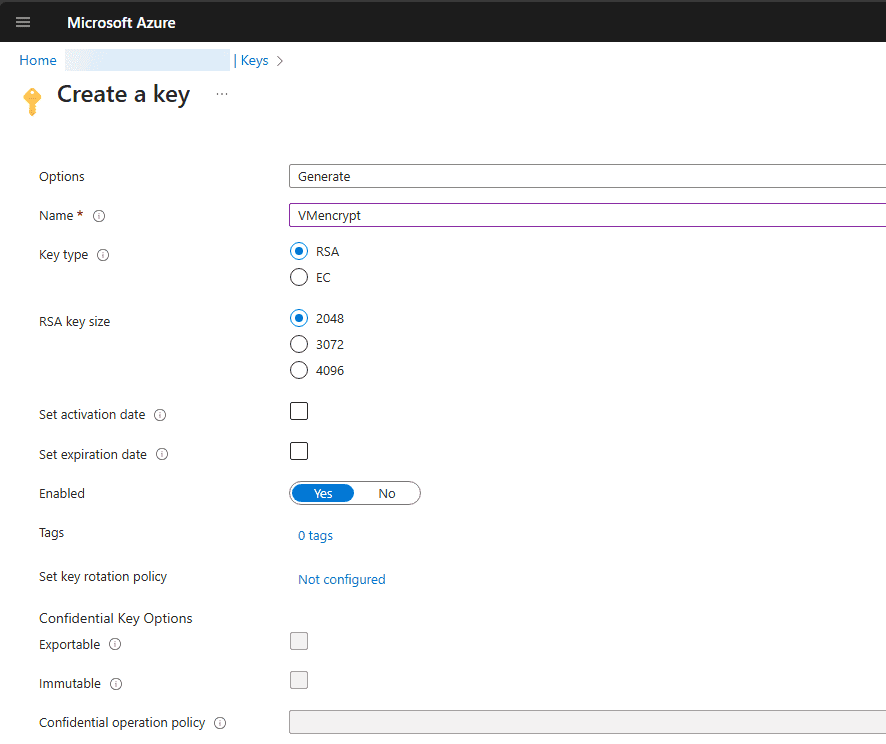
The new KEK is created successfully.
3. Enable Disk Encryption on the VM
Now that we have the vault and encryption key provisioned, let’s proceed to see how we can enable disk encryption on your VM. This can be done via the Azure portal, Azure CLI, or PowerShell. Here, we’ll use the Azure portal.
Navigate to your Virtual Machine and select Disks under the Settings menu. Next, we want to select the Additional settings.
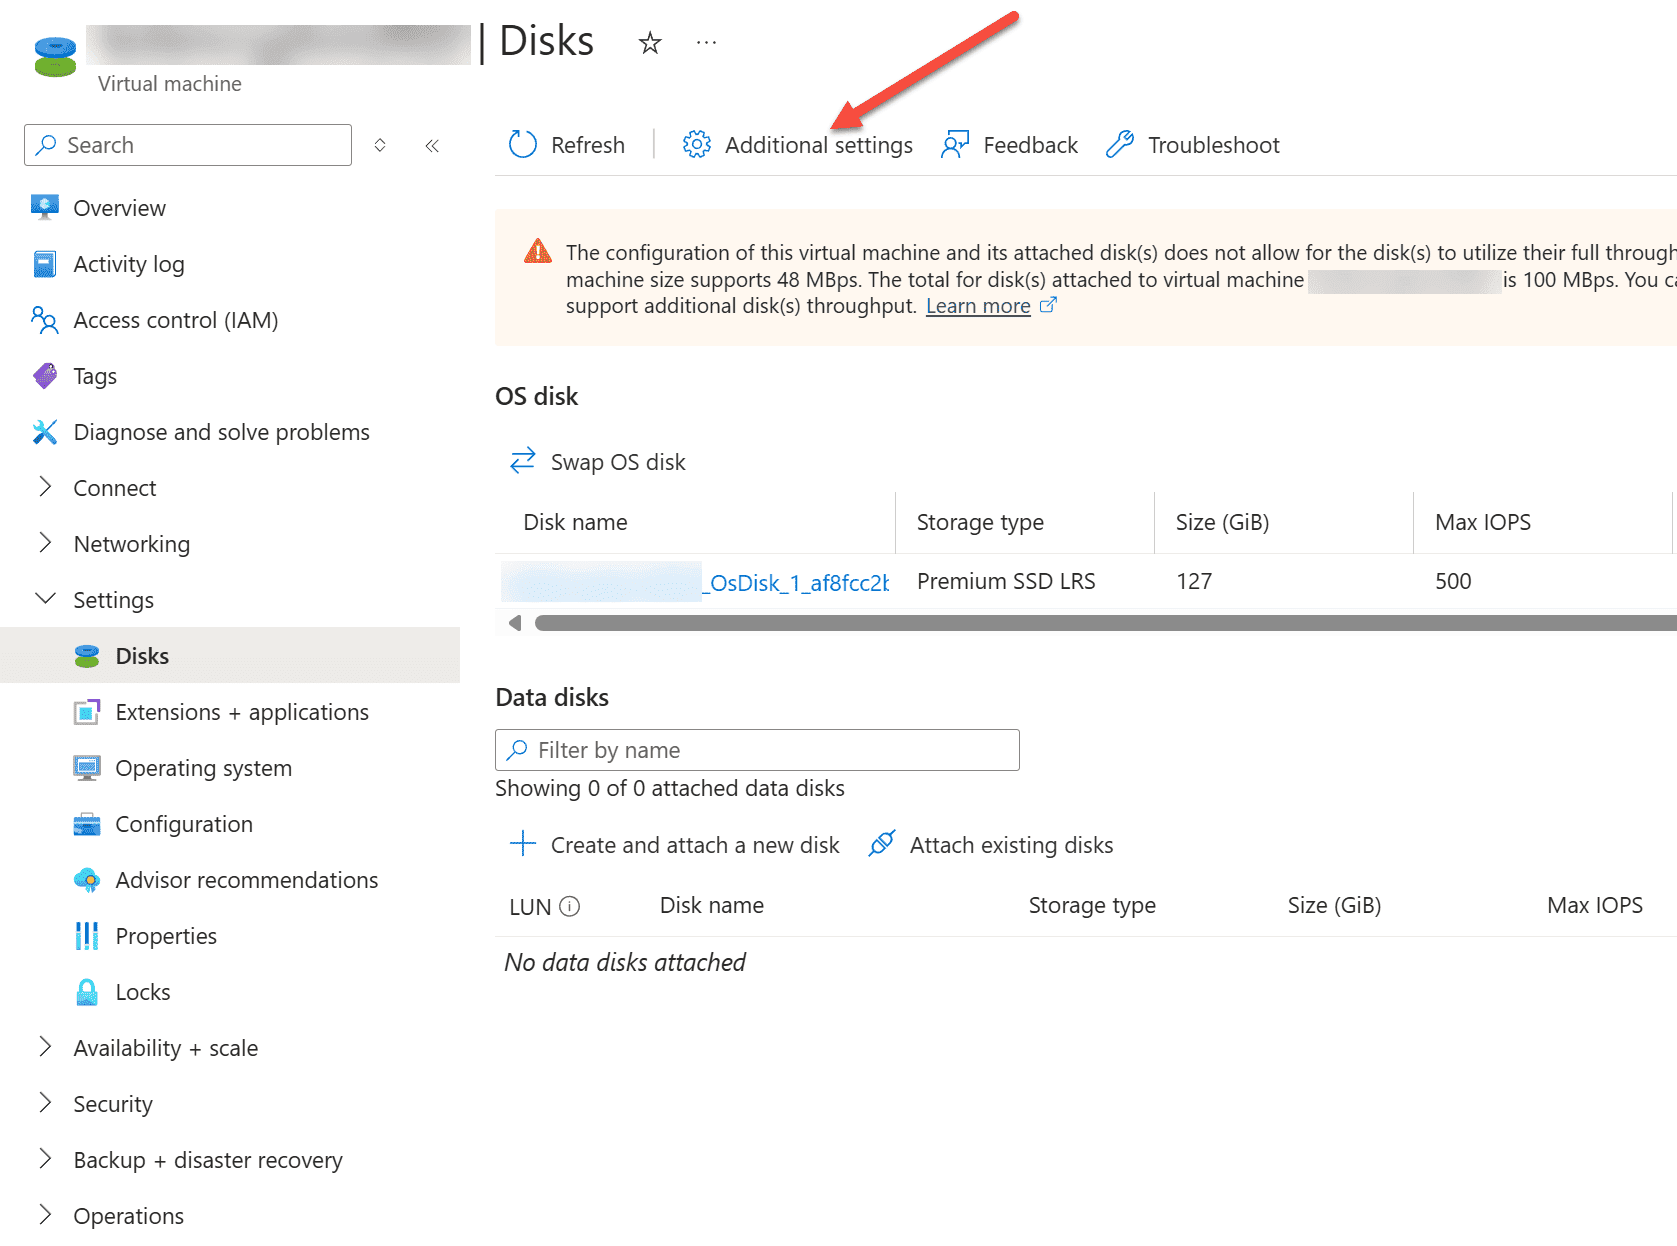
Under the Disk settings, we want to take a look at the Encryption Settings. Here, you will select the key vault and the key you created for use with the encryption process. After you select your vault and key, save the disk settings.

4. Monitor the Encryption Status
You will need to monitor the encryption status as it could take some time to encrypt the disks, depending on the size and other factors. You can monitor the progress of the disk encryption process by checking your VM and disks under settings.
- Go to your VM and select Disks under Settings
- Check the Encryption status column for each disk. The status will change from Not encrypted to Encryption in progress and finally to Encrypted
5. Verifying Disk Encryption
Once the encryption process is complete, it’s essential to verify that your disks are indeed encrypted.
- Open your VM’s Disks settings
- Confirm that the Encryption status for each disk shows Encrypted
- Optionally, you can also verify encryption via Azure CLI or PowerShell. To do that, use the following
az vm show or Get-AzVMDiskEncryptionStatus
commands
Best Practices for Azure Disk Encryption
There are several best practices to note for Azure Disk Encryption. Note the following points to consider:
- Regular Key Rotation – Rotate your encryption keys to bolster the security of your encryption implementation. Azure Key Vault also has key rotation policies you can configure to automate the process of key rotation
- Backup your Key Vault – You will want to make sure your Key Vault is backed up to avoid data loss. This will help to protect against accidental deletion or corruption
- Review Audit Logs – Enable Azure Key Vault logging to monitor access and changes to your encryption keys. These actions will help maintain compliance and identify any security issues
- Update Policies – You will want to review and update access policies to make sure only authorized users and applications have access to your Key Vault and encryption keys
Troubleshooting Common Issues
- Insufficient Permissions – Ensure the user or managed identity that performs the encryption operation has the required permissions on the Key Vault and the VM. Be sure to understand role-based access control and permissions granted to your key vault and keys
- Key Vault Location – Make sure your key vault is located in the same region as the VM. If not, create a new Key Vault in the correct region
- Encryption Failure – If the encryption process fails, check the Azure Activity Log for detailed error messages and resolve any issues related to permissions or configurations
Wrapping up
Configuring disk encryption is a great way to secure the data located on a disk that is “at rest.” Organizations housing data in cloud virtual machines in Azure can take advantage of the Azure Disk Encryption (ADE) available to secure this data. Also, be aware of the concepts around ADE for the purposes of the AZ-104 exam. Understand the requirements and how to configure ADE for encrypting your Azure virtual machine disks.
Read More:
Follow our Twitter and Facebook feeds for new releases, updates, insightful posts and more.

Leave A Comment