
In this post, we will look into the step-by-step instructions for importing and exporting the SSL Certificate through the Microsoft Management Console (MMC).
The Microsoft Management Console (MMC) with the Certificates snap-in is used to view and manage SSL server certificates, Intermediates certificates, and Trusted Root CA certificates.
Prerequisites:
- Make sure that the MMC and Certificate snap-in are available on the Windows Server computer
Installing Microsoft MMC Certificates Snap-in
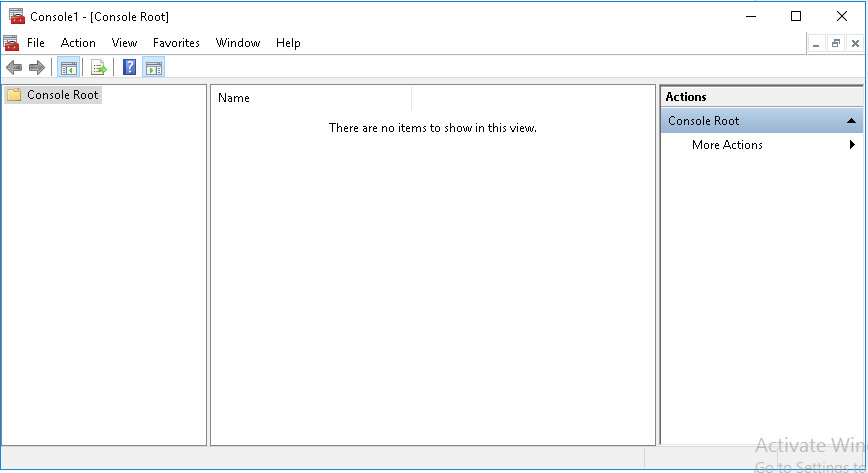
Step 1: Open Run and type MMC and click enter which will open the Microsoft Management Console.
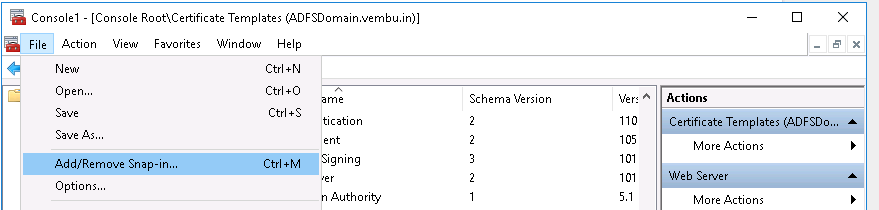
Step 2: Navigate to the file menu and click Add/Remove snap-in

Step 3: Select Certificates from the Available Standalone Snap-ins dialog box and click Add.
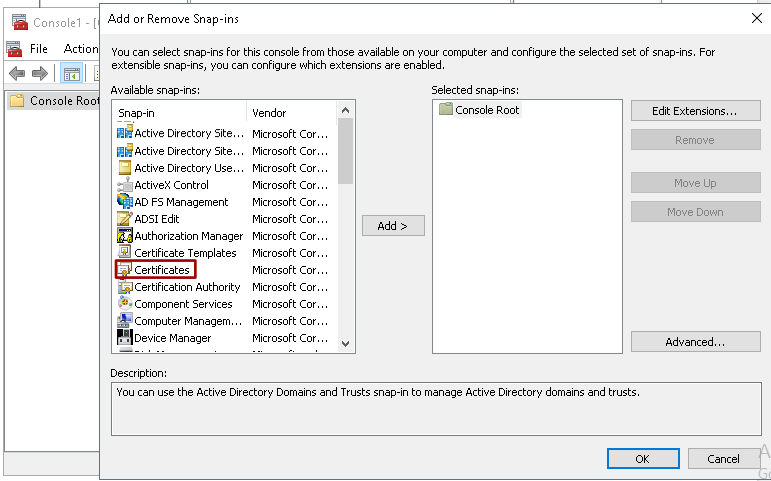
Step 4: In the Certificates snap-in window, select Computer account, click Next, select Local computer, and click Finish.
Step 5: In the Add or Remove snap-in window, click OK
The MMC Certificates Snap-in has been installed successfully.
Steps to Export SSL Certificate
Step 1: Open Run and type MMC and click enter which will open the Microsoft Management Console
Step 2: Navigate to the file menu and click Add/Remove snap-in
Step 3: Double Click Certificates, Select Computer Account and Select Local Computer > Finish. Then, click OK to exit the Snap-In window.
Step 4: Click [+] next to Certificates > Personal > Certificates. Locate and select the certificate for the correct domain. Right-click and select All Tasks > Export. Click Next
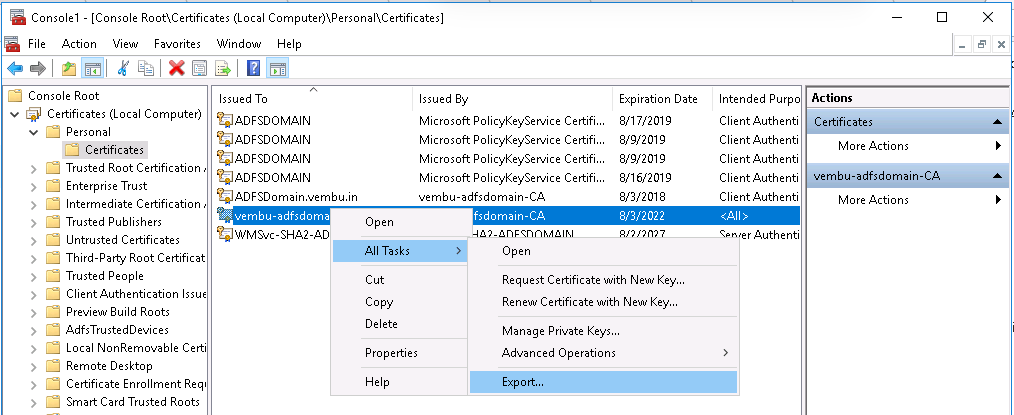
Step 5: Select Yes, export the private key.
Step 6: Choose Personal Information Exchange – PKCS#12 (.PFX) for the certificate file format. Check the boxes for the following and click Next.
- Include all certificates in the certificate path if possible
- Export all extended properties
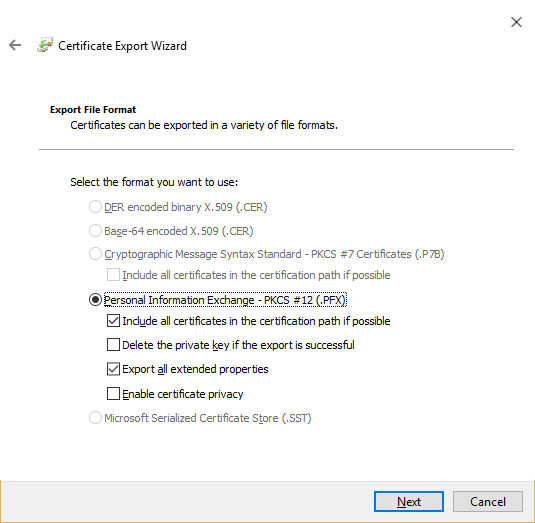
Step 7: Enter a password for your private key. Press Next.
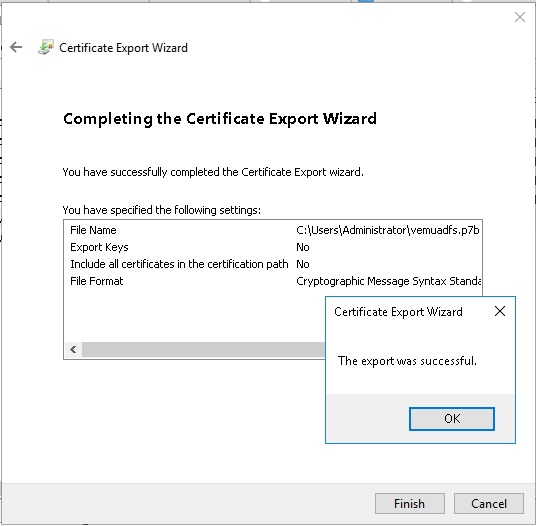
Step 8: Click browse and save your .pfx. Then, click Next > Finish > OK.
Steps to Import SSL Certificate:
Step 1: Open Run and type MMC and click enter which will open the Microsoft Management Console
Step 2: Navigate to the file menu and click Add/Remove snap-in.
Step 3: Double Click Certificates, Select Computer Account and Select Local Computer > Finish. Then, click OK to exit the Snap-In window.
Step 4: Click [+] next to Certificates > Personal > Certificates. Right-click on Certificates and select All Tasks > Import. Click Next.
Step 5: Click Browse. Select the .cer, .crt, or .pfx you would like to import. Click Open.
Step 6: Select Automatically select the certificate store based on the type of certificate. Click Finish & OK. The certificate is now visible in Internet Information Services (IIS) Manager.
Follow our Twitter and Facebook feeds for new releases, updates, insightful posts and more.

Leave A Comment