
We have taken a look at getting KVM installed in Ubuntu Server and the steps for that process. Installing the components for KVM is straightforward and easy. At the end of the day, it allows having a virtualization environment that is free and open-source without license fees, etc. However, managing KVM from the command line with virsh does not scale very well. Let’s look at KVM GUI management with Cockpit and see how this can be used to manage your KVM virtualization environment.
What is Cockpit?
First of all, what is Cockpit, and what role does it play in managing a KVM virtualization environment? One of the good and bad aspects of managing a Linux environment is that you can/have to use the command line for everything.
Now, this is great when it comes to many different aspects of management. However, being able to manage many different virtual machines or KVM hosts from the command line would be tedious and error-prone, and overall, it would not be a great admin experience.
There are many times when a GUI is desirable, and this is one of them. Cockpit is a free solution that installs a lightweight web management frontend on your Linux Server. You can think of it as a Windows Admin Center of sorts for managing your Linux server. Like Windows Admin Center in concept, you can also add additional hosts to manage from a single Cockpit installation.
While Cockpit was not purpose-built as a virtualization management tool, it has a module for managing virtual machines that is actually very helpful and has many features.

Cockpit Limitations
While Cockpit is a great GUI-based utility for Linux management, it does have limitations when it comes to managing your KVM virtual machines. Note the following:
- Advanced configuration limitations – There may be some configurations you won’t be able to alter using the Cockpit utility. Keep in mind, it is not a specialized tool for managing virtualization environments. Virtual machines is just an add-on module as we will see below. So, expect there will be a few things you can’t do in Cockpit that you can probably do in a more specialized tool like virt-manager
- Security complexities – Cockpit exposes your server to needing a web port open. Keep this in mind when thinking about security, and be sure to restrict access to the Cockpit web port to only those machines that need to access the management interface. You can also consider having a secure jump box that is used to access instead of opening the port carte blanche
- You still need the command line – As mentioned, there are configurations and settings for which you may still need to use the virsh command line as you won’t be able to do absolutely everything from the Cockpit interface
Installing Cockpit
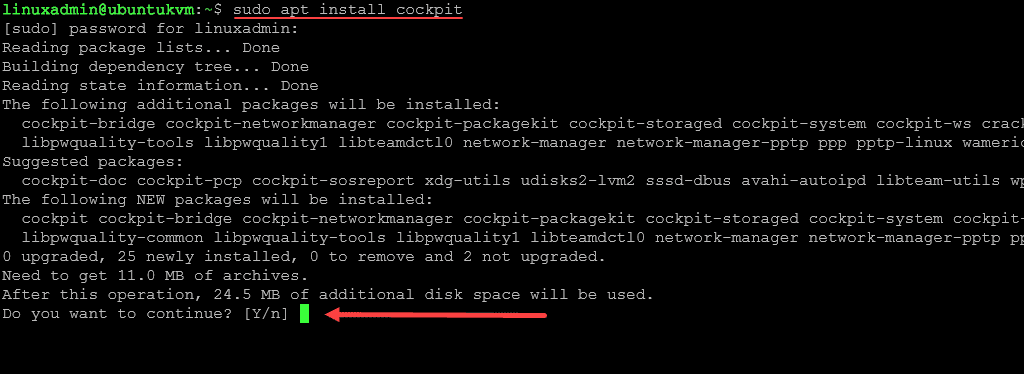
The installation process for Cockpit is straightforward. Let’s look at the steps involved. To install Cockpit in Ubuntu Server, run the following command:
sudo apt install cockpit
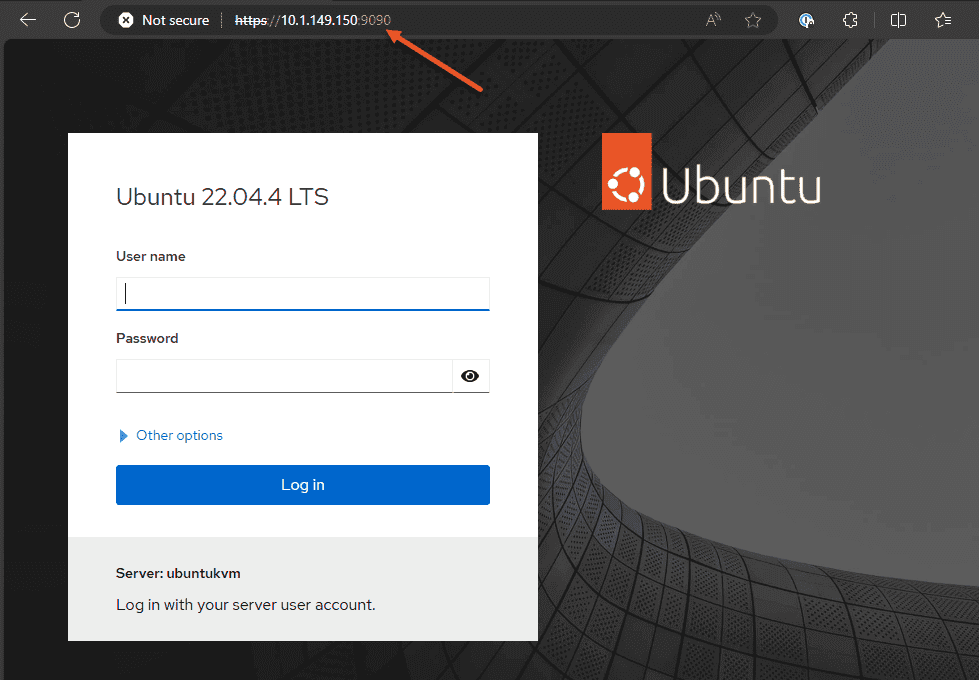
Now that we have installed Cockpit in Ubuntu Server, we can browse to the server’s Cockpit web address on port 9090. Below, you will see the Cockpit login screen where you can enter your normal Linux user accounts for access.
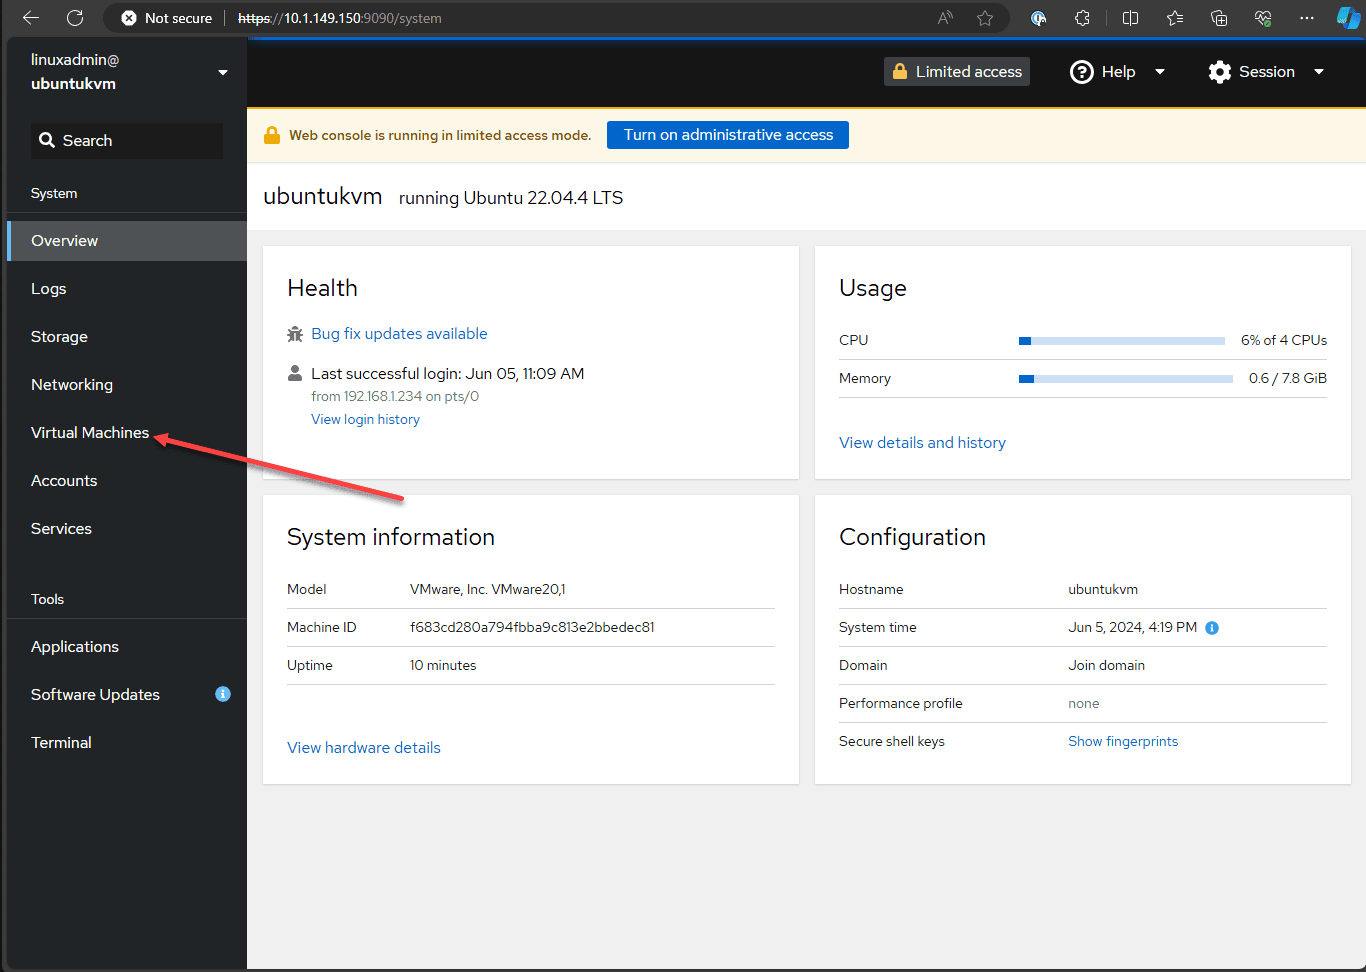
By default, when you log in, even using a sudo user, Cockpit will be in “limited access mode”. If you have the privileges to do so, you can click the Turn on administrative access to get full access to manage the system.
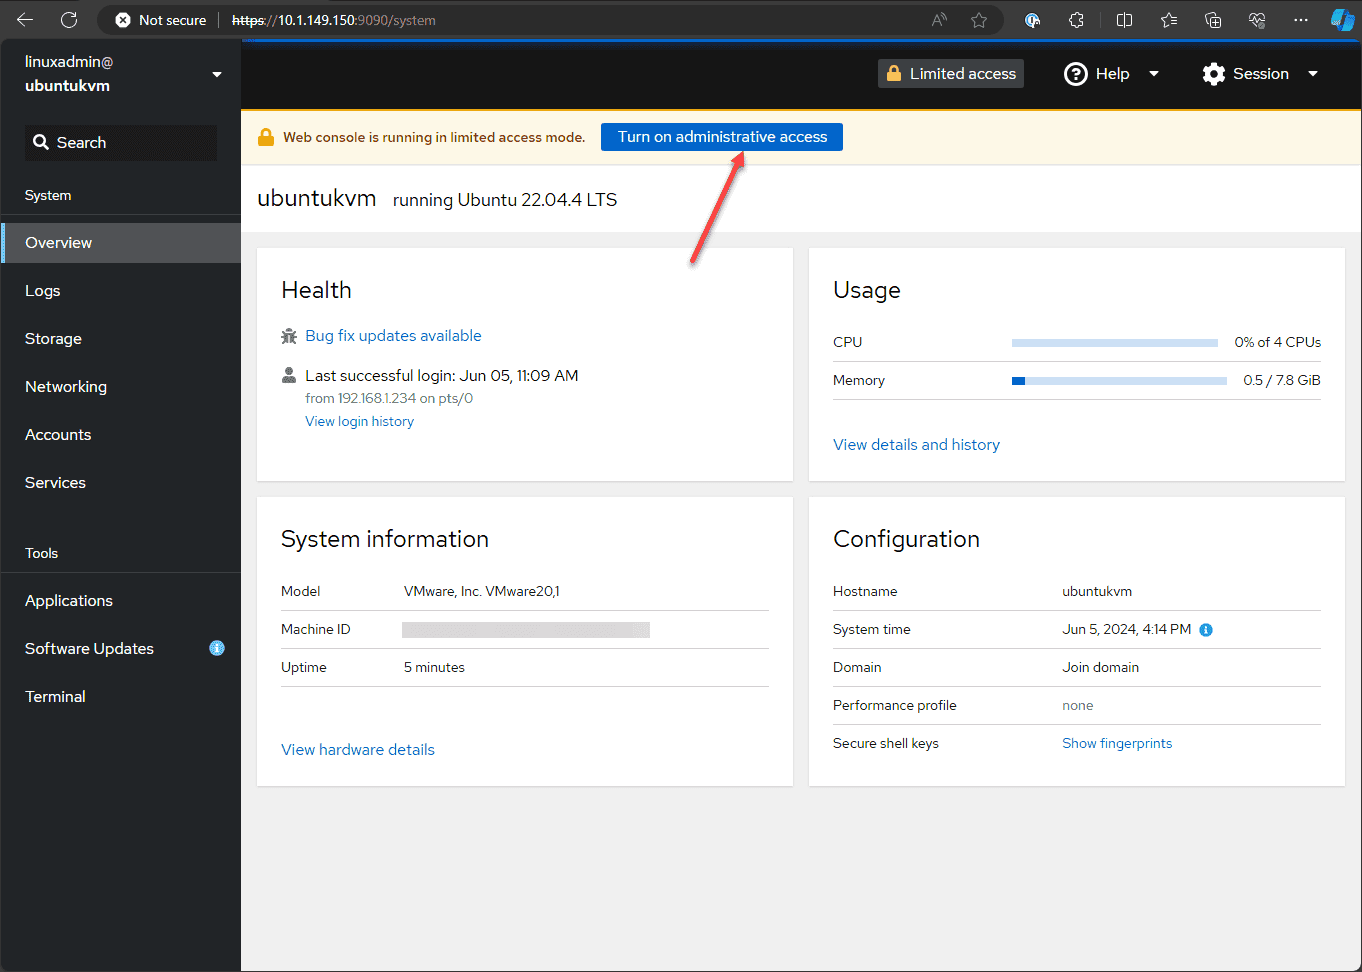
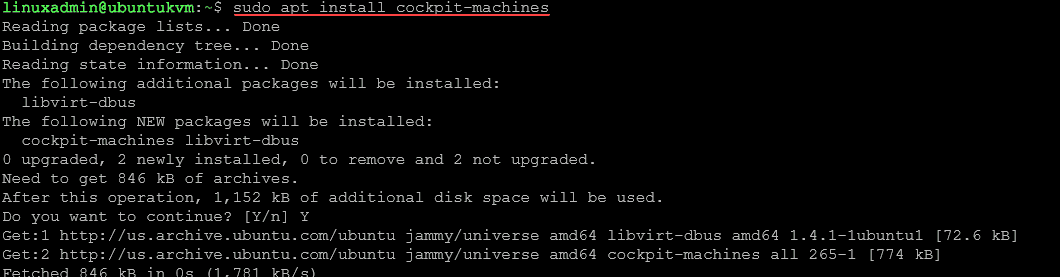
As you notice below, there is no Virtual Machines option menu, which we need to see to manage our KVM virtualization environment. Let’s install the virtualization module for Cockpit. To install it, run the following command from your Cockpit host:
sudo apt install cockpit-machines
Now, if we refresh the Cockpit web GUI, we will see the Virtual Machines option menu appear.
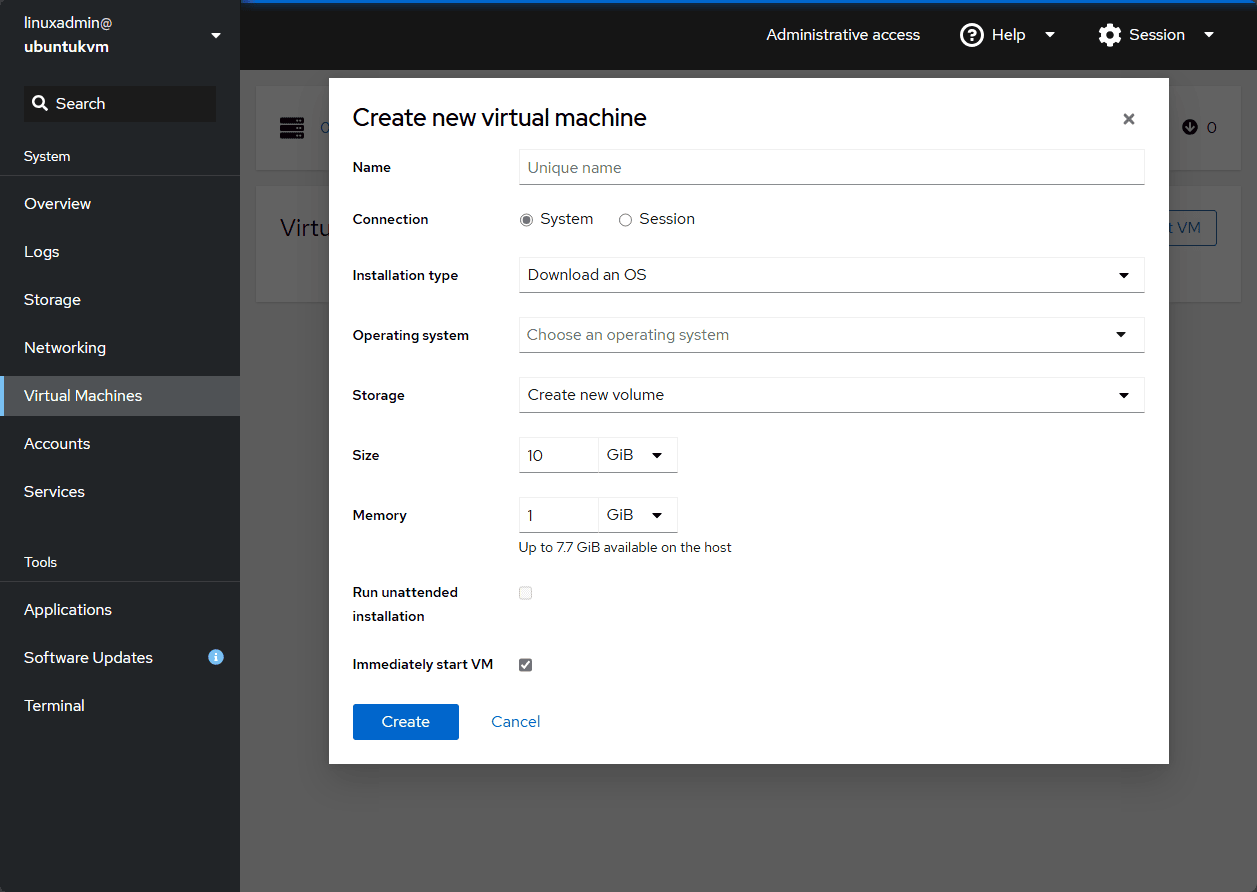
As we can see below, when you click on the Virtual Machines menu, we have the ability to Create VM or Import VM. From here, we can create a new virtual machine if we want:
Troubleshooting
There are a few things you may run into when installing Cockpit in Ubuntu Server or managing your KVM environment. Note the following:
- Can’t access the Cockpit port 9090 after installation: Make sure you don’t have a firewall rule between your client and the Cockpit server filtering traffic destined for that port
- There is no virtual machines menu in Cockpit: If this is the case, make sure you have the virtual machines module installed as detailed above. The default installation of Cockpit will not install the Virtual Machines module, even if you have KVM installed on the Cockpit host
- There are permissions-related issues with virtual machines management: Make sure you have turned on administrative access and that you are using credentials that are part of the sudo users group
Wrapping up
When working with virtual machines in a KVM Linux environment, the virsh command line utility is a great way to get started managing the environment. However, this type of management doesn’t scale very well when you have multiple virtual machines or managing multiple KVM hosts. By installing Cockpit on your KVM host, you will be able to manage your virtual machines and even add additional KVM hosts to the environment for management. Many prefer the point-and-click approach to managing virtual machines to ensure there are no unexpected or unintended management actions.
Read More:
KVM for Beginners – Install KVM in Ubuntu Server and Create a Virtual Machine – Part 6
Follow our Twitter and Facebook feeds for new releases, updates, insightful posts and more.

Leave A Comment