MS Exchange 2016 is the latest version of Email server from Microsoft. If you are using Exchange 2013, there are few new features introduced in Exchange 2016. RTM version of Exchange 2016 has been released in October 2015. It should be noted the installation of Exchange 2016 is similar to the installation of Exchange 2013.
The major difference between Exchange 2016 and Exchange 2013 is, Exchange 2016 now has just two roles, Mailbox and Edge Transport server roles as opposed to Exchange 2013 which had Mailbox, Client Access and Edge Transport server roles. In this post, I will run through steps to install Exchange 2016 in Windows Server 2012 R2. You can also check the latest updates and service packs to install the latest Version of Exchange 2016.
Exchange 2016 Prerequisites:
* Active Directory Domain Service.
(Go to Server Manager and enable the Active Directory Domain Service and Configure the AD)
Do the following to install the required Windows roles and features:
- Open Windows PowerShell
- Run the following command to install the required Windows components
( Install-WindowsFeature AS-HTTP-Activation, Server-Media-Foundation, NET-Framework-45-Features, RPC-over-HTTP-proxy, RSAT-Clustering, RSAT-Clustering-CmdInterface, RSAT-Clustering-Mgmt, RSAT-Clustering-PowerShell, Web-Mgmt-Console, WAS-Process-Model, Web-Asp-Net45, Web-Basic-Auth, Web-Client-Auth, Web-Digest-Auth, Web-Dir-Browsing, Web-Dyn-Compression, Web-Http-Errors, Web-Http-Logging, Web-Http-Redirect, Web-Http-Tracing, Web-ISAPI-Ext, Web-ISAPI-Filter, Web-Lgcy-Mgmt-Console, Web-Metabase, Web-Mgmt-Console, Web-Mgmt-Service, Web-Net-Ext45, Web-Request-Monitor, Web-Server, Web-Stat-Compression, Web-Static-Content, Web-Windows-Auth, Web-WMI, Windows-Identity-Foundation, RSAT-ADDS )
After you’ve installed the operating system roles and features, install the following software in the order shown:
Download .NET Framework 4.5.2
Download Microsoft Unified Communications Managed API 4.0, Core Runtime 64-bit
Start the Installation on Exchange 2016
You will be asked to install the Updates
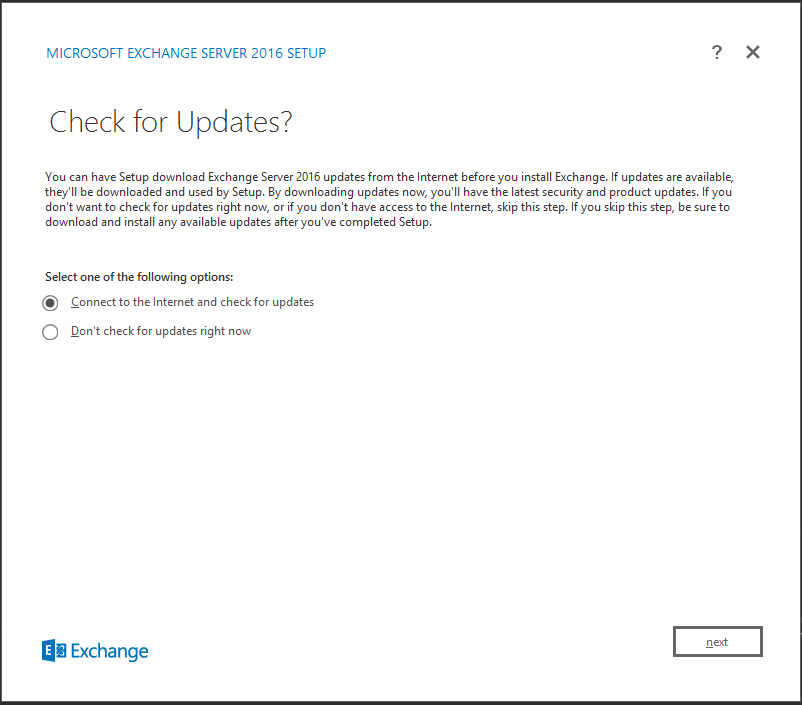
Choose Connect to the Internet and check for updates Option and Click Next.
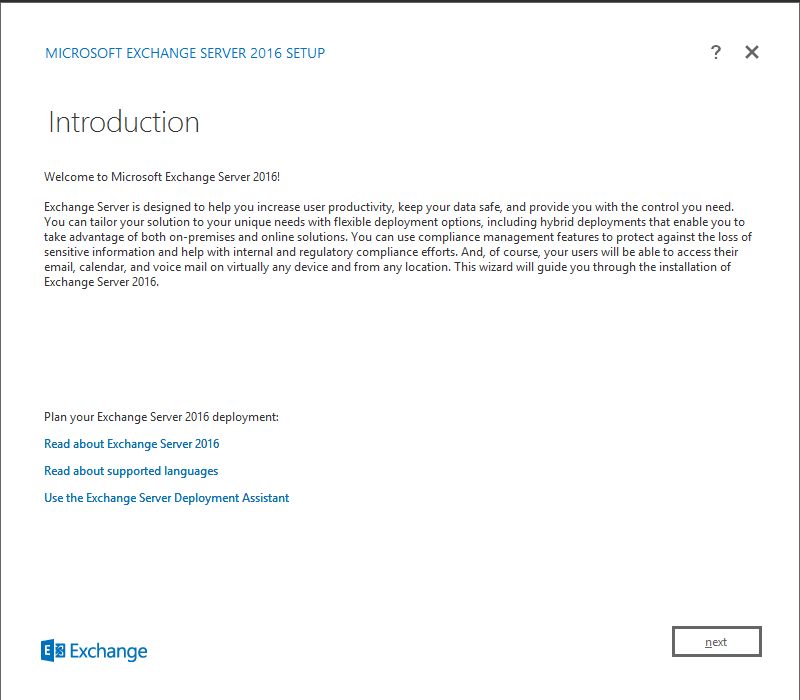
Setup will present you with introduction page and Click Next
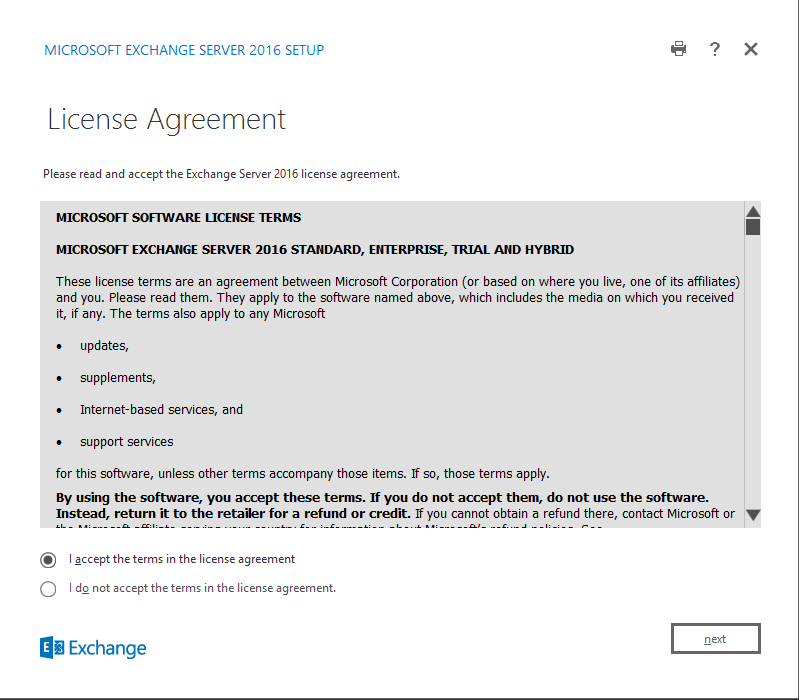
Choose I accept the terms in the license agreement Option and Click Next.
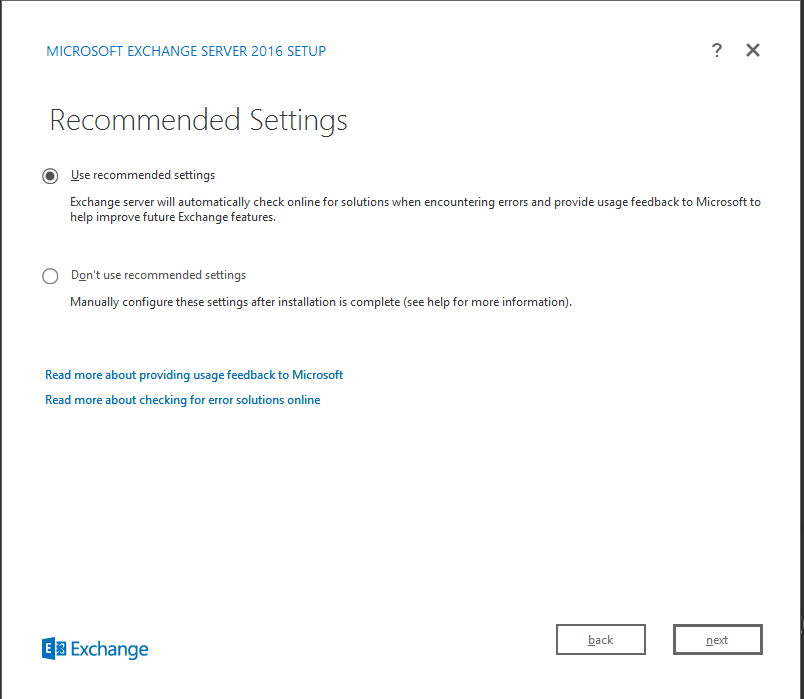
Choose to use recommended Settings and Click Next.
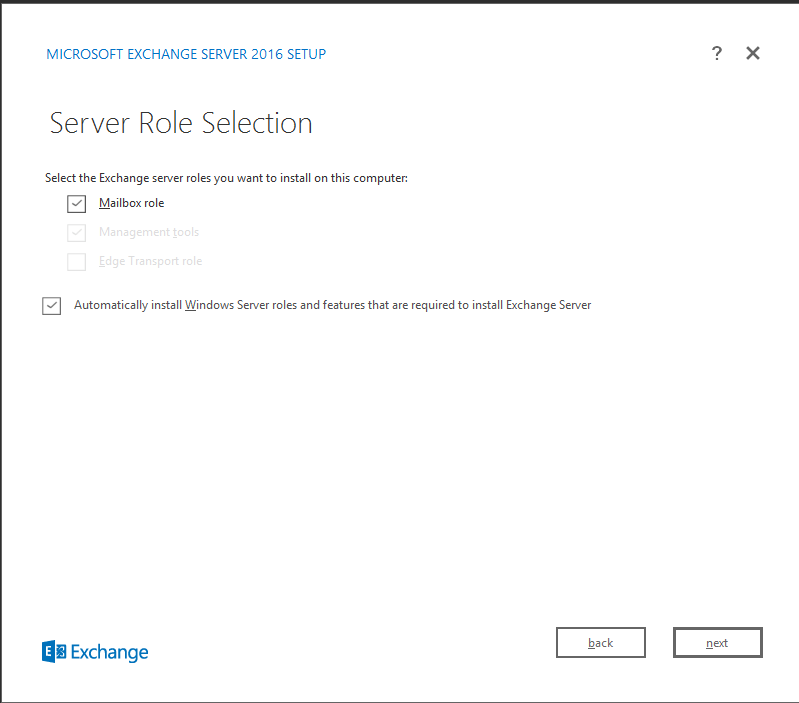
Click the Mailbox role and Click Next.
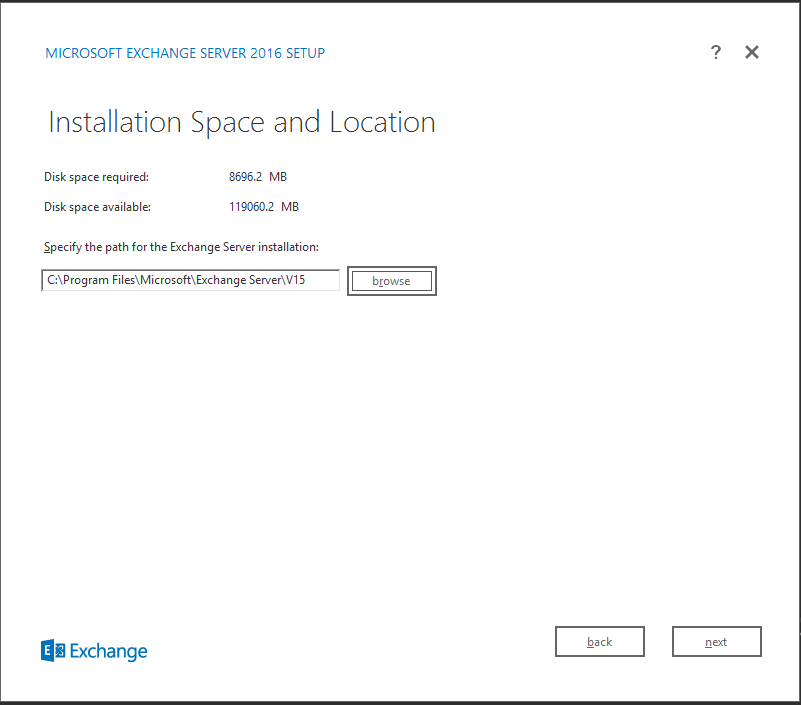
Browse the Installation location and Click Next.
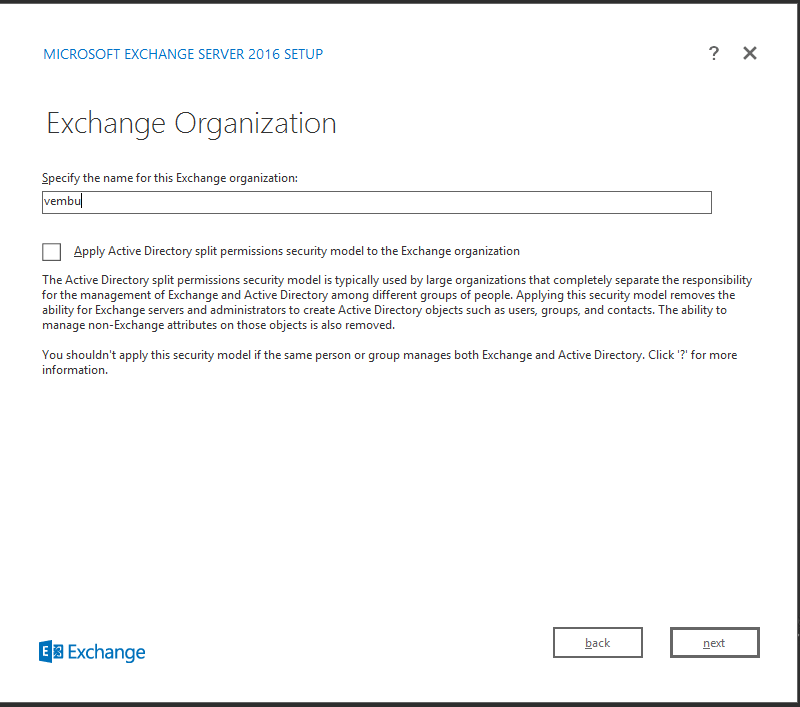
Type the name of Exchange Organization and Click Next.
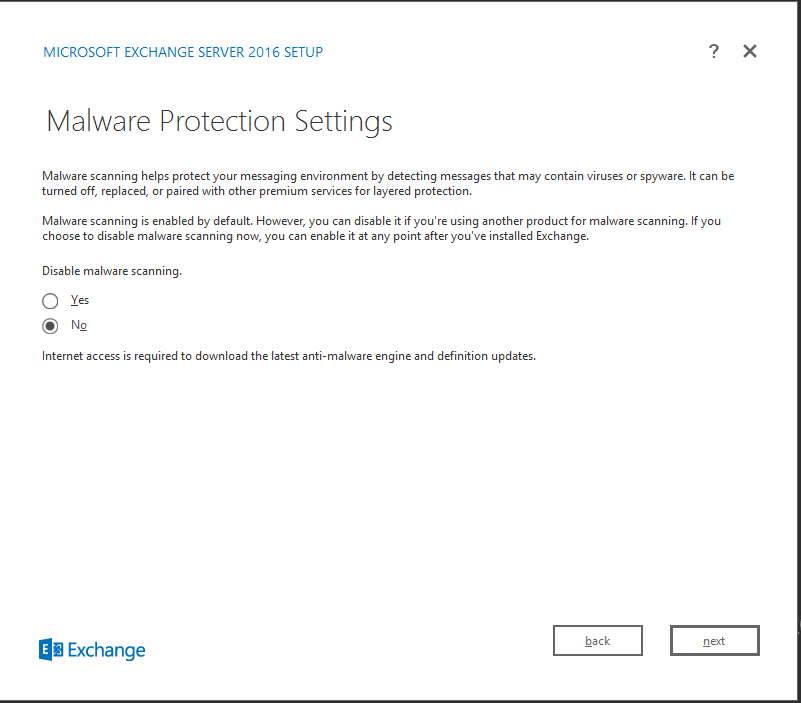
Choose No and Click Next.
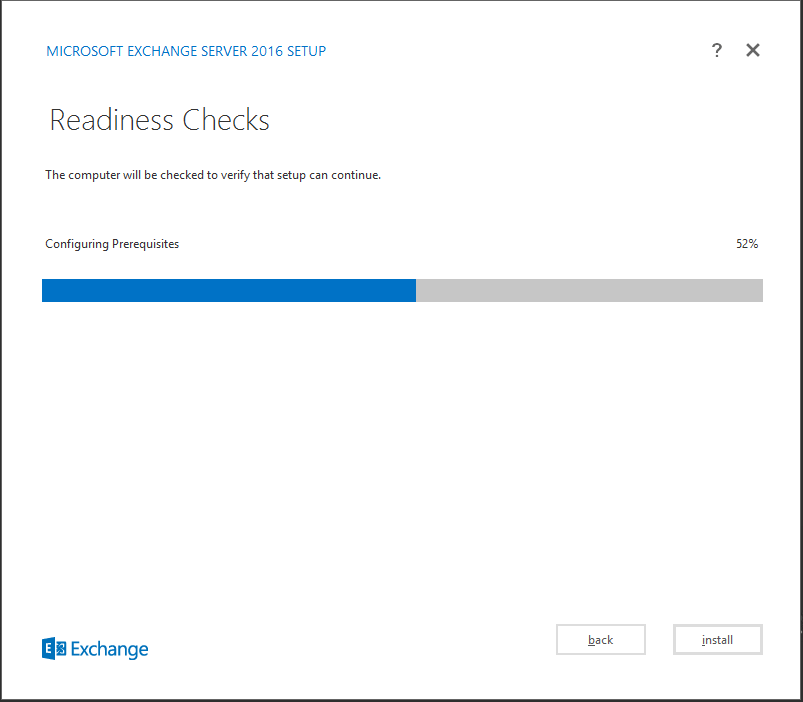
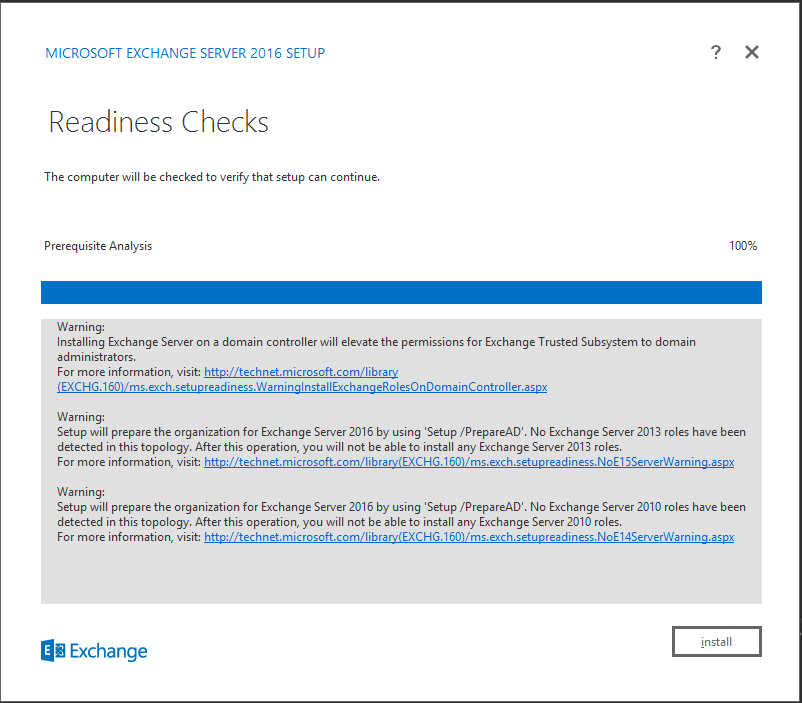
The installation will go through the readiness check as shown above. Make sure you don’t get any errors. Above warning simply states that the setup will now prepare installation using Setup /PrepareAD command and Click Install button to start the Exchange 2016 installation.
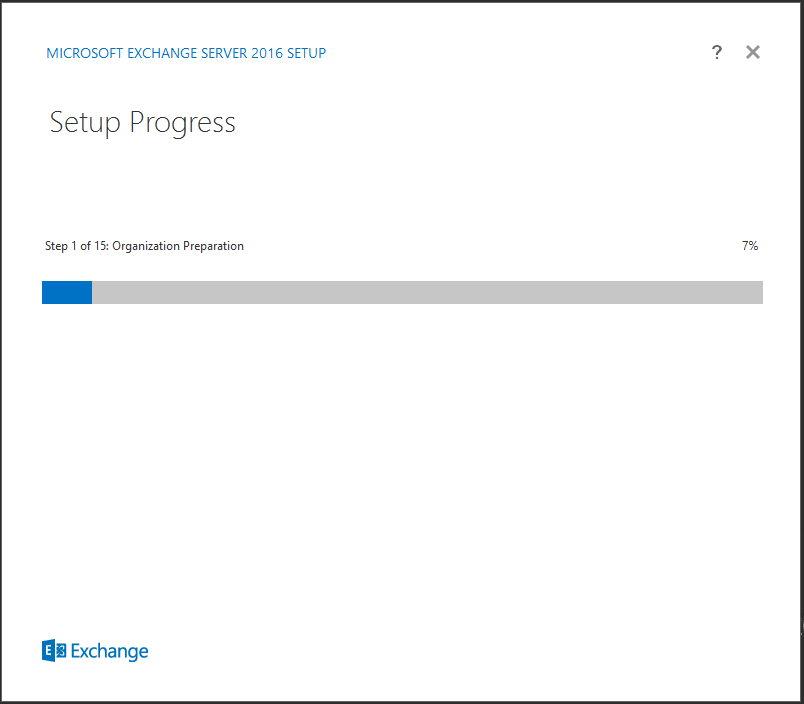
The installation will now begin. The setup will install all the required components.
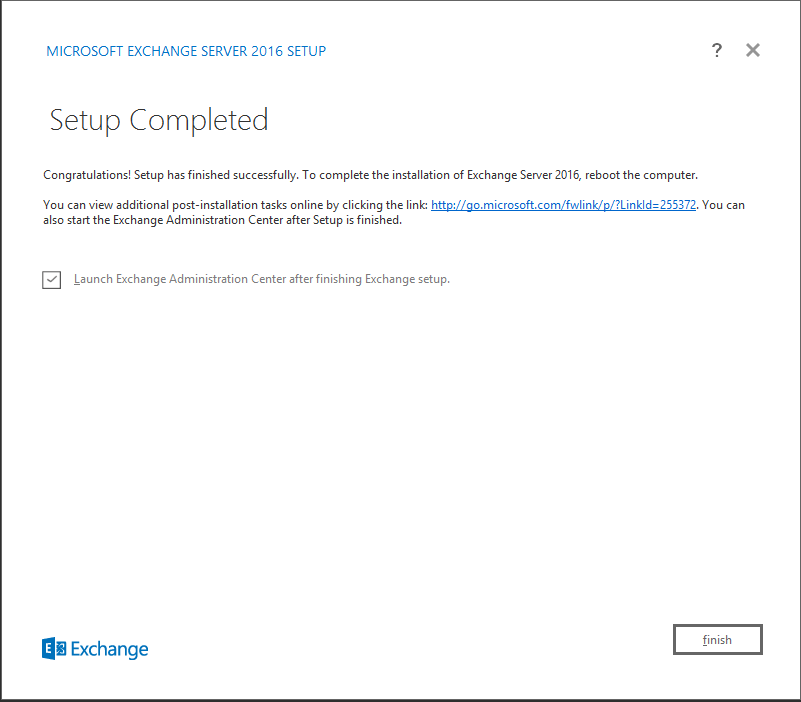
The setup is now completed.and Click the box to Launch Exchange Administration Center after Finish to close the Installation Wizard.
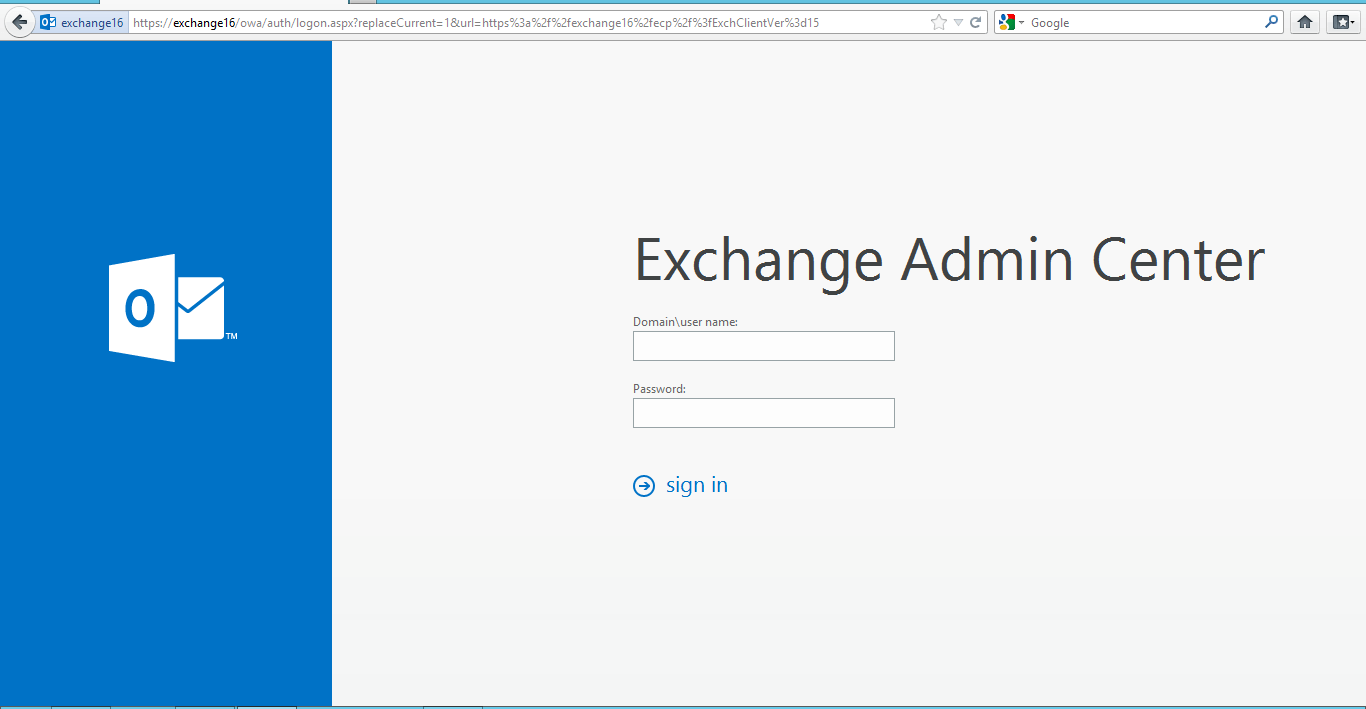
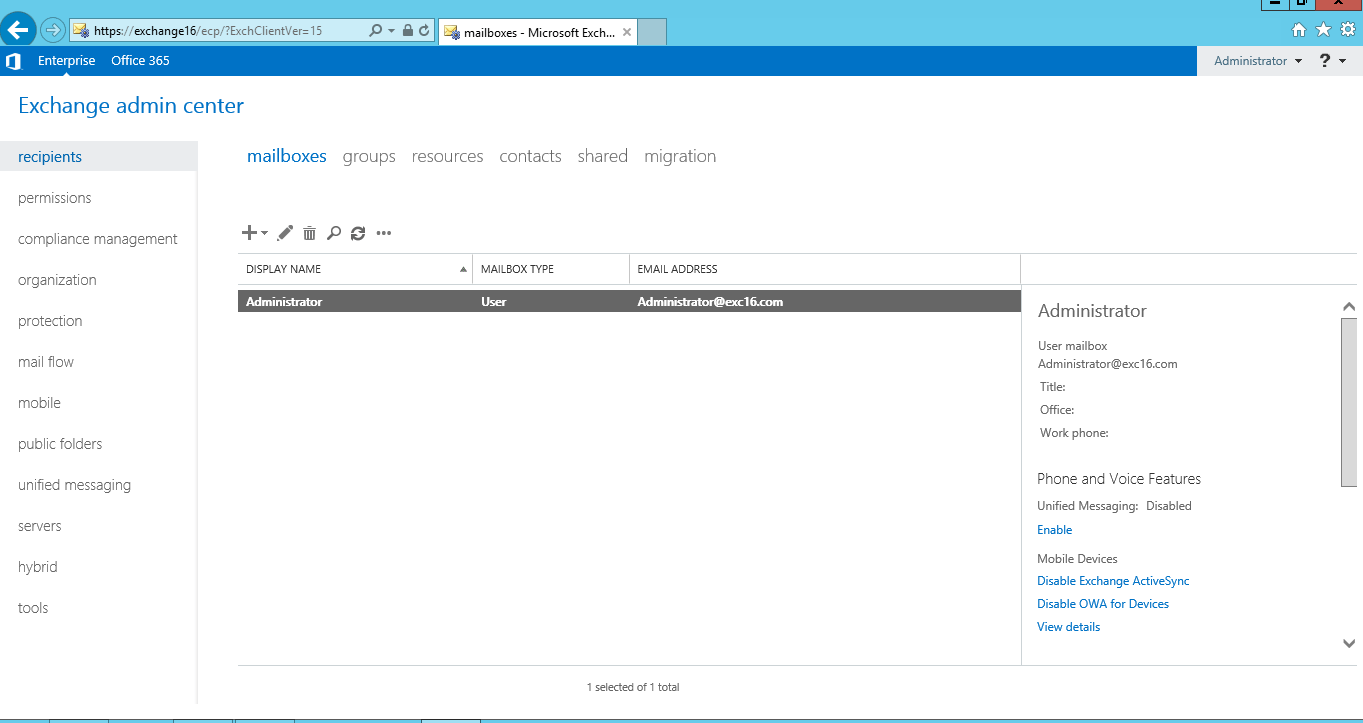
Now open the Browser You can now Login to Exchange Admin Center using the URL – https://exchange16/owa/auth/logon.aspx?replaceCurrent=1&url=https%3a%2f%2fexchange16%2fecp%2f%3fExchClientVer%3d15
Conclusion:
This blog describes how to install Exchange 2016 on Windows 2012 R2 with all server roles on the server. Exchange 2016 comes with Malware detection engine by default which will help to protect the messaging environment by scanning incomes messages. Upgrading to Exchange 2016 will help IT administrators to manage their messaging ecosystem effectively.
Follow our Twitter and Facebook feeds for new releases, updates, insightful posts and more.


Leave A Comment