With vSphere 6.5 now with a few patches under its belt, many VMware administrators are looking at migrating their vCSA version 6 appliances up to version 6.5. The new vSphere 6.5 vCSA appliance holds many benefits over the vCSA version 6 appliance – new Photon OS platform, native HA, built-in update manager, etc. VMware has done a great job re-engineering vCSA 6.5 to be a much more stable, mature, and powerful product that represents the way forward for VMware vSphere vCenter Server. Up until 6.5, the Windows vSphere Server was really the preferred platform for vSphere vCenter Server. Now with vCenter 6.5, vCSA appliance has no handicaps when compared to the Windows version. VMware has certainly put the writing on the wall that the vCSA appliance and not the Windows vCenter Server is the path forward. With that being said, if we are running on the vCSA 6 appliance, how to we migrate from vCSA 6 up to the vCSA 6.5 appliance?
Process to migrate to vCSA 6.5 appliance
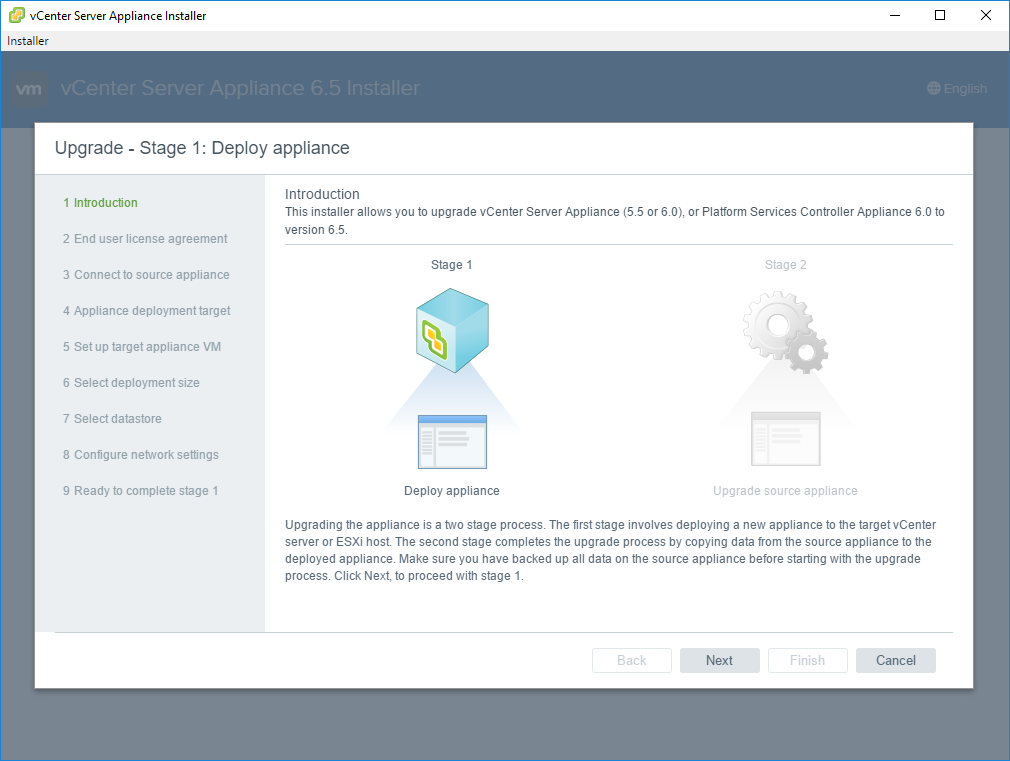
The new upgrade process from vCSA 6 to vCSA 6.5 is handled in a slick fashion. In the process, a newly created vCSA 6.5 appliance is provisioned, the existing data is copied from the vCSA 6 appliance and restored to the new vCSA 6.5 appliance, and finally, the vCSA 6 appliance is powered off and the original identity is assumed by the new vCSA 6.5 appliance. The upgrade process is separated into a two-stage process:
STAGE 1 – A new appliance is deployed to the target vCenter or ESXi host.
STAGE 2 – The upgrade process copies data from the source appliance to the deployed appliance.
For the purposes of the lab shown below, we will be upgrading a vCSA 6 appliance with an embedded Platform Services Controller.
STAGE 1
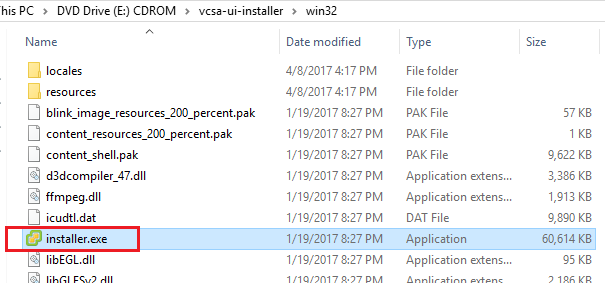
The first thing we need to do is download and mount the vCSA 6.5 ISO image. Once mounted, navigate to the vcsa-ui-installer >> win32 folder and launched the installer.exe.
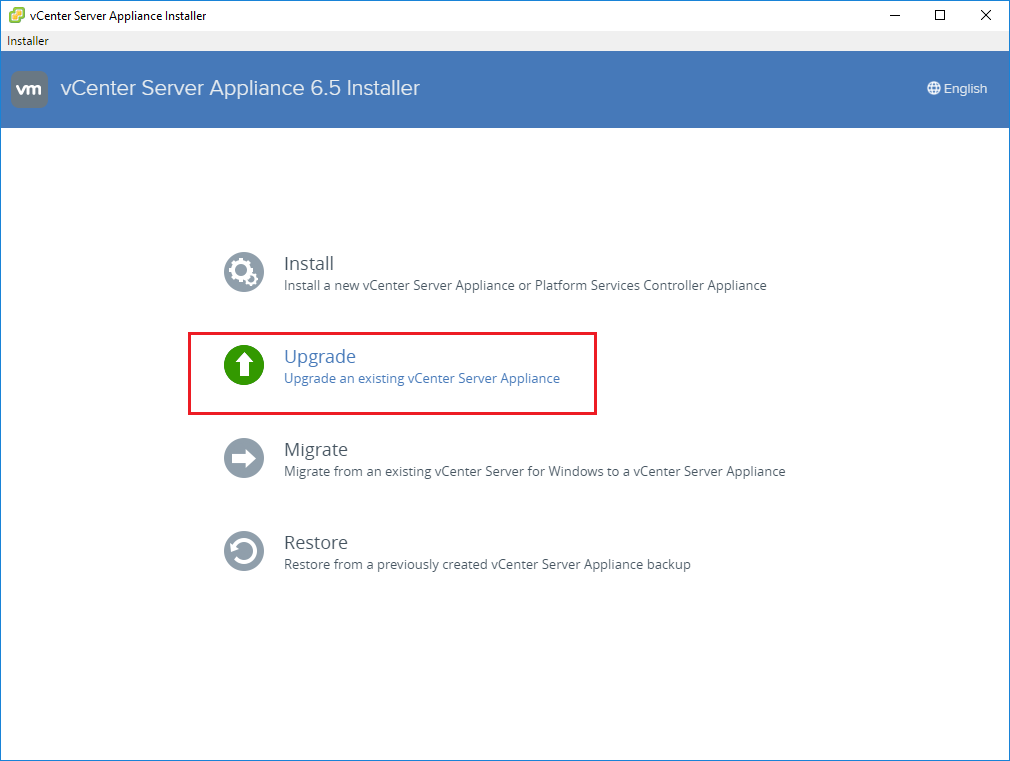
We are then presented with the vCenter Server Appliance 6.5 Installer with the options for Install, Upgrade, Migrate, and Restore. Here we are going to click the Upgrade option which is used to “upgrade an existing vCenter Server Appliance”.
The vCenter Server Appliance Installer launches.
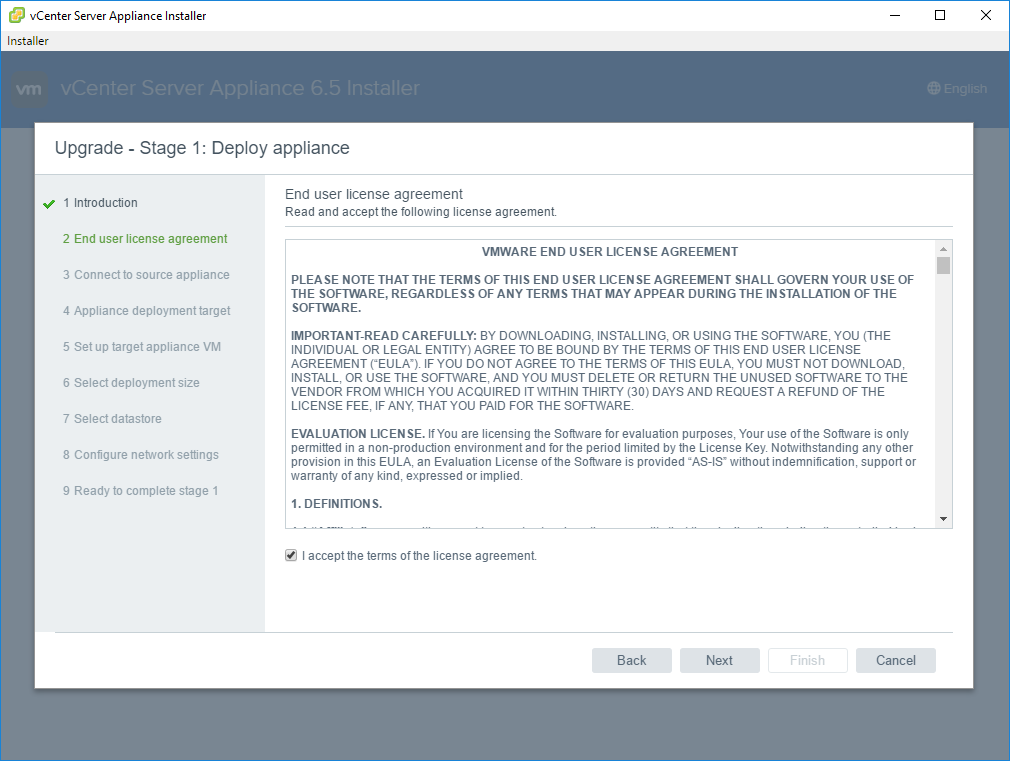
Accept the license agreement.
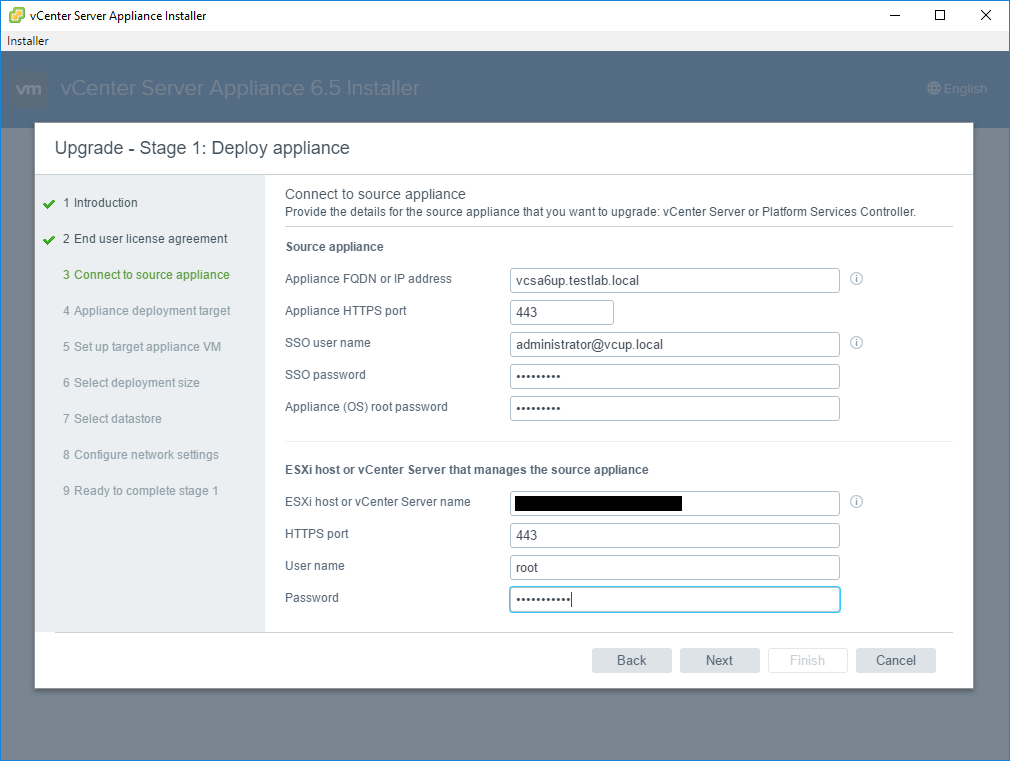
The first bit of configuration has us point to our source appliance. Here we are pointing to an existing vCSA 6 appliance along with the credentials. Also, we enter the ESXi host or vCenter that is managing the existing appliance and credentials to connect.
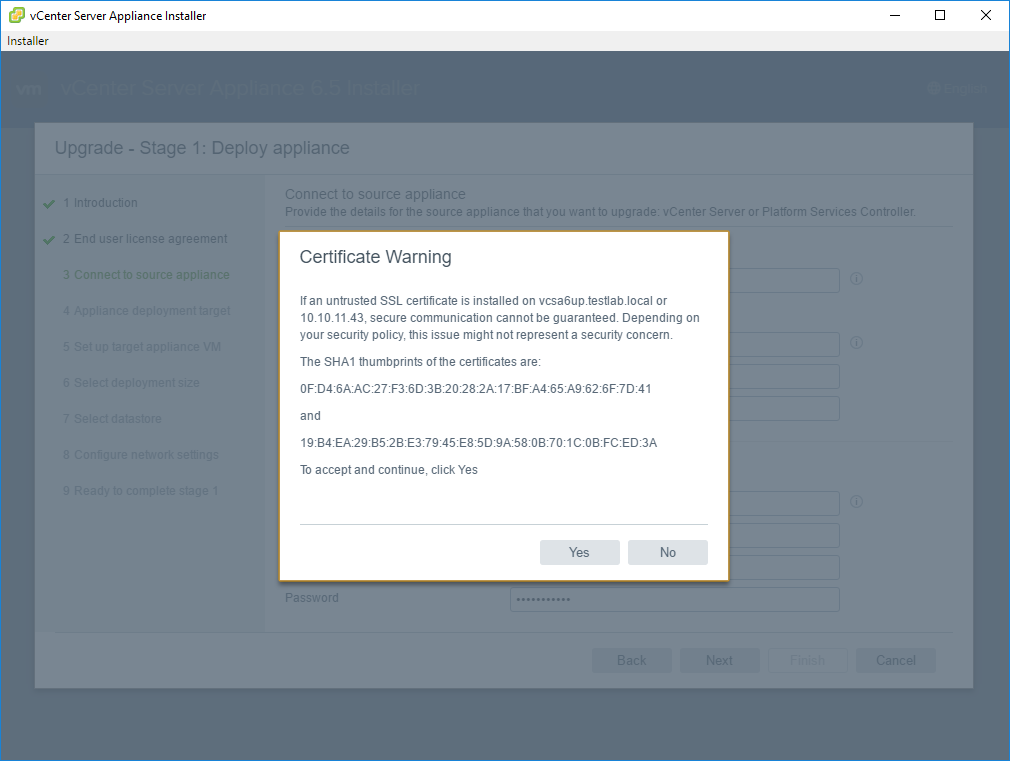
Most likely, you will see a certificate warning for the source vCSA appliance presented. Click Yes.
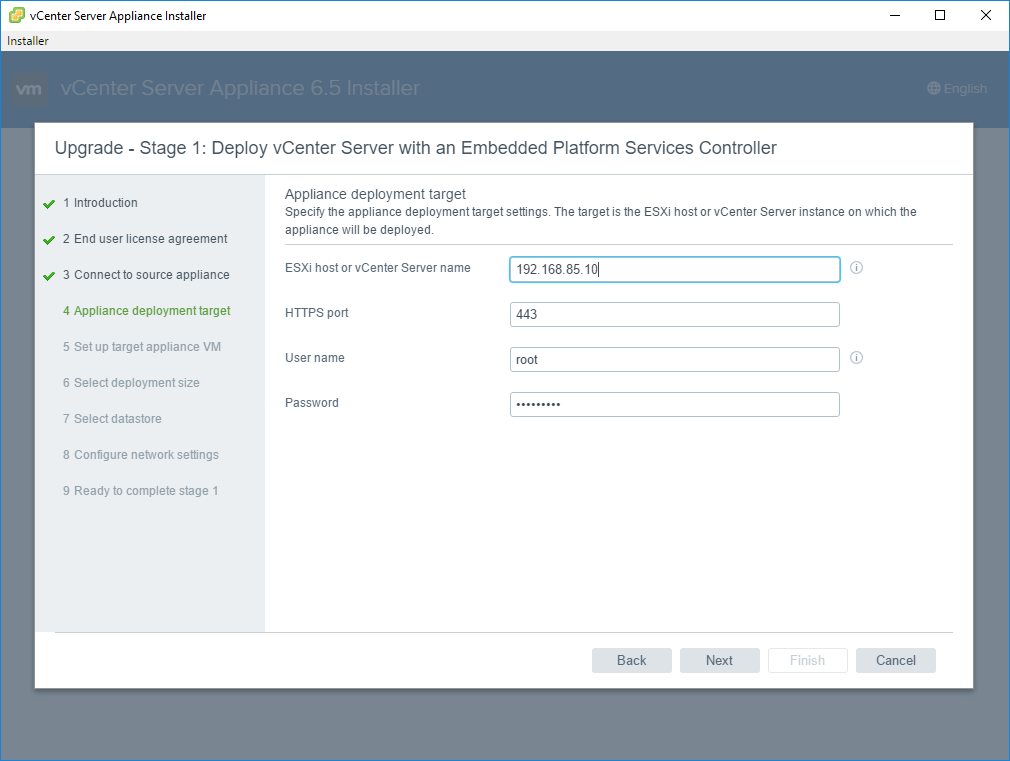
Next, we configure the deployment target and login credentials for our new vCSA 6.5 appliance.
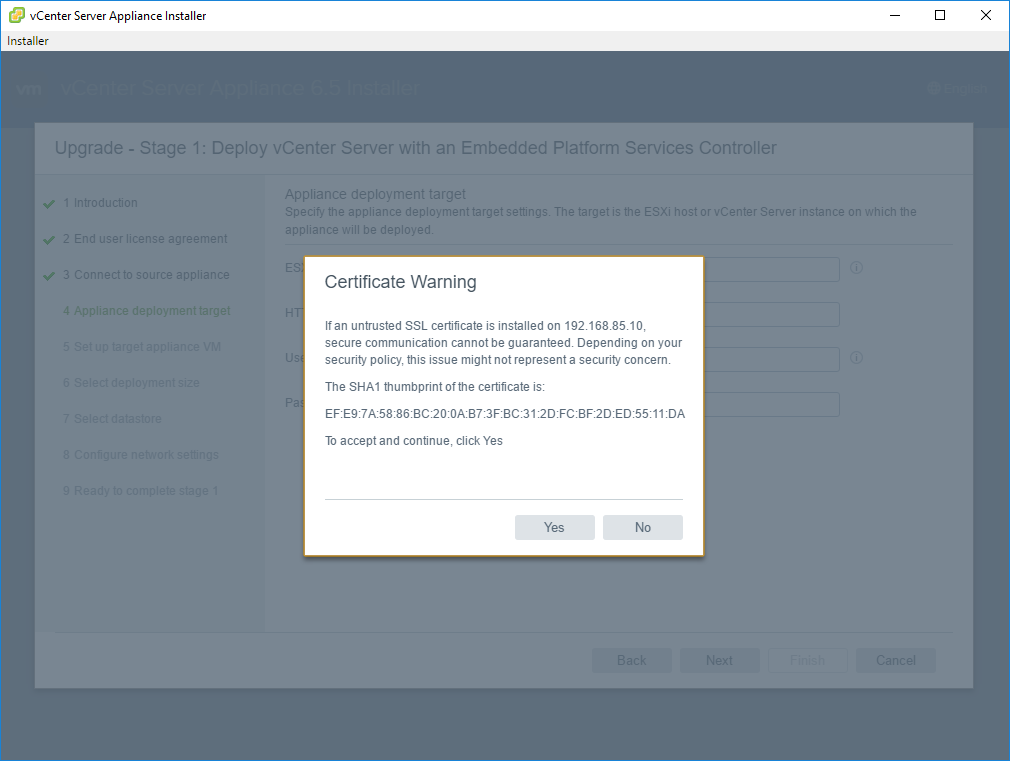
You will see an additional certificate warning presented for the host serving as the destination for the newly created vCSA 6.5 appliance.
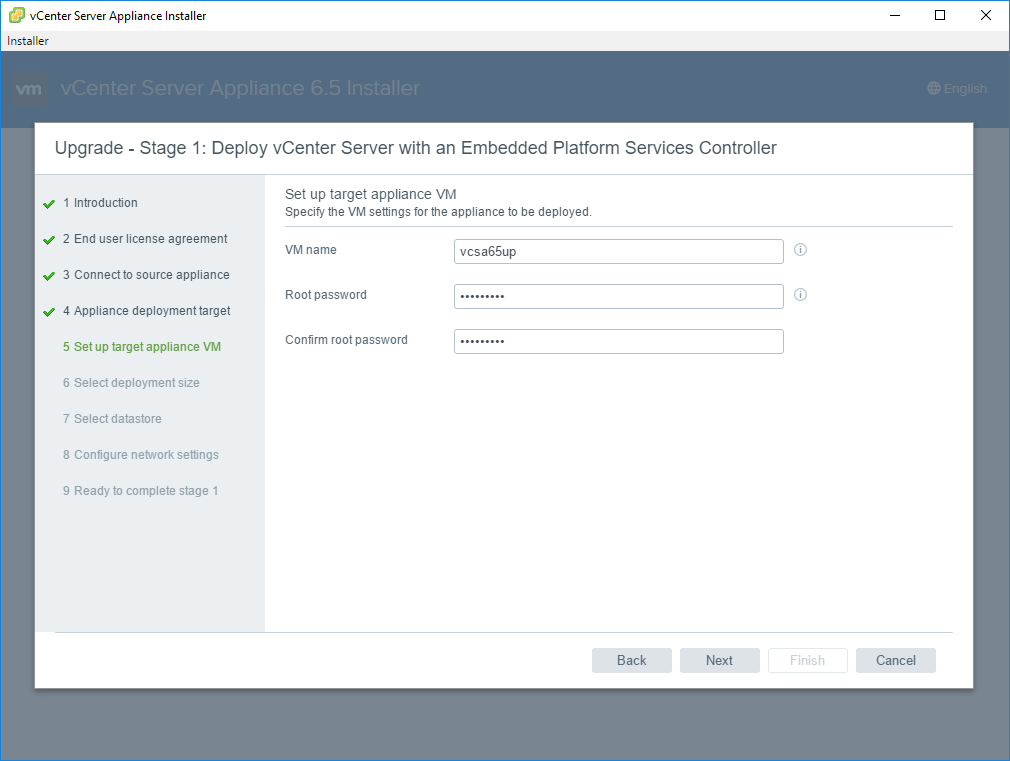
Next, we setup the target VM name for our VMware inventory as well as a root password.
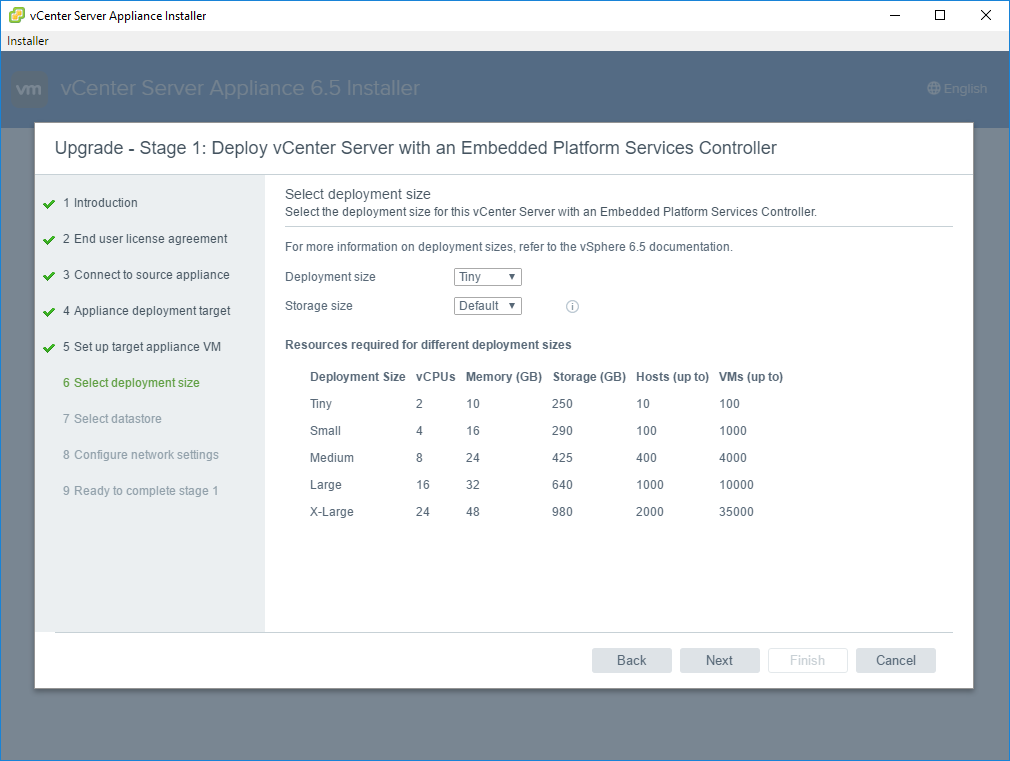
We have the choice to configure storage for our vCSA 6.5 appliance. In the new options for vCSA 6.5 appliance we have the option to configure Large or even X-Large storage sizes. The resulting sizes for each configuration are shown.
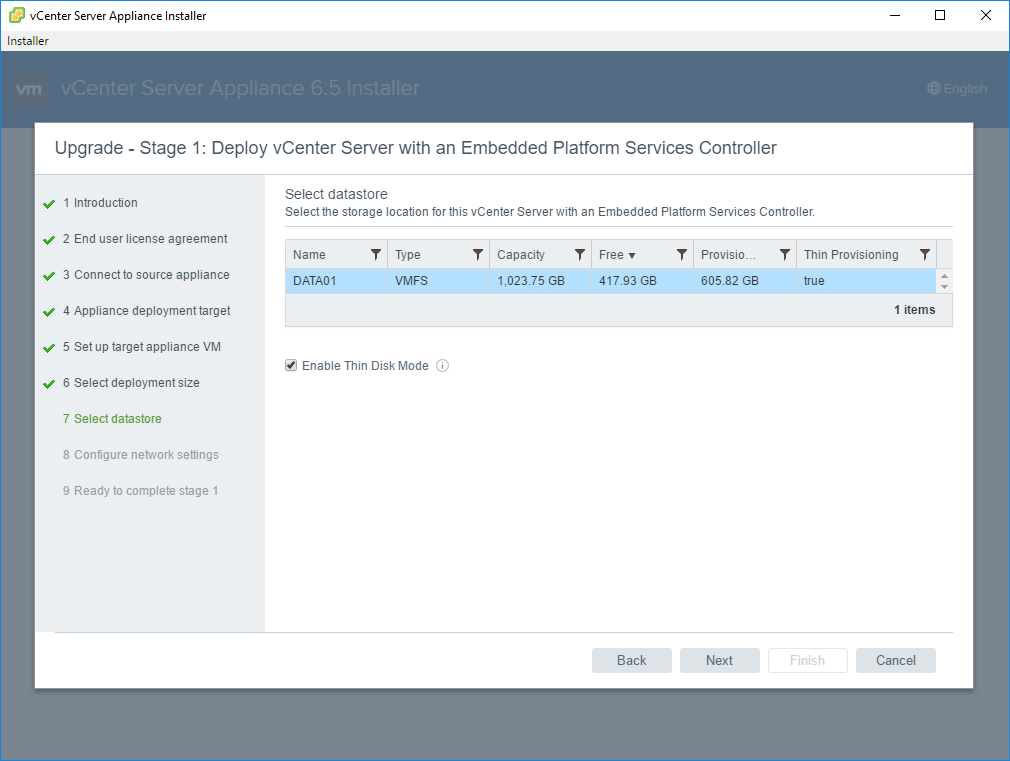
On the next screen, we select the target datastore to house the new appliance.
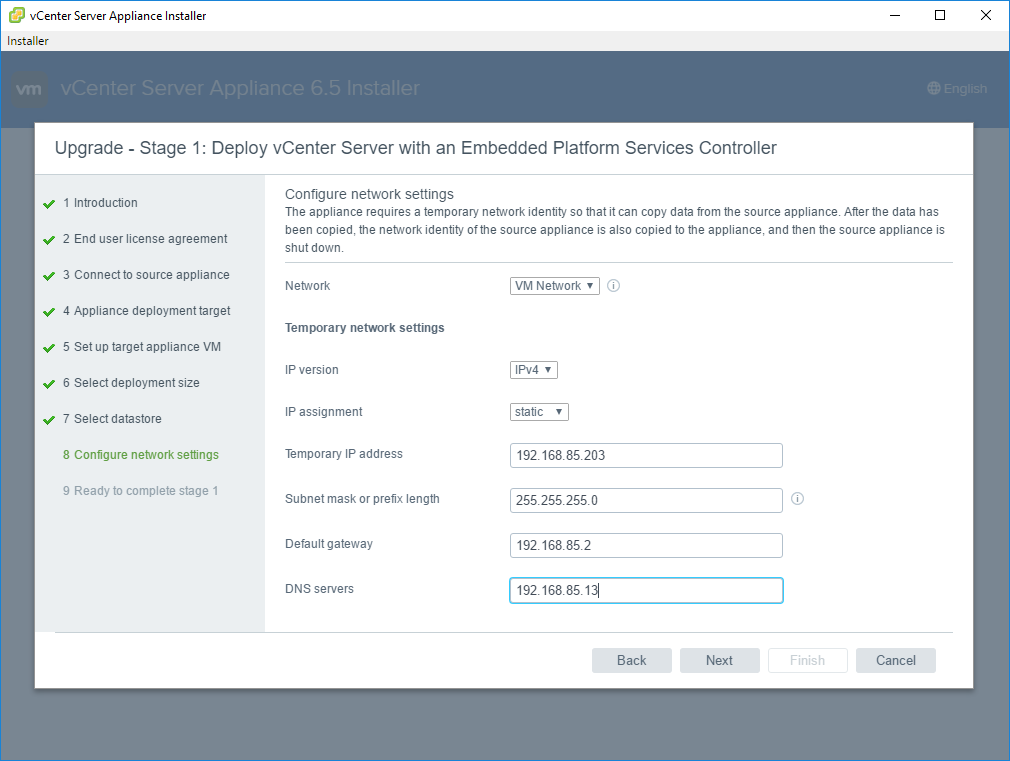
The network screen is very interesting. As mentioned in the outset, a new appliance is provisioned first, so we have to configure a temporary IP address for it to live until the switch is made and the identity of the original vCSA appliance is made.
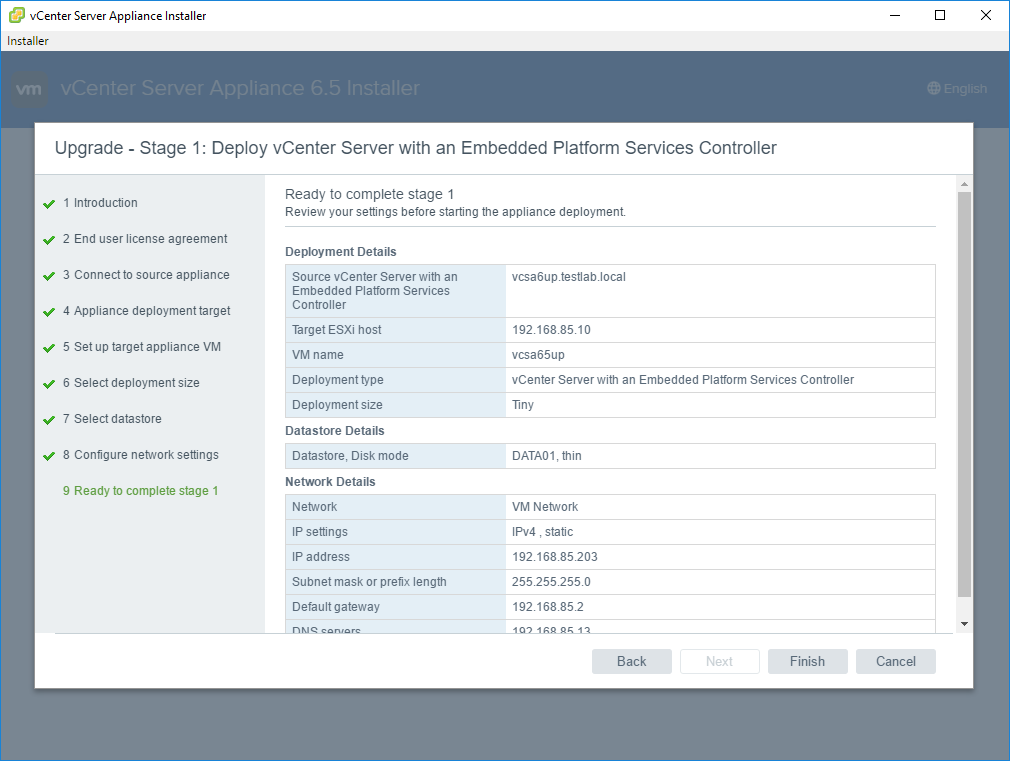
Finally, we see the summary of our configuration selections and we are ready to begin the deployment of Stage 1.
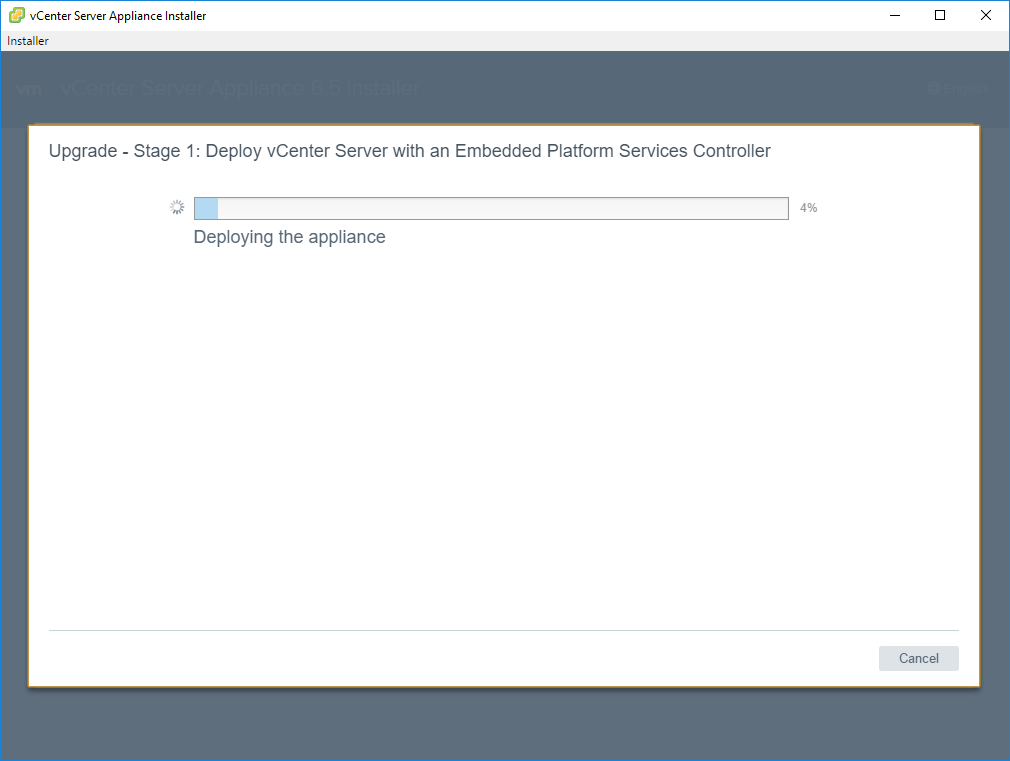
The new appliance begins to deploy.
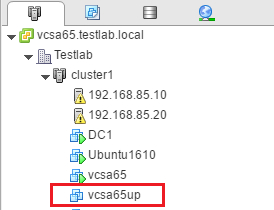
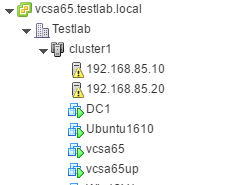
We can verify this in vCenter. We see the new vcsa65up VM that was specified in our lab configuration is created.
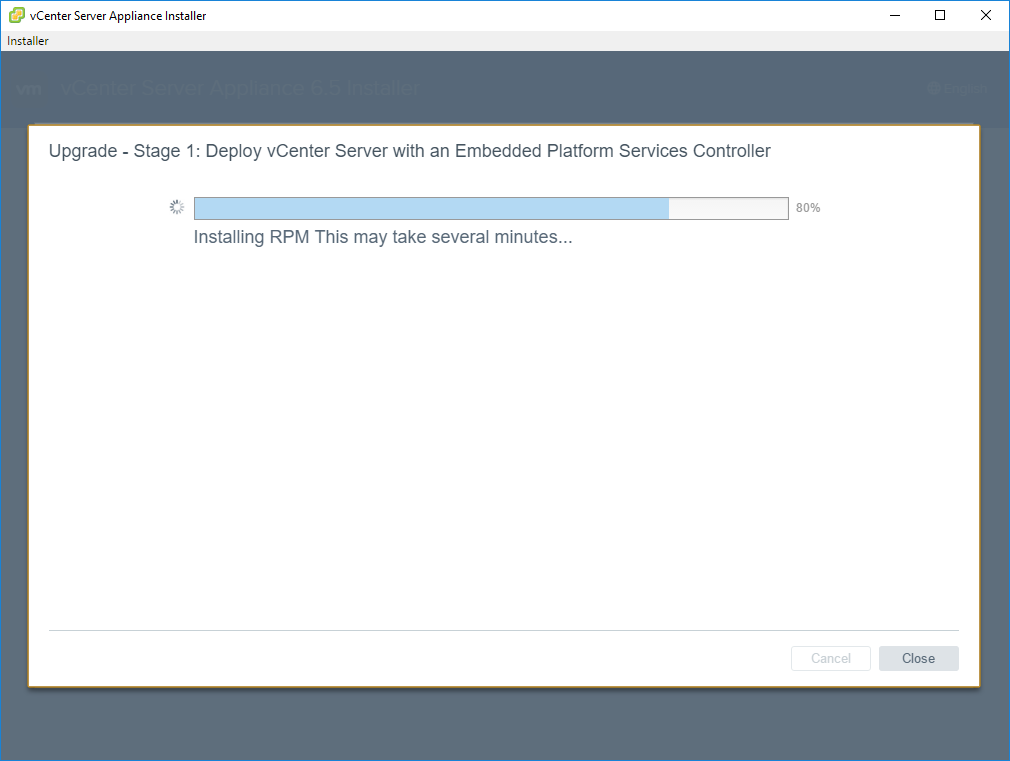
Installation continues and components are provisioned on the new appliance.
As expected, we see the new appliance VM powered on.
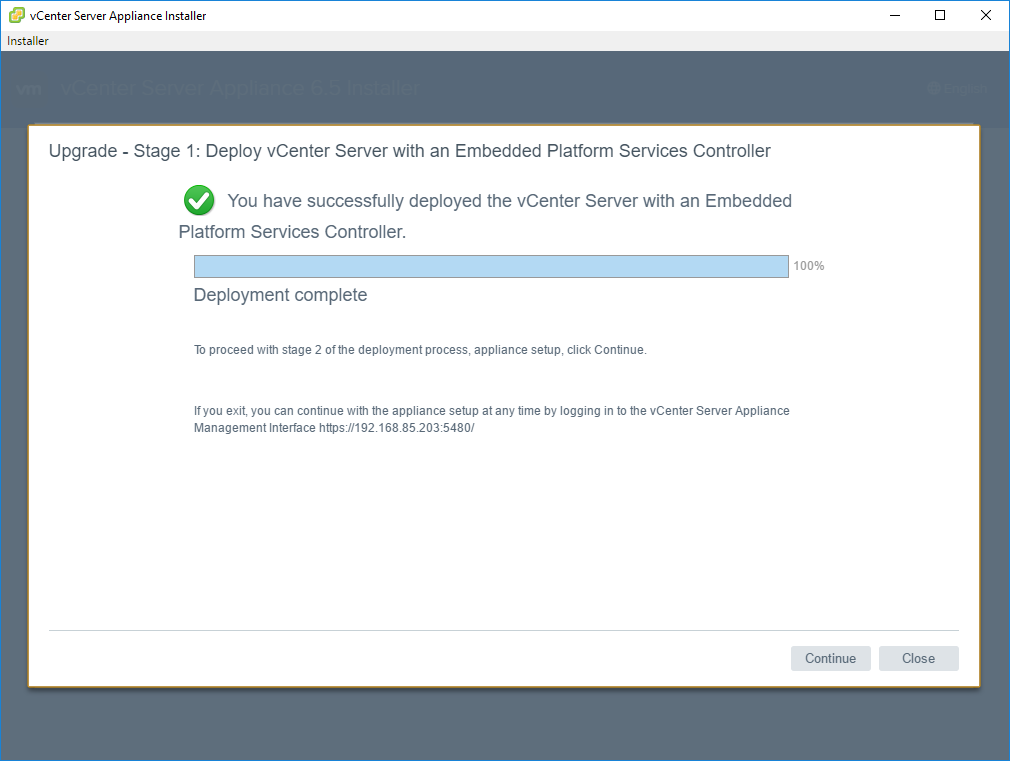
In a short time, the Stage 1 portion completes. As directed, we hit Continue to proceed with Stage 2.
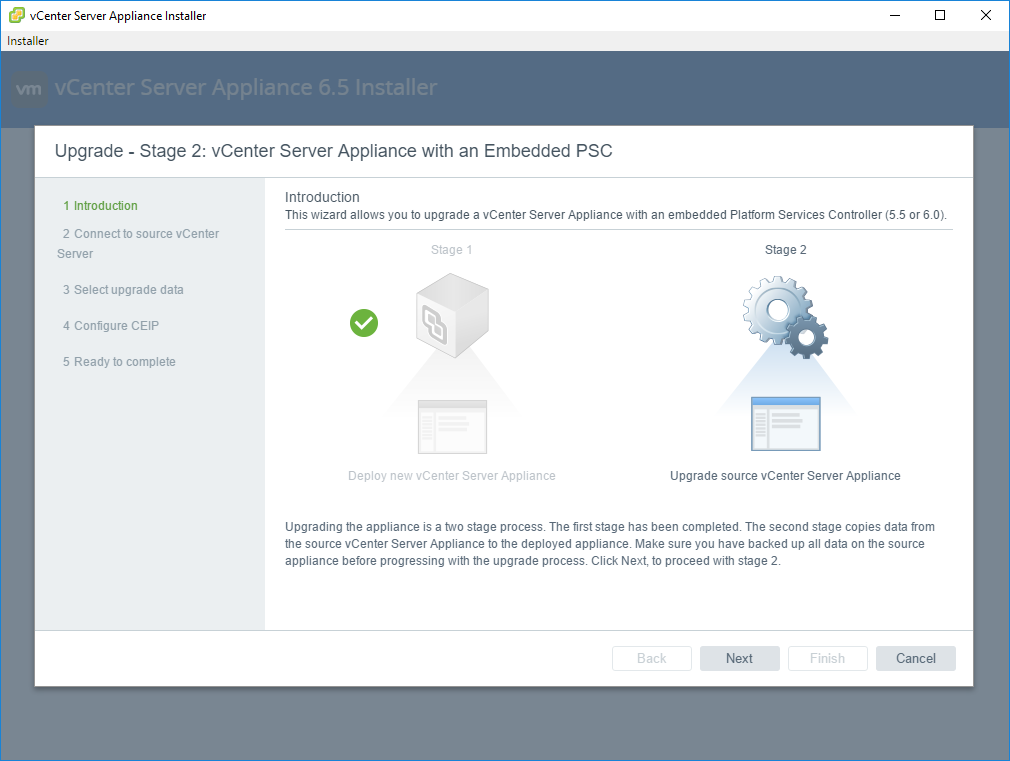
Stage 2
As noted the second stage copies data from the source vCSA appliance to the deployed vCSA 6.5 appliance. In line with best practice, we need to back up our source appliance before proceeding.
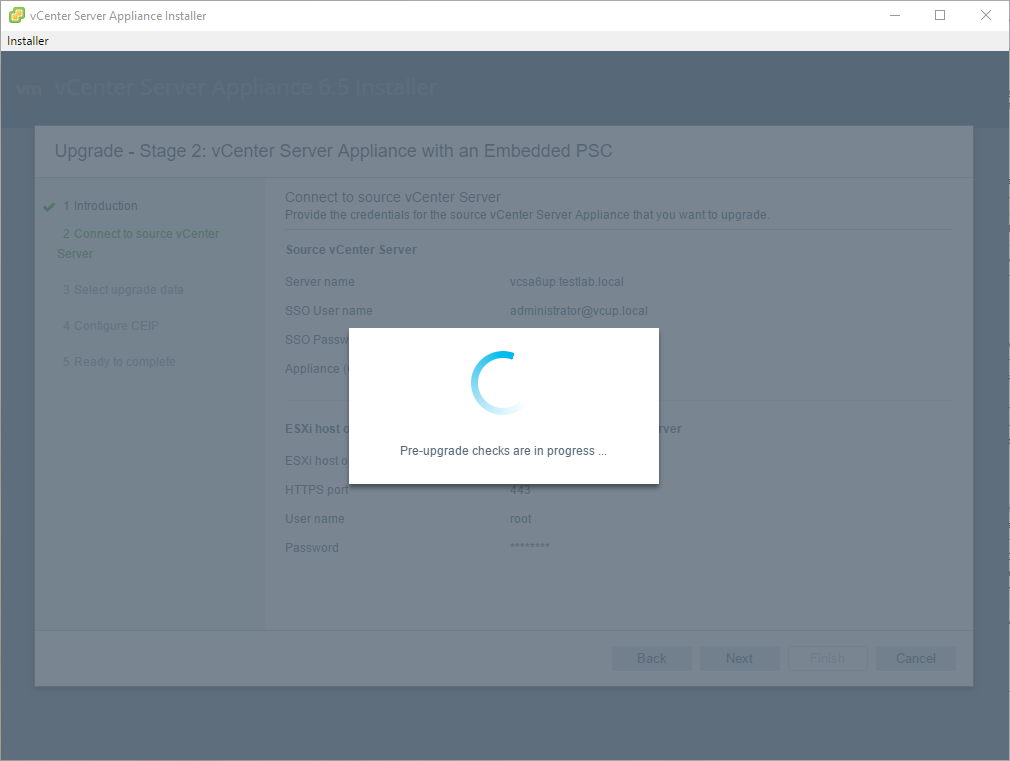
The Stage 2 process runs pre-update checks before proceeding
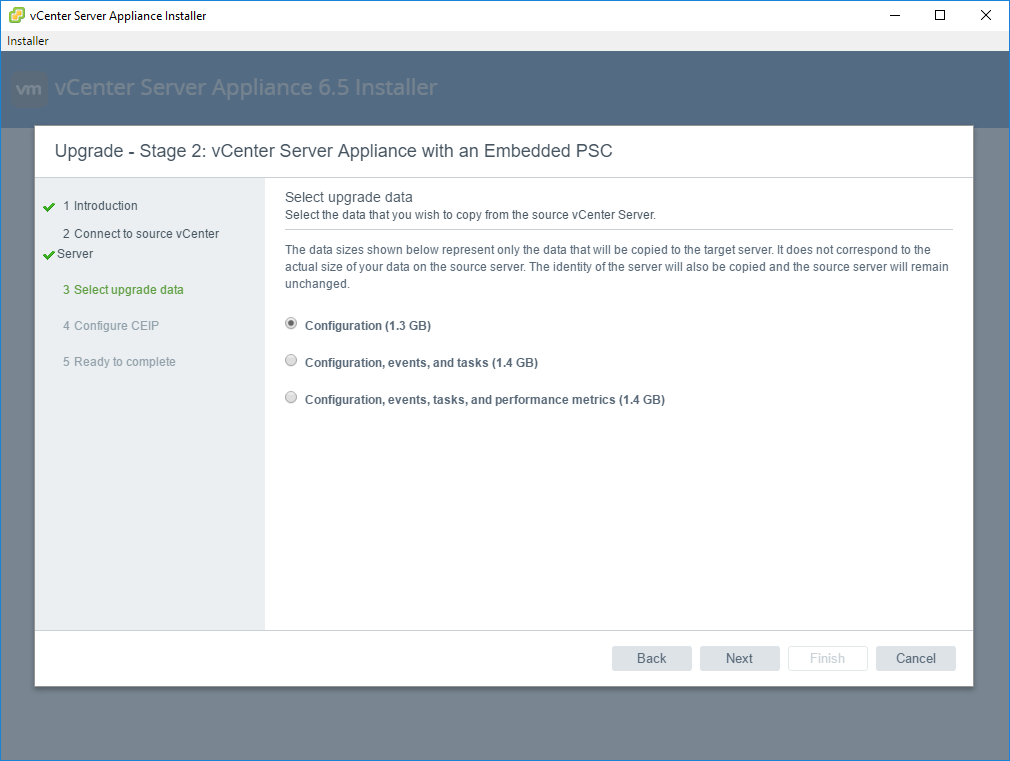
On the select upgrade data screen we can select the data we want to copy. Choices are configuration only, configuration, events and tasks and finally configuration, events, tasks, and performance metrics. The size requirements go from least to greatest.
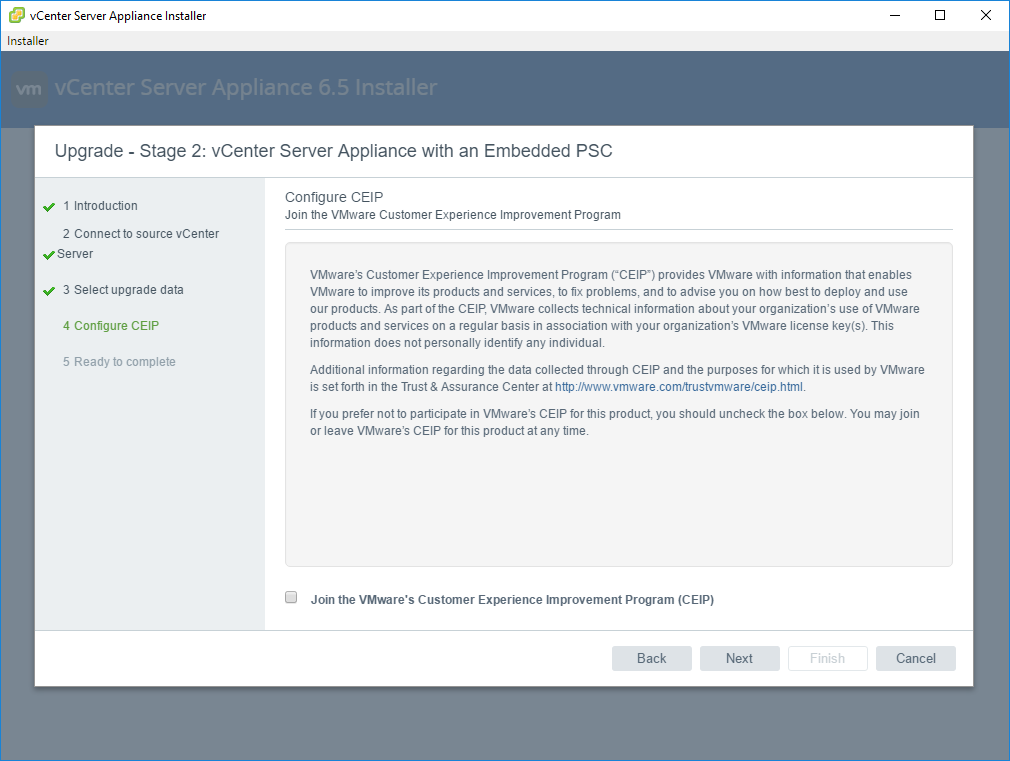
Next, we can either choose to join or not to join the Customer Experience Improvements Program (CEIP)
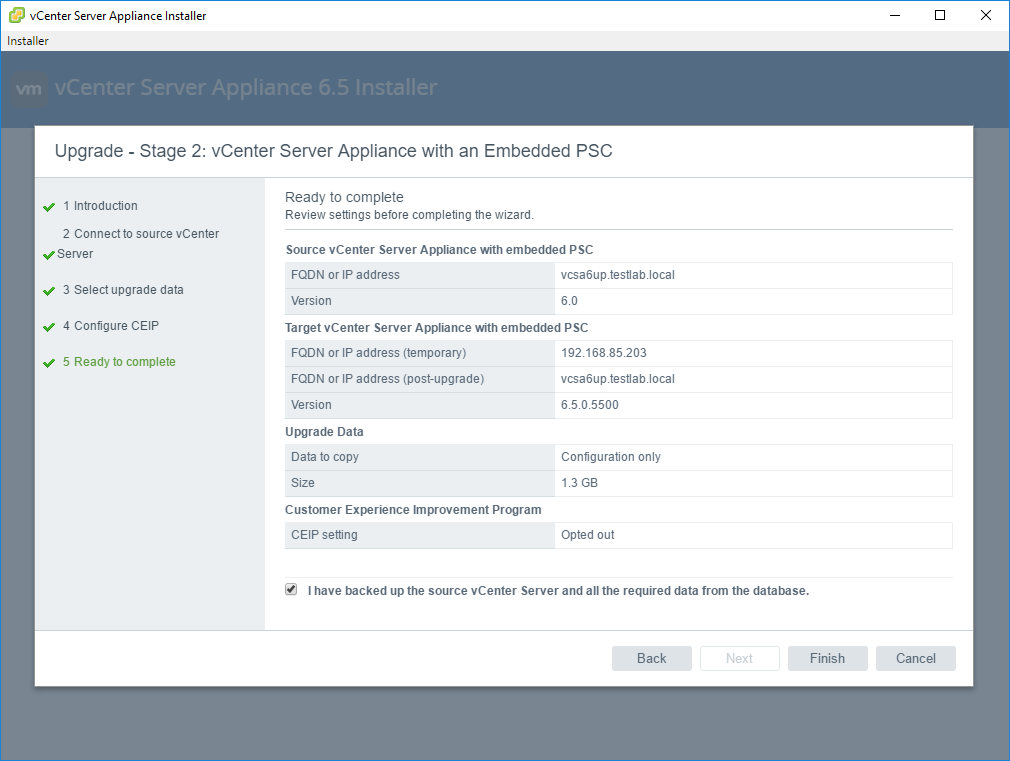
Finally, we will see a summary of our Stage 2 configuration choices.
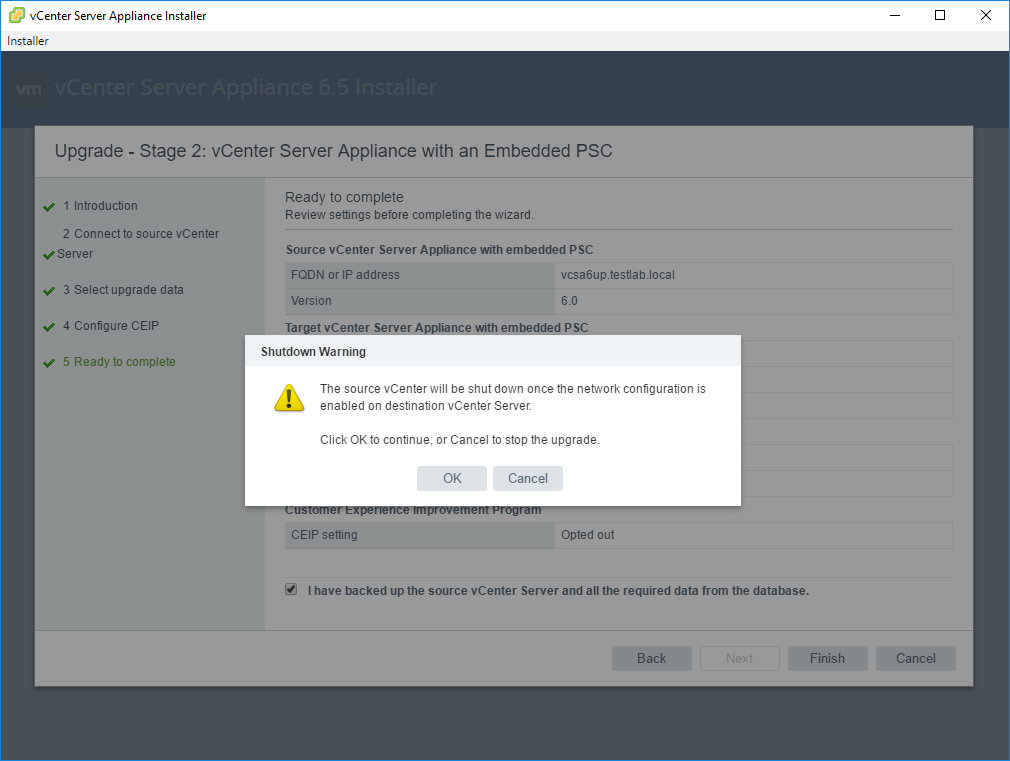
As noted, our source vCSA appliance will be powered down during the process and we are warned of this action.
Data is copied from the source vCSA 6 appliance.
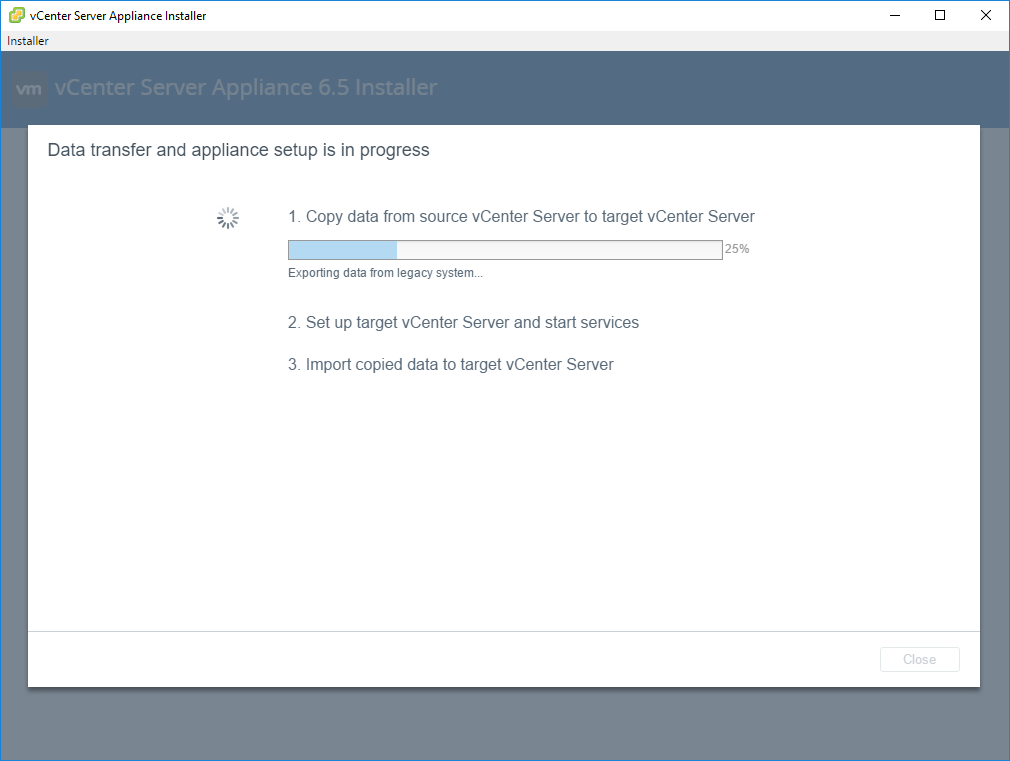
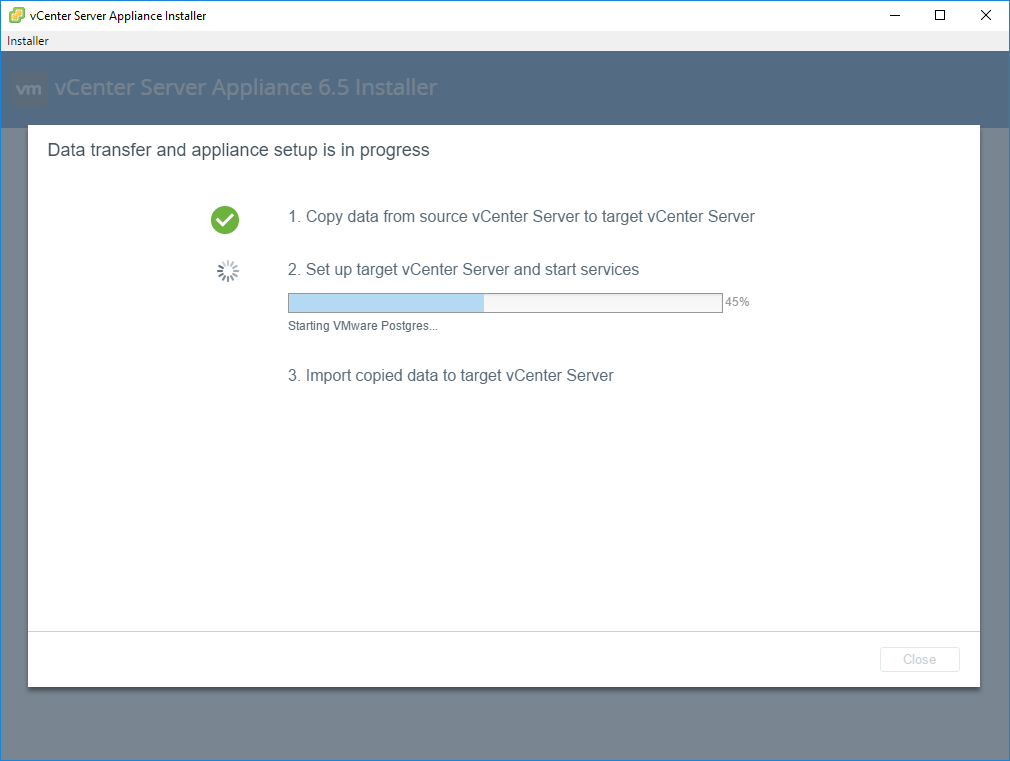
Next, the target vCenter Server is setup and services are started.
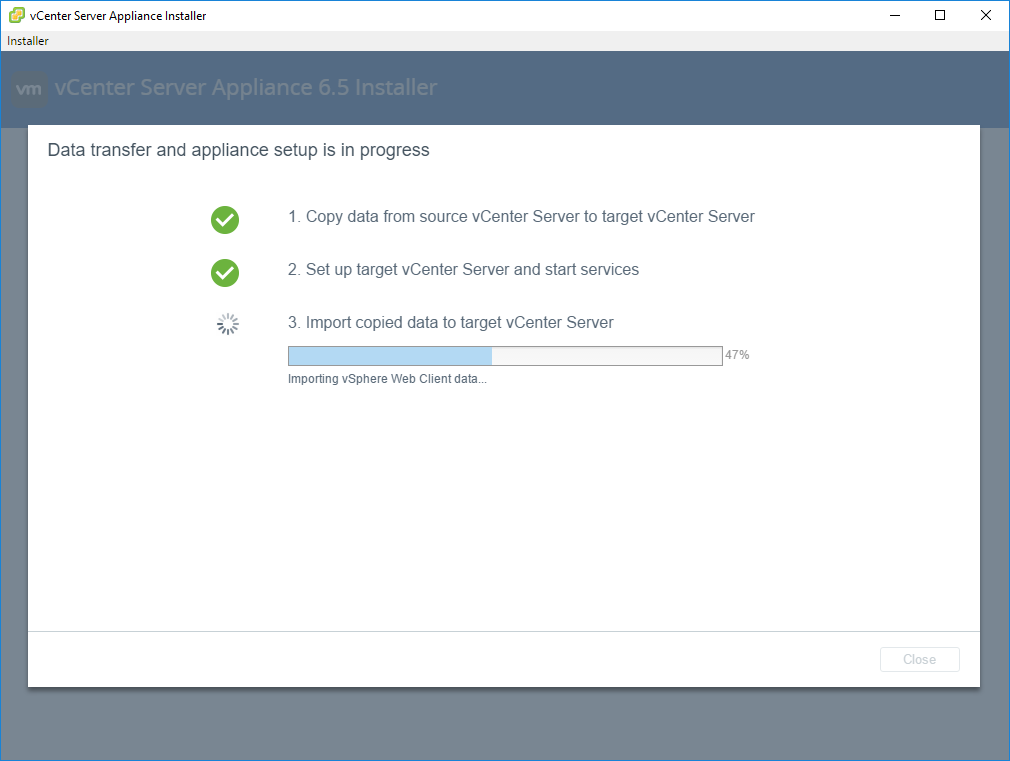
On step 3, the data copied from the source vCenter is imported into the new vCenter vCSA appliance.
As you can see in the small screen grab below, the vcsa6up source vCenter has been powered down by the process.

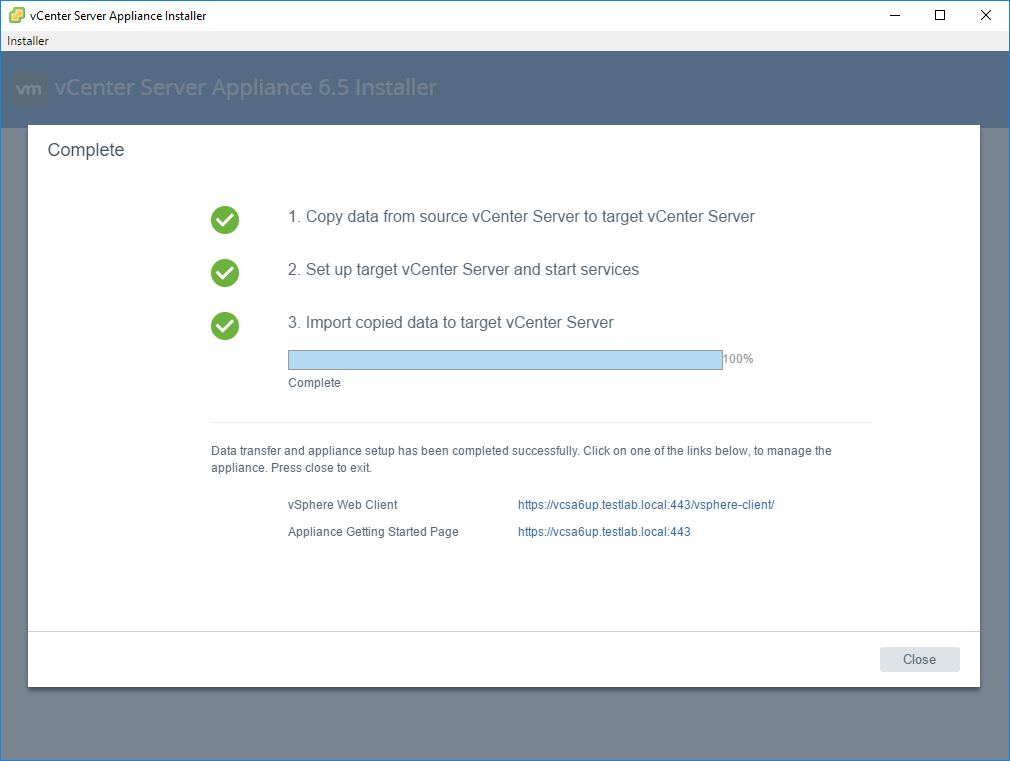
Finally, we should see the completion screen where the process has been completed. This screen provides links to our new vCSA 6.5 appliance so we can access the vCSA 6.5 web client.
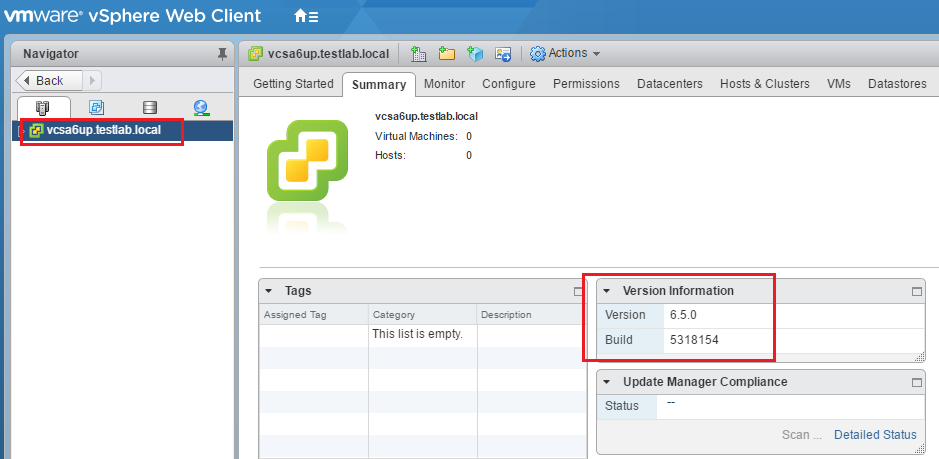
After logging in, you can verify as you see below, we have Version 6.5.0 Build 5318154 running.
Thoughts
VMware vCSA 6.5 is a powerful management platform for the new vSphere 6.5 family of products. It has many new powerful features included in the platform and certainly represents the path that VMware is taking to move the vSphere vCenter Server forward. There really is no reason any longer to utilize the Windows Server version of vCenter as the Update Manager component that traditionally required a Windows Server to operate is now native to the vCSA 6.5 appliance. If you have already taken the step to move to vCSA in version 6 as many had done, as shown, the upgrade process to get your vCSA 6 appliance to vCSA 6.5 is intuitive and straightforward.
Follow our Twitter and Facebook feeds for new releases, updates, insightful posts and more.


Leave A Comment