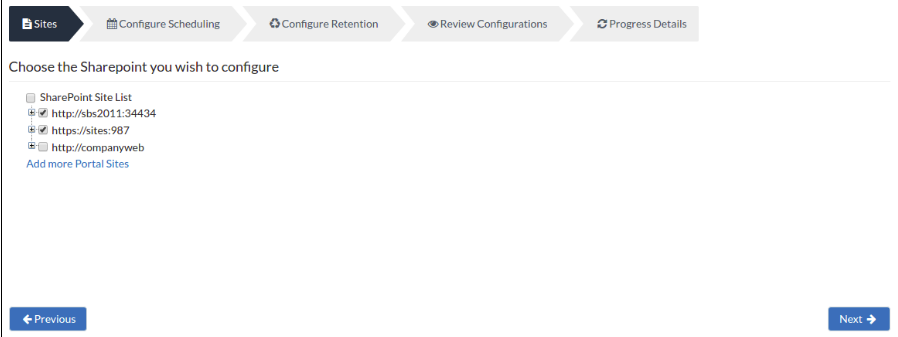
Step 1: Choose SharePoint Site(s)
To begin with the backup process, you must provide the SharePoint Credentials so that the internal utility tool STSADM used for listing and backing up the site collections.
- Configure the STSADM Tool Path [STSADM.exe] so that the exe file can run.
- Configure the SharePoint dump location, enter the location/directory path to a folder where you wish to dump the SharePoint Site Collection backup. This path will be displayed on the SharePoint page by default. You can change it however for individual backups.

- You can add more Portal sites by choosing the Add more Portal Sites option.
- This will redirect you to a page where you must provide the Portal Site Settings credentials. You can also enter the Portal Site URL to add the Portal sites that are to be backed up. On that page, the list of Portal Sites available will also be displayed. The table below this portion lists the SharePoint Portal Sites that will be listed on this page. If you do not want to list any of the portal sites mentioned, you can delete that Portal Site from the table.
- Select the SharePoint sites you need to backup from the tree and click Next to proceed with your backup.

