Failover
Your primary server/VM has crashed due to a disaster. Switch over to the replicated VM to continue with production. When your source machine is down, you can use the Failover process to switch the operations from the source VM to its replica in the target server. Once the Failover process is carried out, the replica machine will perform the role of the source machine. That is, the target VM will be powered ON with the same Network and IP configurations that were configured during the replication process. You can Failover the replica to any restore point available. If any data is added when the VM is in the Failover state, it will be maintained separately in a snapshot delta file.
- Select the VM Replication tab and choose the Failover and Failback option. Click the Restore icon beside the required replication job.
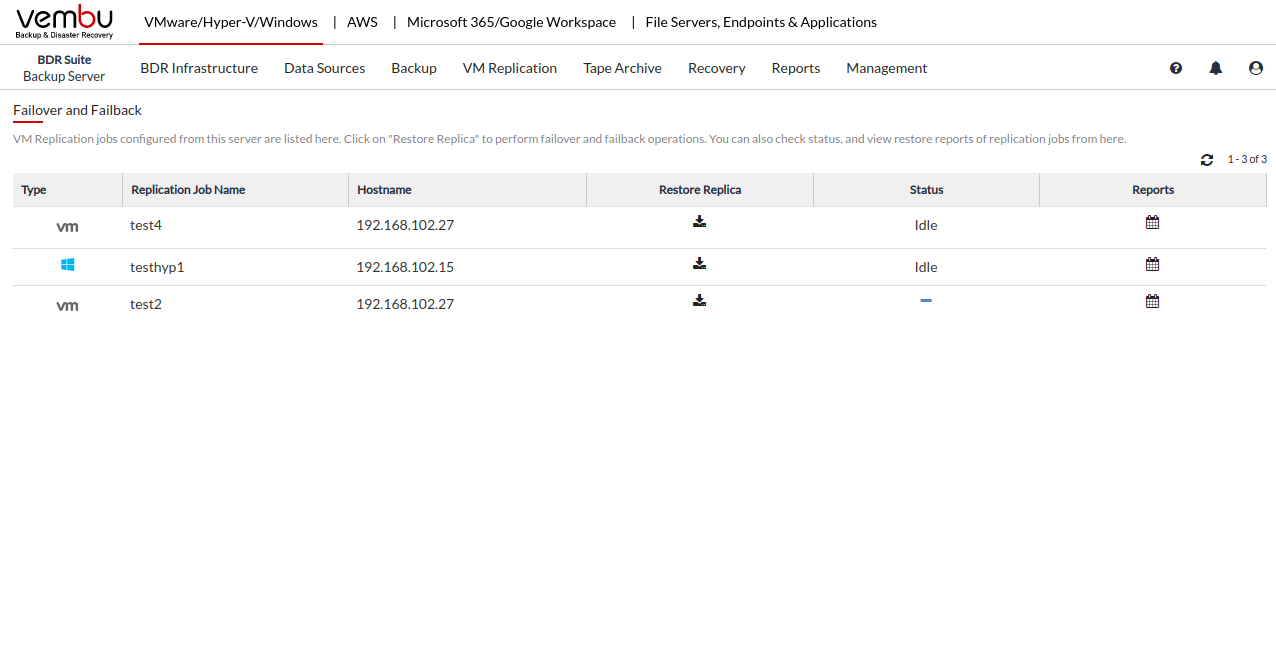
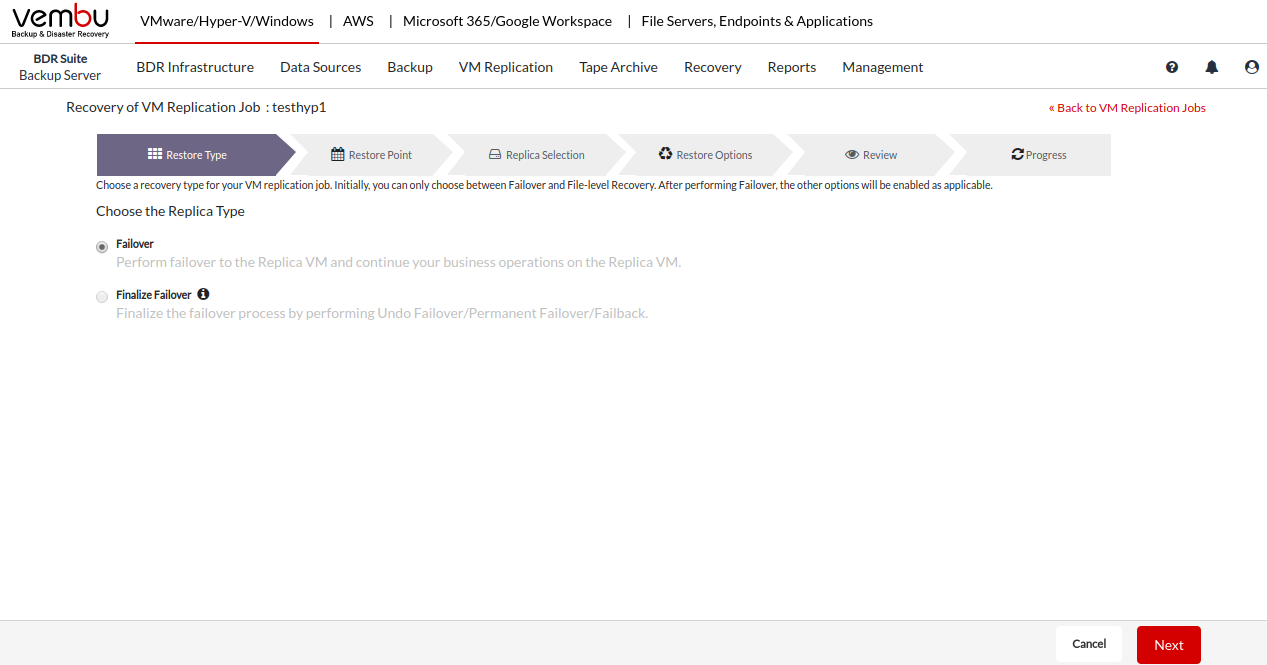
- The next step is to select the restore type from the list. Select Failover as the restore type and click Next to proceed with the restore process.
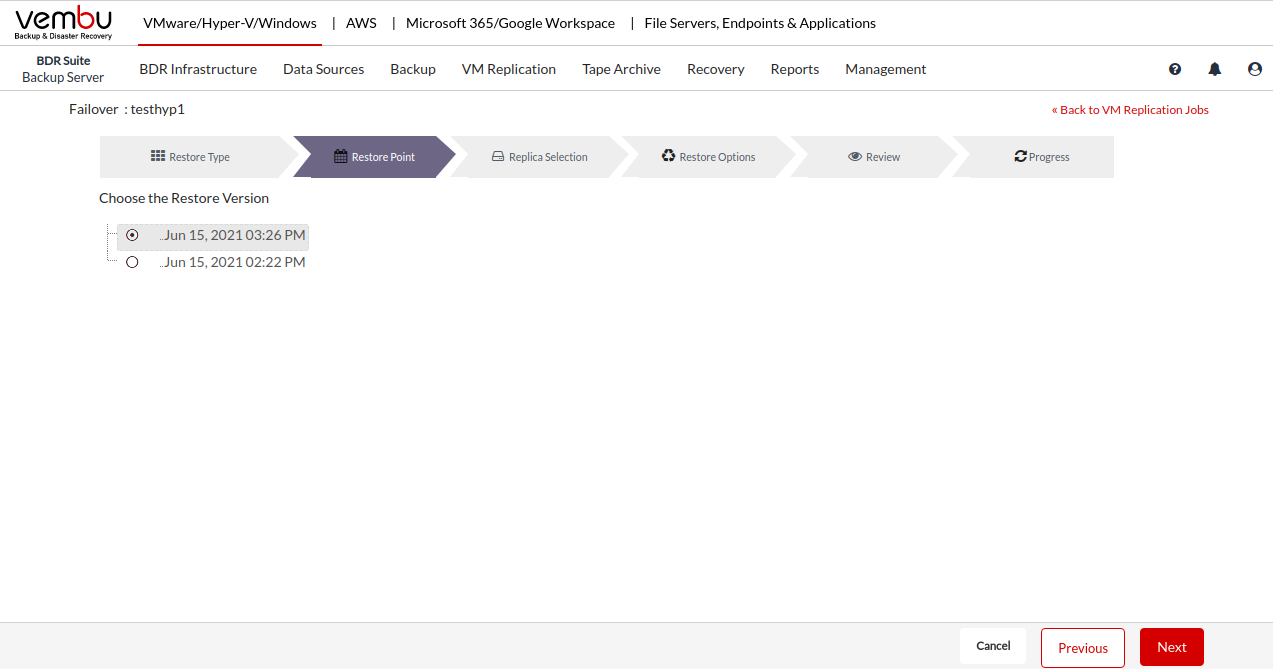
- Choose the restore version from the tree. The restore version depends on the retention settings you have configured. Click Next to continue with the restore process.
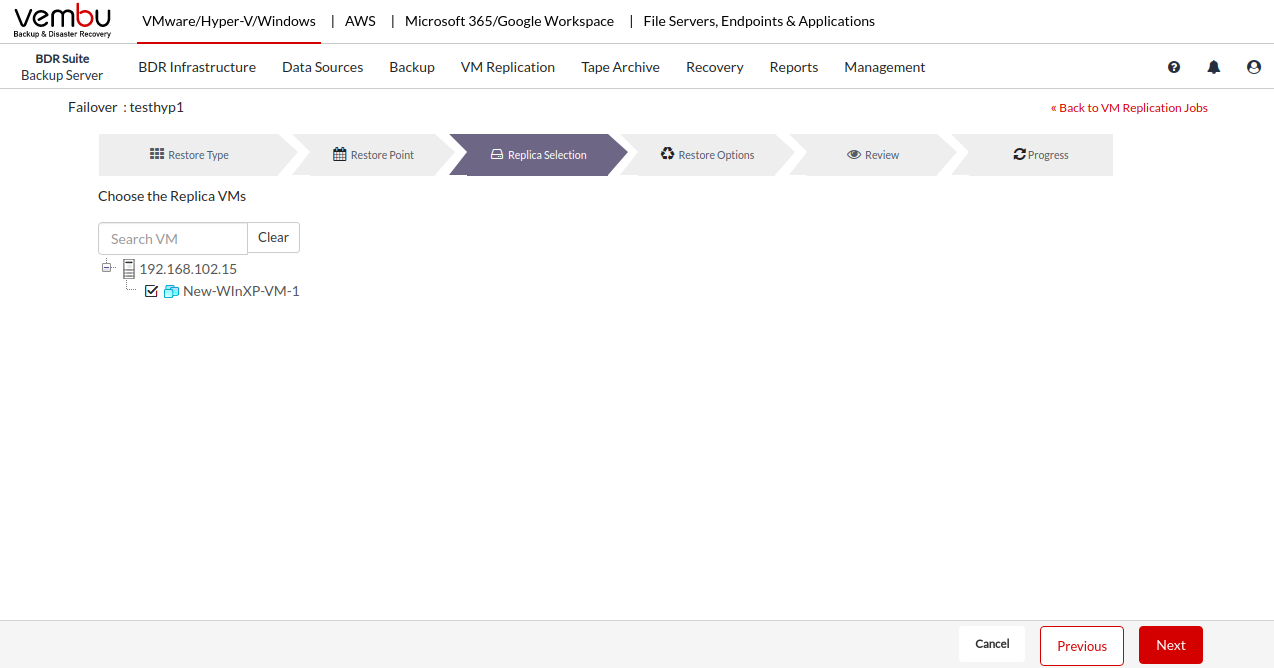
- The next step is to select the restore data for the restoration. Select the VM(s) to be restored. You can search the required machine from the Search VM option. Click Next to continue further with the restore process.
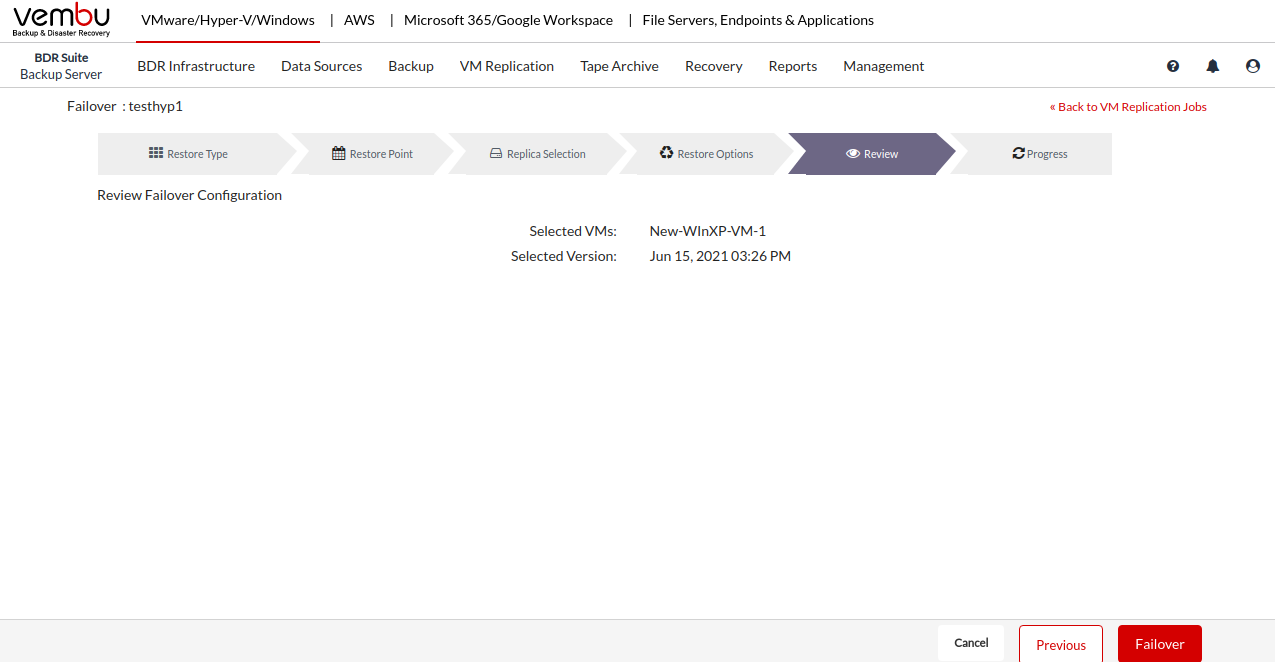
- The last step is to review your configurations before you perform the Failover process.
- Verify the following – VM(s) selected for the Failover, Restore Version configured. Once done verifying the selection, click the Failover option. You will get a pop-up window to confirm the Failover process, click OK to begin the Failover.
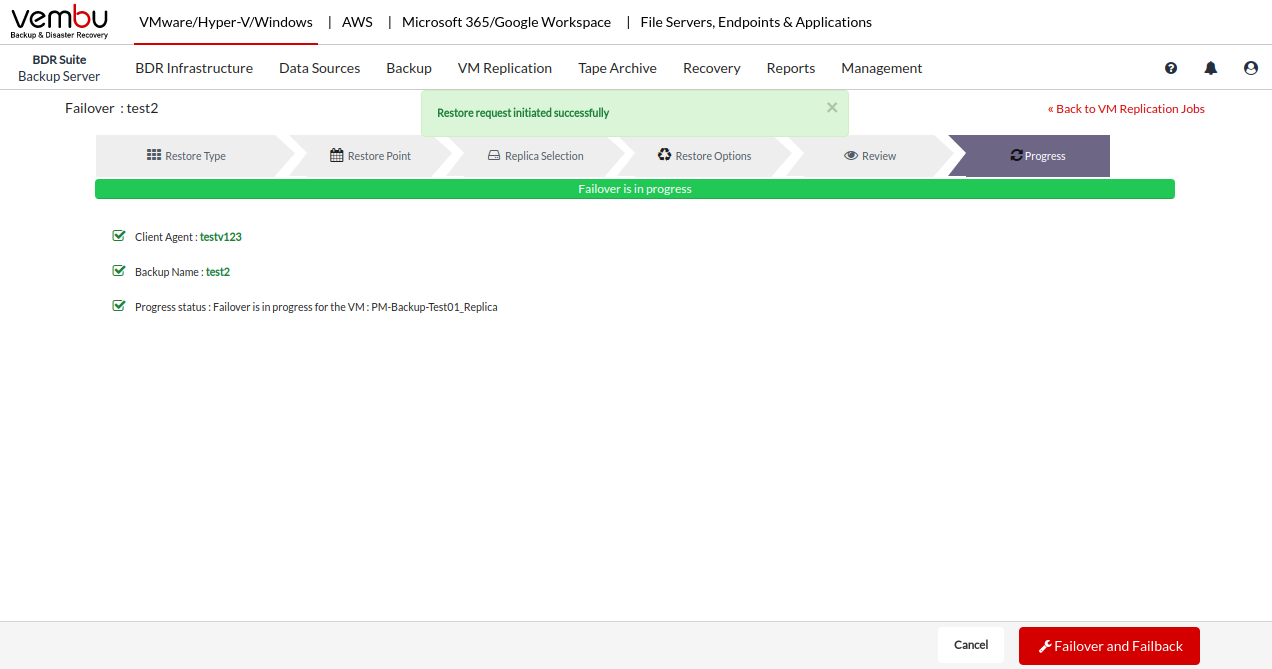
- You will now be redirected to the Restore Progress page. Check the Client Name, Backup Name, and Progress status. Click the Failover and FailBack option to revert back to that page.
Note: The VM should not be manually powered on or powered on after the Failover as it may lead to data loss.
