Windows
In this section, we will guide you through the step-by-step process of installing the BDRSuite Backup Server in a cluster deployment specifically for the Windows operating system.
Download
You can download the BDRSuite Backup Server installer here .
Note: The installer available on the above link only supports fresh installation. If you want to upgrade your BDRSuite Backup Server’s version then refer to the Software Upgrade Guide.
Installation
Step 1: Getting started with the installation
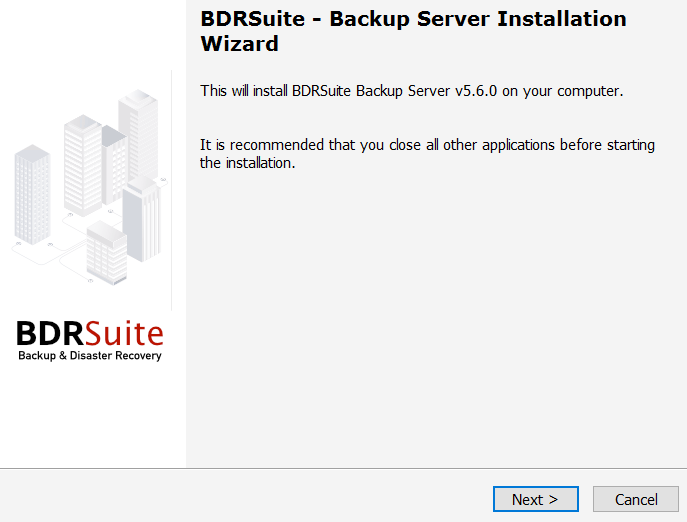
Step 2: License Agreement
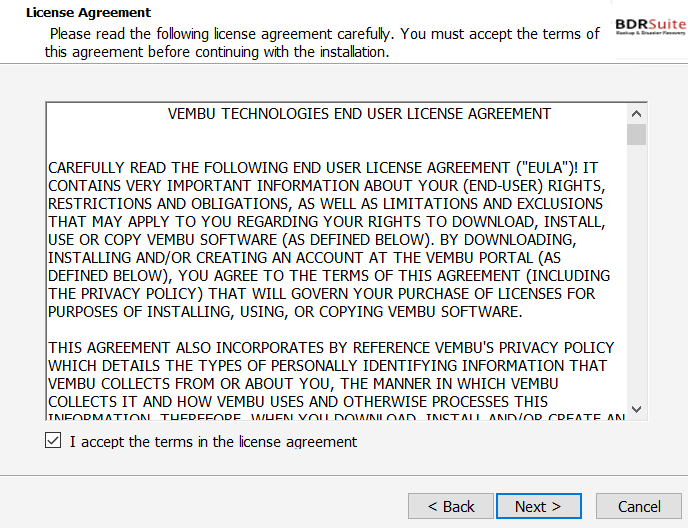
Step 3: Installation Directory Customization
The next step in the installation is to specify the folder to install the BDRSuite Backup Server. The installation folder consists of the necessary files to run the application. Make sure you have at least 1.2 GB of free disk space in the installation location.
Note: The default installation folder is C:\Program Files\Vembu\VembuBDR
You can leave it to default or click Browse to choose a different folder. You can also create a new folder by clicking on the Make New Folder option and providing a name for the folder. Click Ok to complete the folder creation and click Next to continue with the installation.
Note: Make sure you have 1.2 GB of free space for installing the BDRSuite Backup Server
Step 4: Product Selection
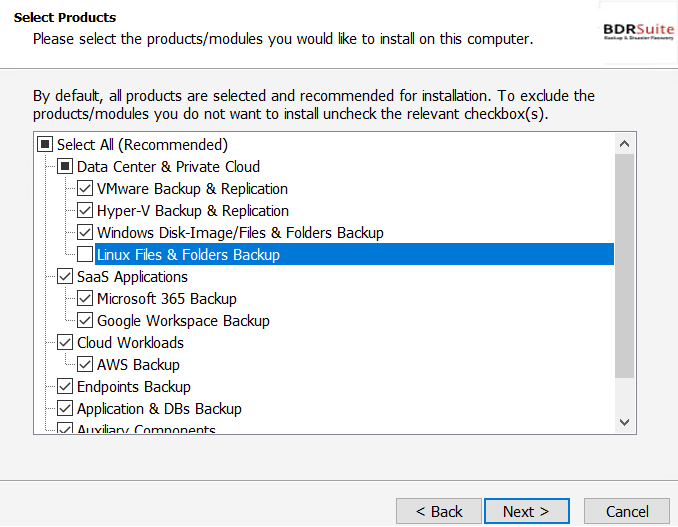
Step 5: Installation Type
The BDRSuite Backup Server can be deployed either as a standalone installation or a Cluster installation.
Step 5a: Cluster Installation
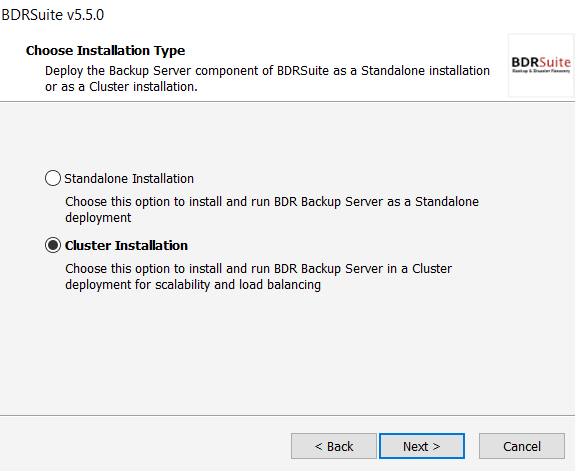
The cluster installation option can be used if you want to install and run the BDRSuite Backup Server in a Cluster Deployment for scalability and load balancing.
This installation type is further classified based on the requirement as follow;
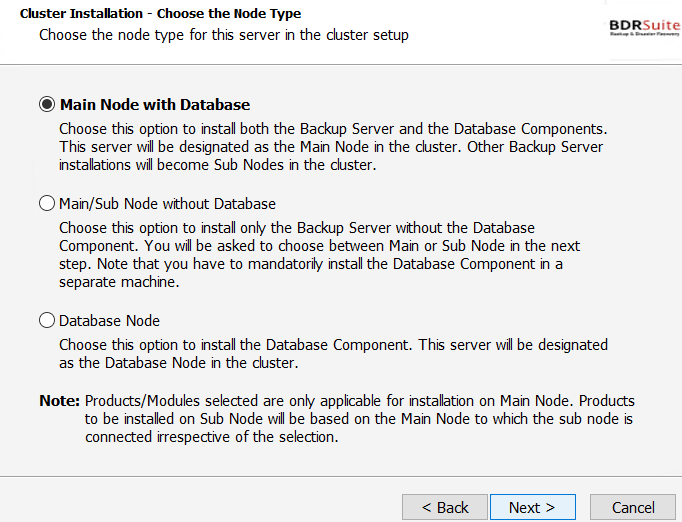
- Main Node with Database
You can select this option to install the BDRSuite Backup Server as well as the Database Components in the same system. This BDRSuite Backup server will act as the Main Node in the cluster while the other BDRSuite Backup Server installations will by default become Sub Nodes in the cluster.
Click next to choose the configuration for the ‘Main Node with Database’ type of cluster installation.
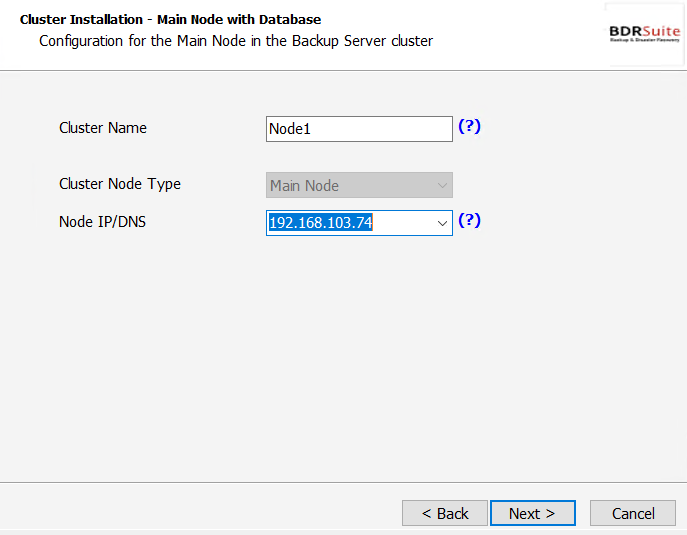
Cluster Name : Enter a unique name identifying the cluster. All nodes will have the same name and will be referred to as the BDR ID of the Server/Cluster.
Cluster Node Type : In this case, it is by default the Main Node.
Node IP/DNS : Select or Type the IP address.
Click next and you will be taken to step 4.
- Main/Sub Node without Database
Choose this option to only Install the BDRSuite Backup Server without the database component.
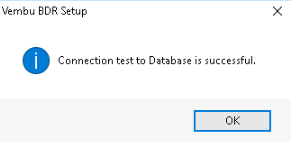
If you have already installed the database then you can optionally test the connectivity between the Main/Sub node and the database here in this step.
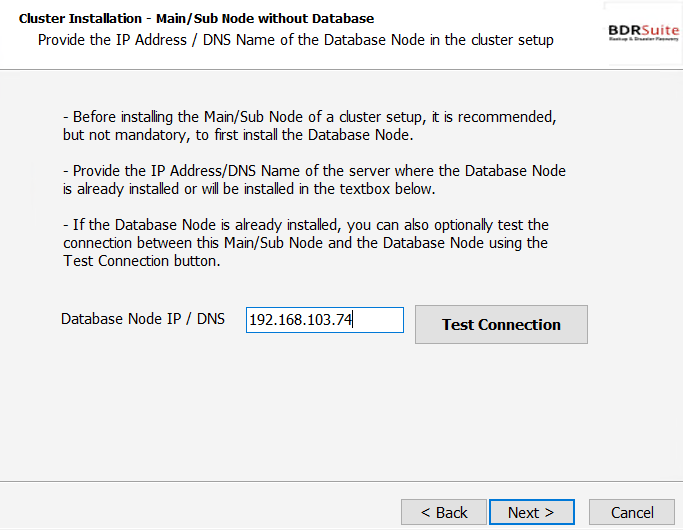
Enter the IP address of the machine where the Database is installed and click on Test Connection.
Click next to choose the configuration for the ‘Main/Sub Node without Database’ type of cluster installation.
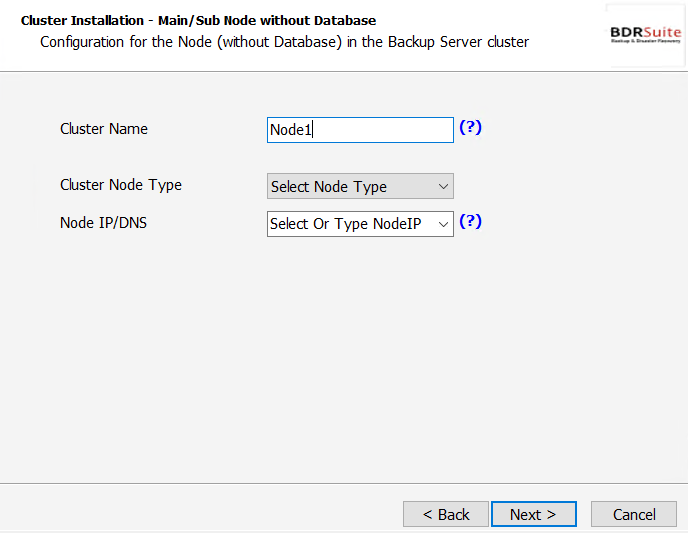
Cluster Name: Enter a unique name identifying the cluster. All nodes will have the same name and will be referred to as the BDR ID of the Server/Cluster.
Note: If you have already installed the main node in a cluster and given a name, then make sure to use the same name as Cluster Name for the sub-nodes as well that you will be installing and vice versa.
Cluster Node Type : In this case, you can choose either the Main node or the Sub node.
Node IP/DNS: Select or Type the IP address.
Click next and you will be taken to step 6.
- Database Node
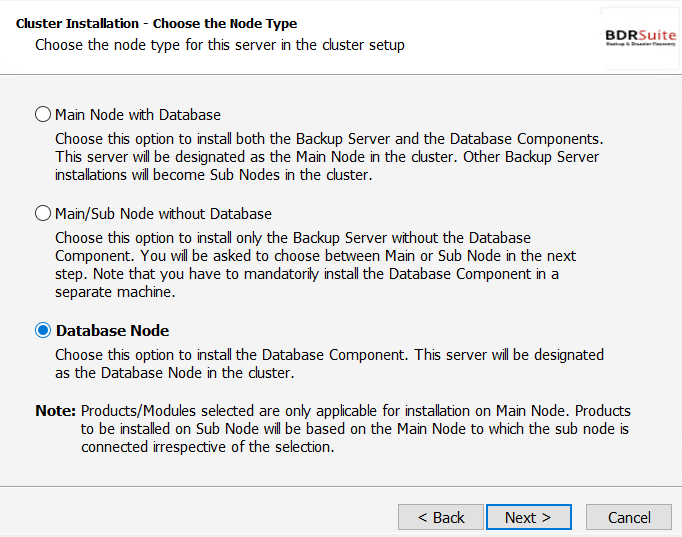
Choose this option to install the Database component alone. This server will be shown as the Database Node in the cluster. Click next and you will be taken to step 4.
Step 6: Database Storage Location
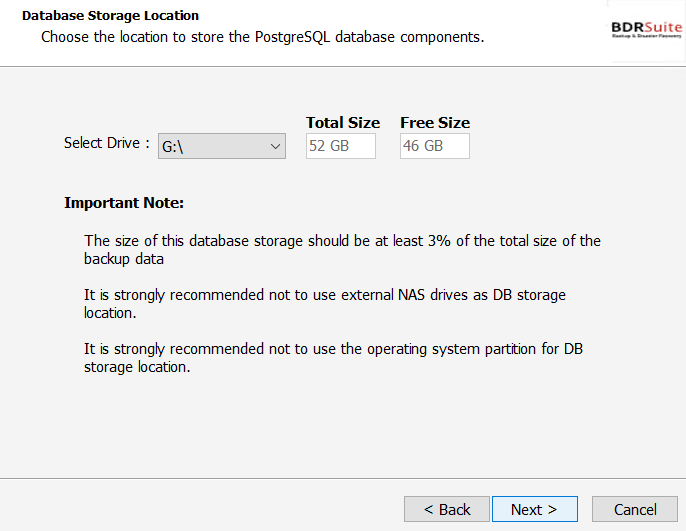
Step 7: Backup Server Settings
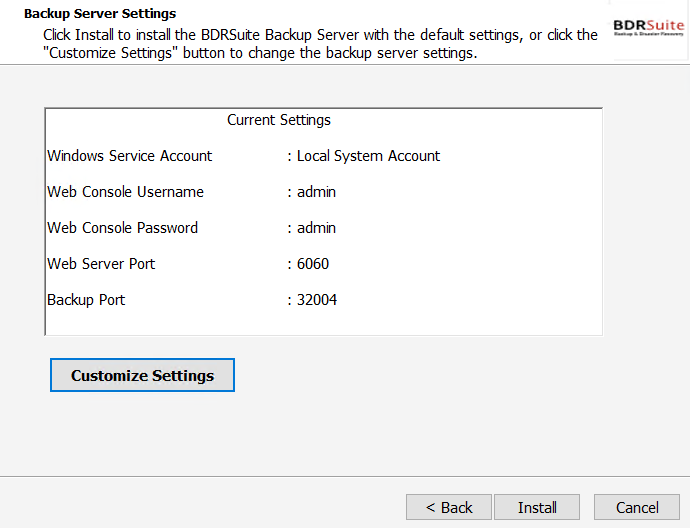
If you want to change any of the default backup server settings, click on the Customize Settings button to modify the default settings.You can modify the followings backup server settings
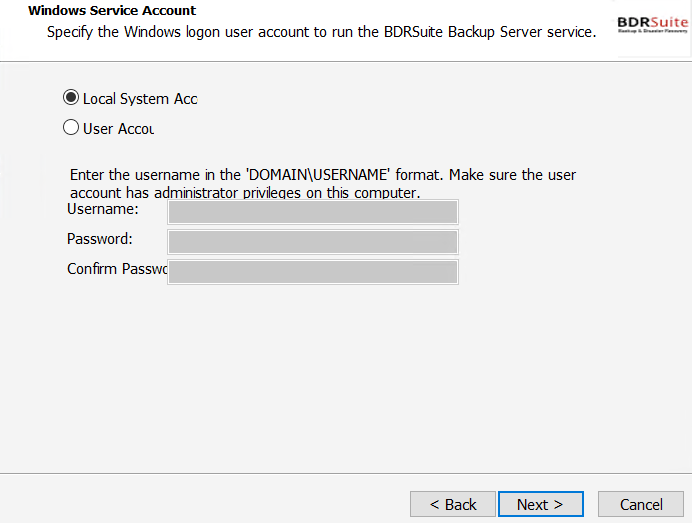
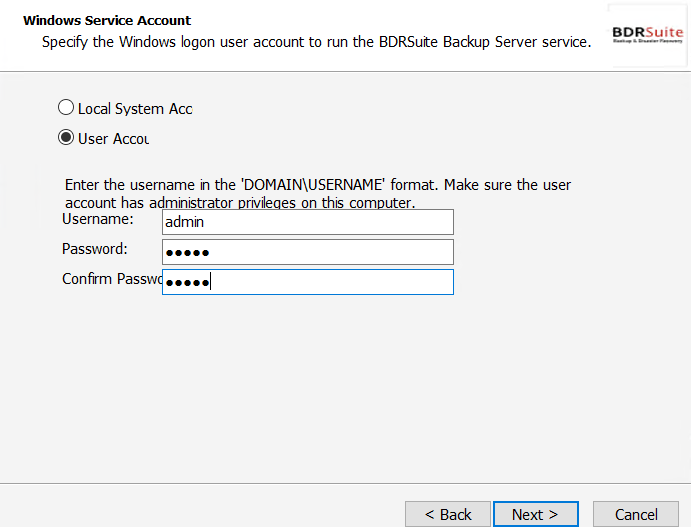
- Windows Service Account – Local system or specific user account
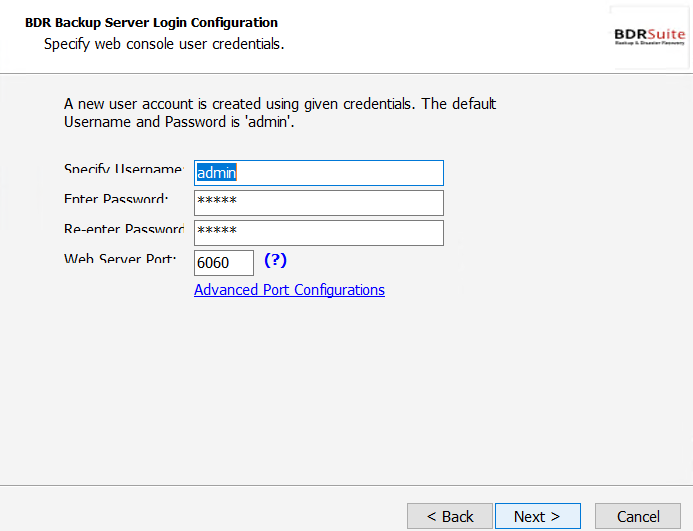
- Backup Server web console Login Configuration – Username and password to login to the web console of BDRSuite Backup Server
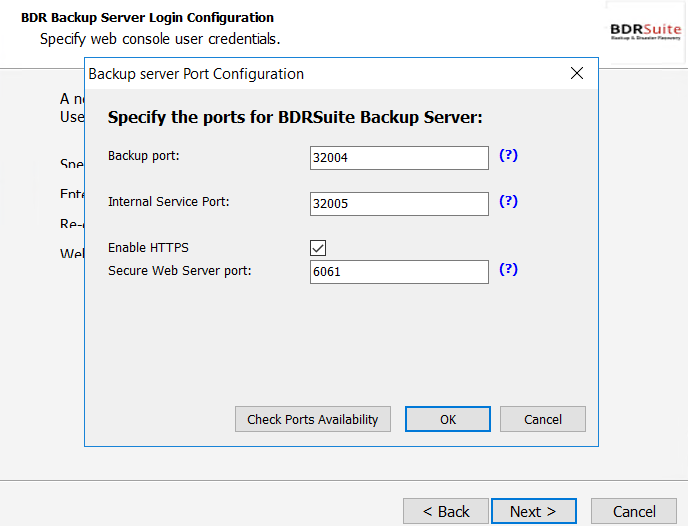
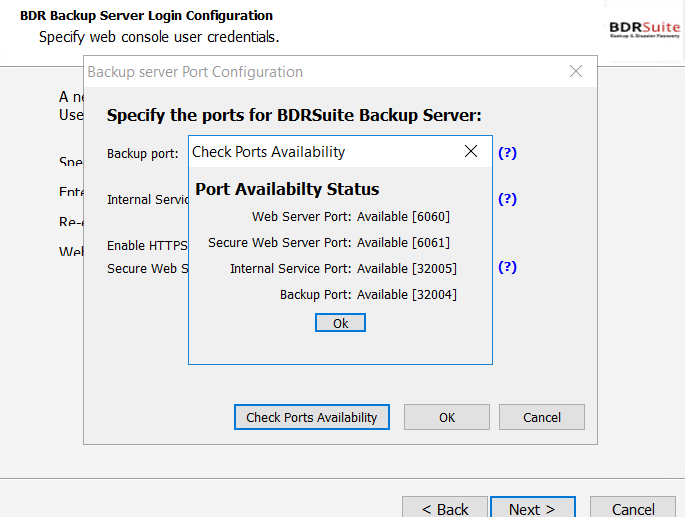
- Backup Server Port Configuration – Backup port, Web Server port, Secure Web Server port, Internal Service Port
Step 8: Customize Settings – Windows Service Account
Step 9: Customize Settings – BDRSuite Backup Server Login Configuration
Step 10: Customize Settings – Backup Server Port Configuration
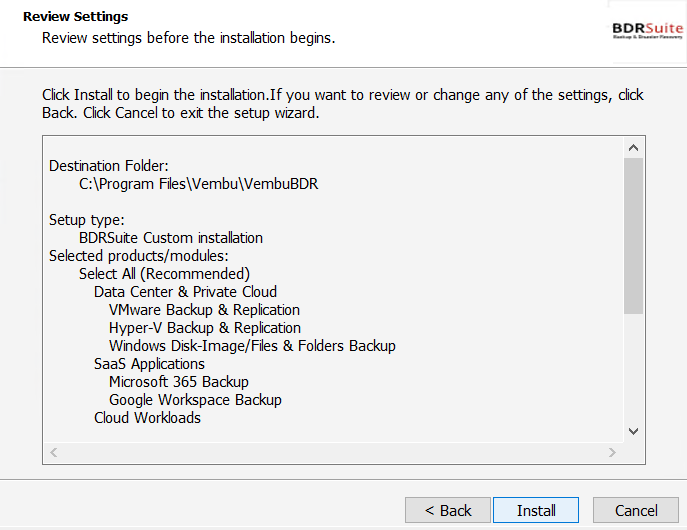
Step 11: Review Settings
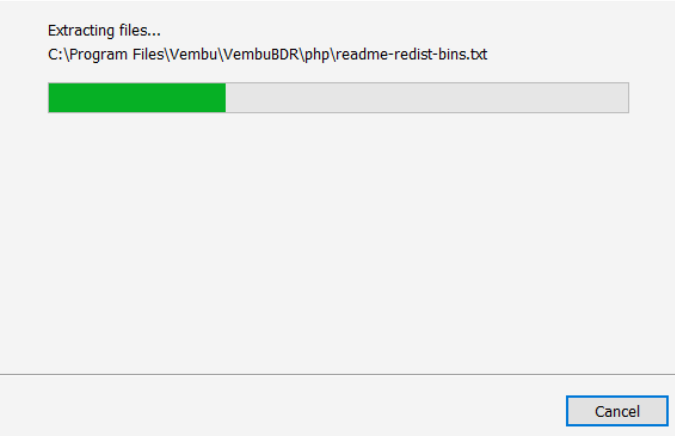
Step 12: Installing the necessary components
The setup wizard will start to install the BDRSuite Backup Server v5.2.0 on your computer. The following components are installed in your machine during this installation process;
- PostgreSQL
- ODBC drivers (32-bit and 64-bit)
- Web Server
- BDRSuite Backup Server
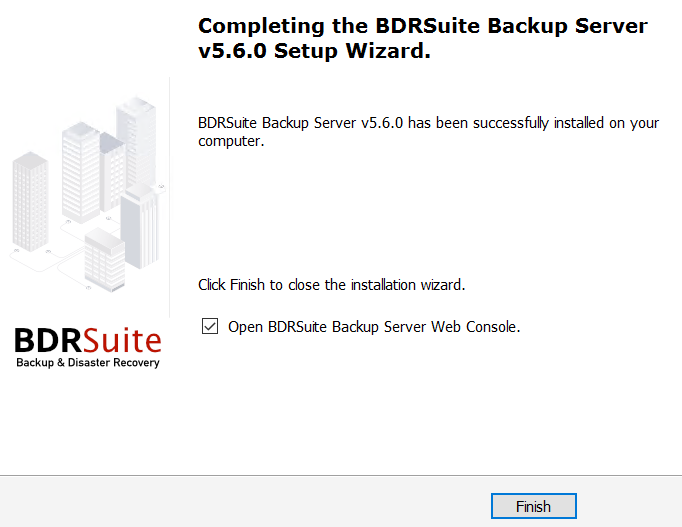
Step 13: Completing Installation
Step 14: Changing the service account(optional)
By default, BDRSuite Server will be installed as a service and run under the local system account. So we recommend providing administrative privileges via Services.msc:
- Navigate to services.msc and right-click over the service “BDR” and click Properties
- Click Log On tab and provide administrator account details
- This will allow BDRSuiteServer to run with administrative privileges
