Hyper-V Virtual Appliance
A Hyper-V virtual appliance is a template that creates virtual machines instantly on Hyper-V virtual environment without manual VM creation or separate installation of operating system or Vembu OffsiteDR server.
To download VMware virtual appliance contact Vembu Support.
The downloaded file will be in zip format. Unzipping the file will have following:
- Virtual appliance template file (VHD)
- User Guide on How to deploy Hyper-V Virtual Appliance
- ReadMe file
Supported Versions: Windows Server 2012 R2, Windows 10 and Windows Server 2016
Steps to Deploy Virtual appliance on Hypervisor:
- Open the Hyper-V Manager console.
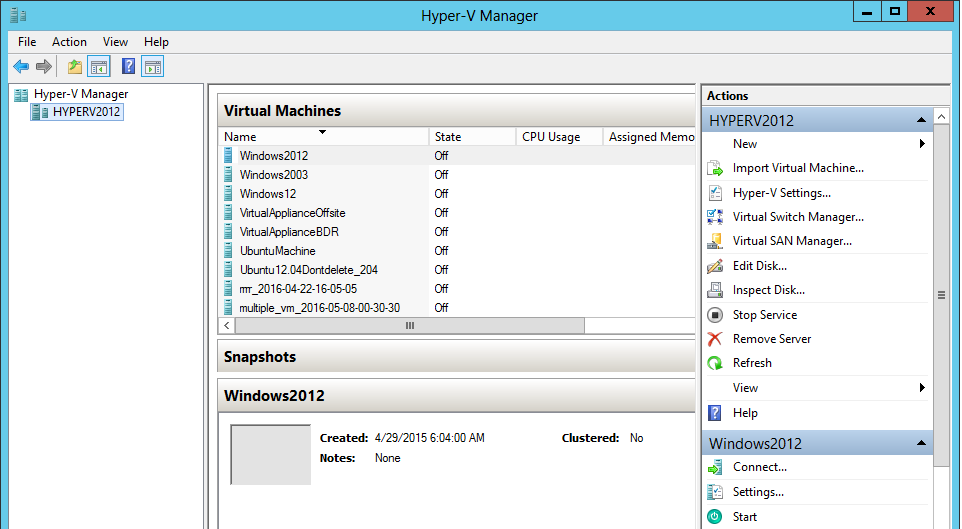
- Right click on the corresponding server under Hyper-V Manager.
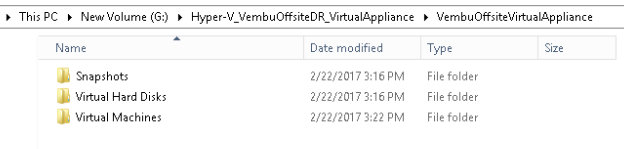
- Check whether VirtualApplianceOffsite folder contains the 3 folders shown in the screen shot below.
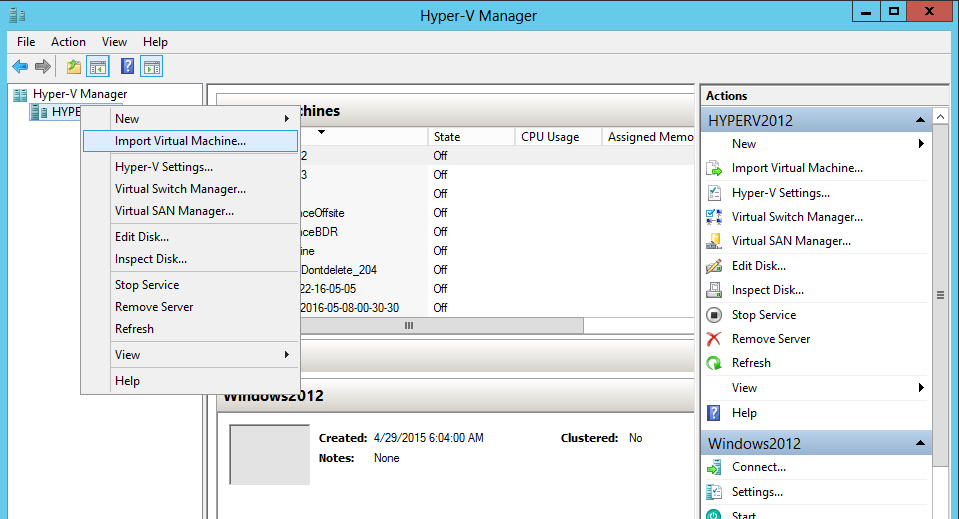
- Right click over Hyper-V host → select Import Virtual machine.
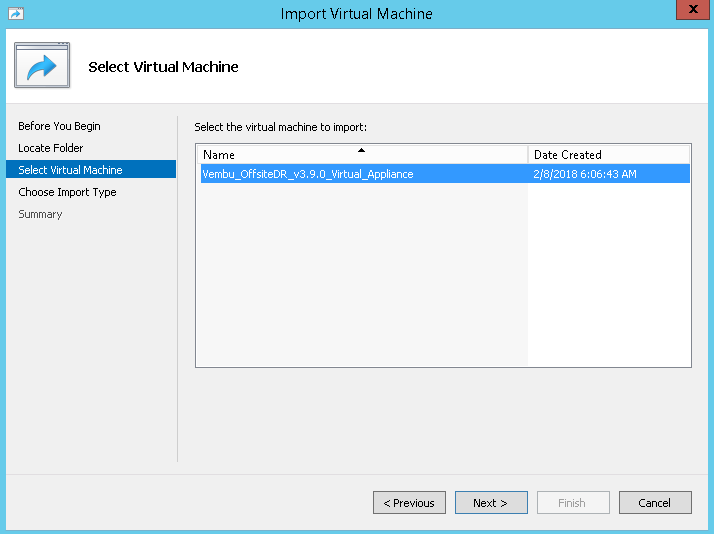
- Select the folder containing VHD and XML files.

- Select the VM ‘VirtualApplianceOffsite’ to import and click next.
- Choose import type as appropriate.

- Select location of configuration files for the VM and proceed with Next.
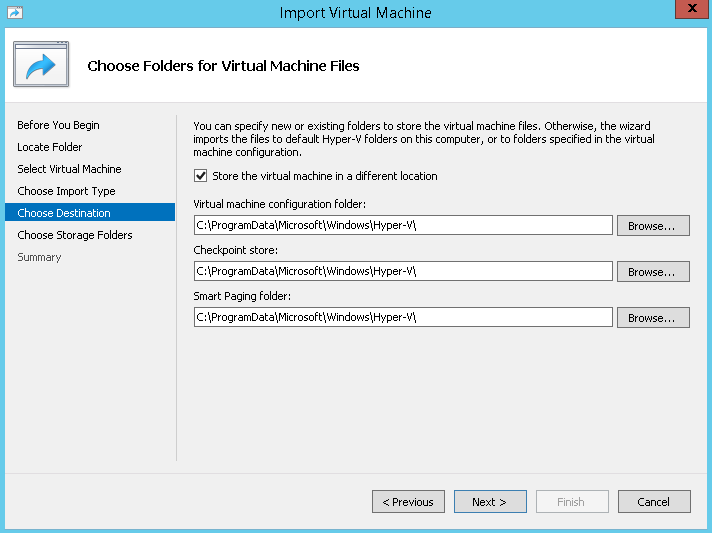
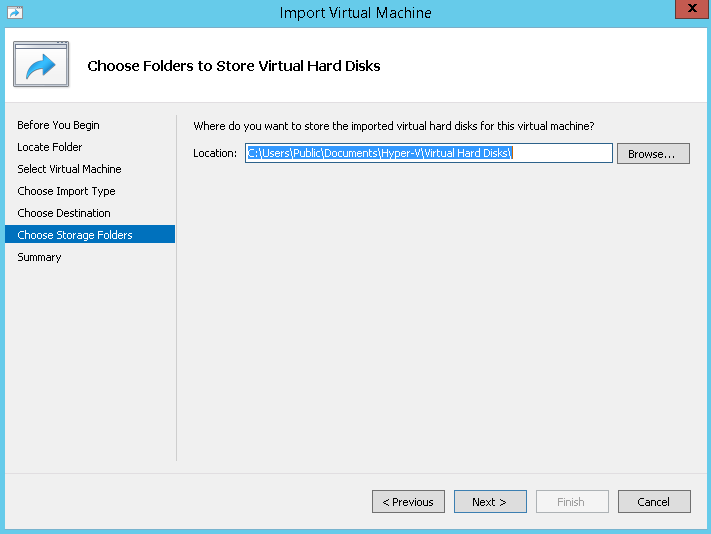
- Select storage location of the VHD files and click Next.
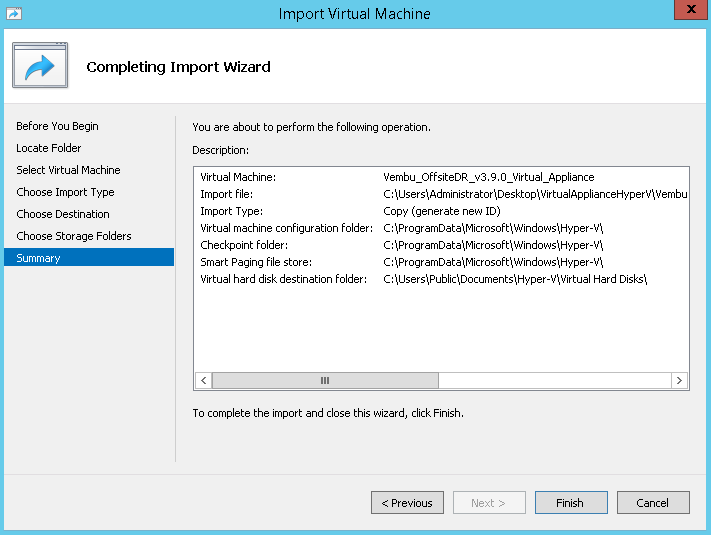
- Verify the configurations provided via summary and click finish to create VM.
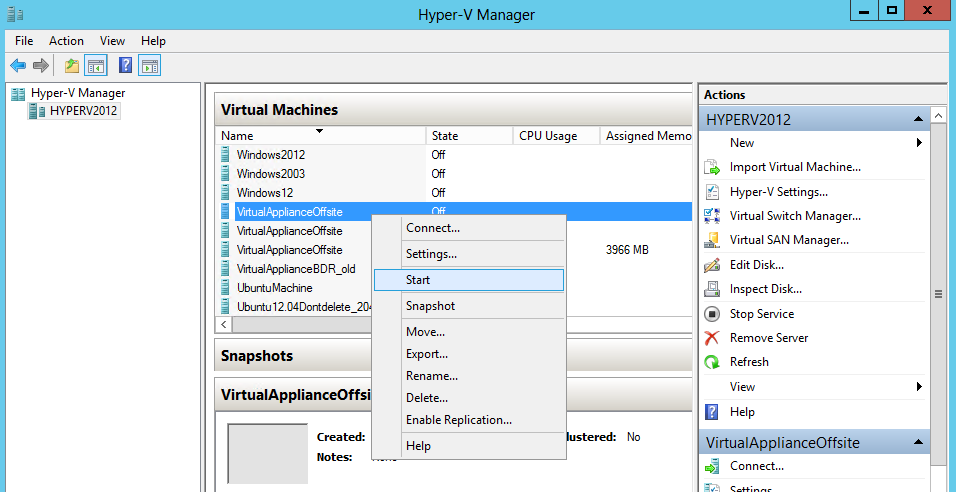
- Once deployment is completed successfully, start the created virtual machine.
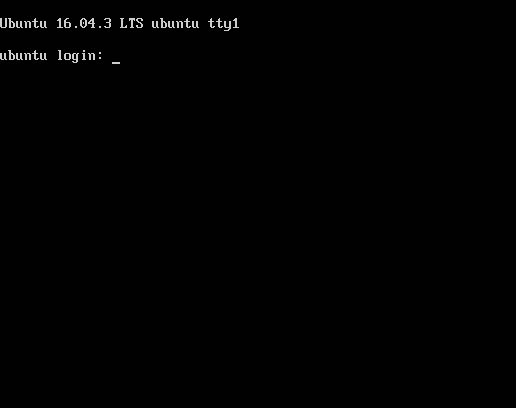
- By default, once machine is booted it logs in automatically. If locked use below credentials:
Default User details:
Username: vembu
Password: password
Root password: password (sudo -s)
- Open terminal and verify whether the PostGreSQL and Vembu OffsiteDR services are started using commands below:
- service postgresql status
- netstat -anp | grep 32005
- netstat -anp | grep 32004
- In order to configure IP address for the virtual machine, connect with a network adapter and type following command in terminal: vim /etc/network/interfaces
- Edit the interfaces file and add the appropriate ip address, netmask, gateway, dns server etc., and save the file.
- Restart the network with the following command: sudo /etc/init.d/networking restart
- To enable the network interface, type: ifconfig <interfacename> up
- Try pinging to google.com from virtual machine and ensure it gets proper response to verify network connectivity.
- Then open any web browser (FireFox or Chrome) and enter <machineip>:6060 to open Vembu OffsiteDR web console and login with username password as admin / admin.

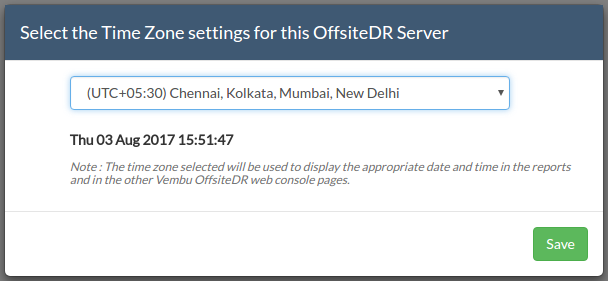
- Select your required time zone setting for the machine and click yes to proceed.
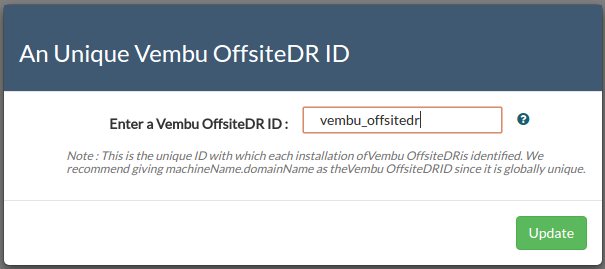
- Give an unique Vembu OffsiteDR ID, by default it takes the hostname and machine name as ID.
Note: The following characters are permitted as part of the Vembu OffsiteDR Server ID:
[ A-Z][a-z][0-9][ - _ .] Your ID must not start or end with special characters and it must be between 1-50 characters in length.
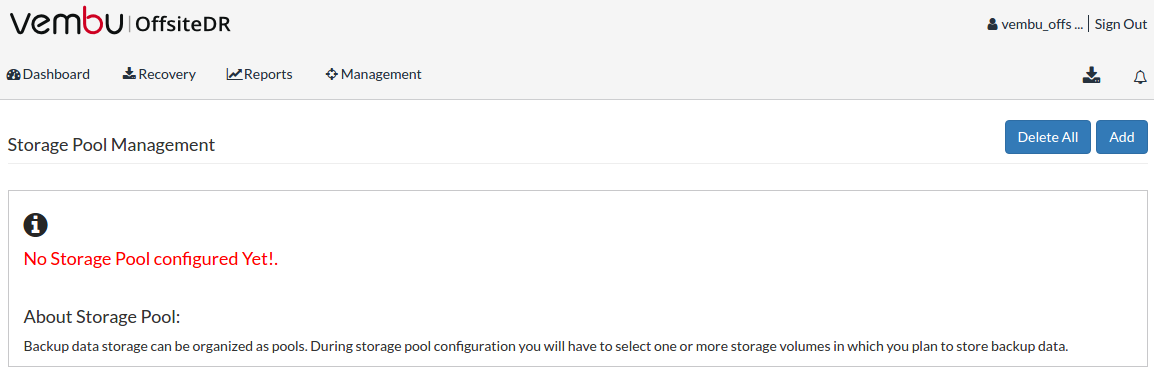
- Once Vembu OffsiteDR server ID configuration is updated successfully, you will be prompted to configure the repository details to store the backup data, Choose the volume and Click Update. Deployment of Vembu OffsiteDR server on your Hyper-V server is now successfully completed.
Limitations:
- KVM installation has some permission issues.
- Instant Boot is not supported.
- Virtual Appliance does not have network adapter in default, user needs to manually attach the network adapter/switch.