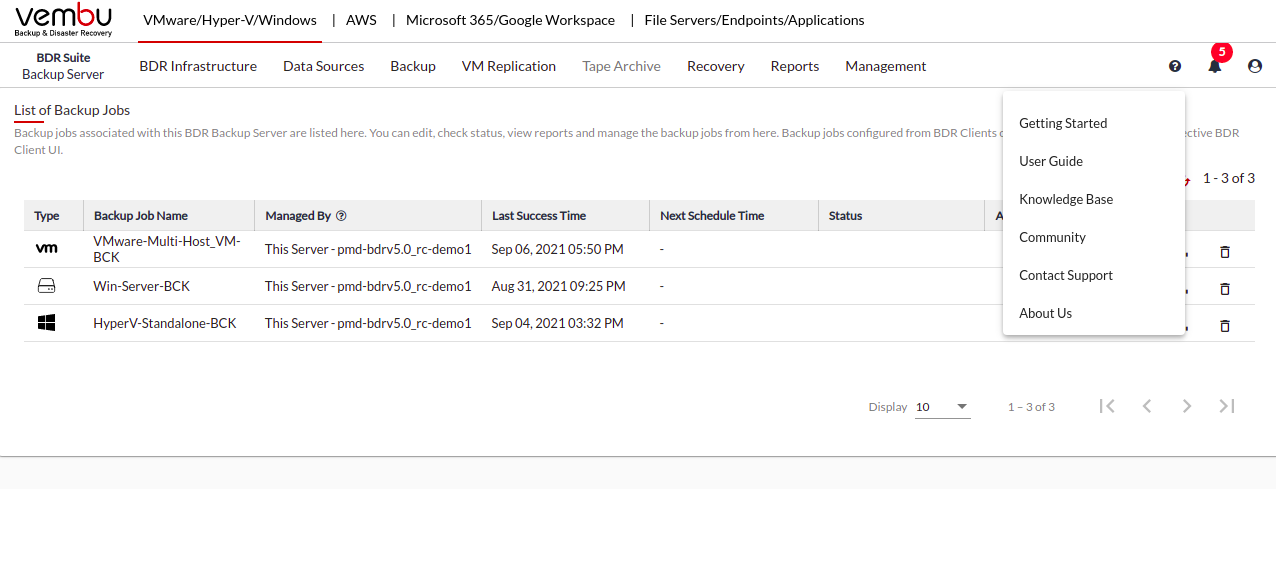
Step 2 - Upgrading Vembu BDR Backup Server
Windows BDR Backup Server
Download the latest version of the Vembu BDR Backup Server build, refer to the upgrade path for the download links.
Right-click on the downloaded build and select “Run as administrator”
The Vembu BDR Backup Server installation wizard will be opened, navigate through the installation wizard by clicking the 'Next', and click on ‘Install’ to start the upgrade process
Once the installation is completed click on 'Finish' to close the wizard.
Refer to the Windows BDR Backup Server installation guide for more information
Linux BDR Backup Server
Download the latest version of the Vembu BDR Backup Server build, refer to the upgrade path for the download links.
Start the installation by executing the downloaded BDR Backup Server build using the “sh” command. Make sure the user has 'Root Privileges'.
You will be asked 3 options to choose from: Choose 1 to proceed with Upgrade and enter ‘Yes’ or ‘Y’ to proceed with the installation.
Agree to License Agreement with 'Y' and Proceed.
Agree to download and install upgrade essentials with 'Y' and Proceed.
Choosing '1' for the installation type, which makes Vembu BDR Backup Server automatically start when the Linux Server restarts.
Once Vembu BDR Backup Server is upgraded, proceed with 'Y' to start Vembu Offsite DR immediately else choose 'N' to start later.
Refer to the Linux BDR Backup Server installation guide for more information


