File Restore
The file restore can be done with the following steps;
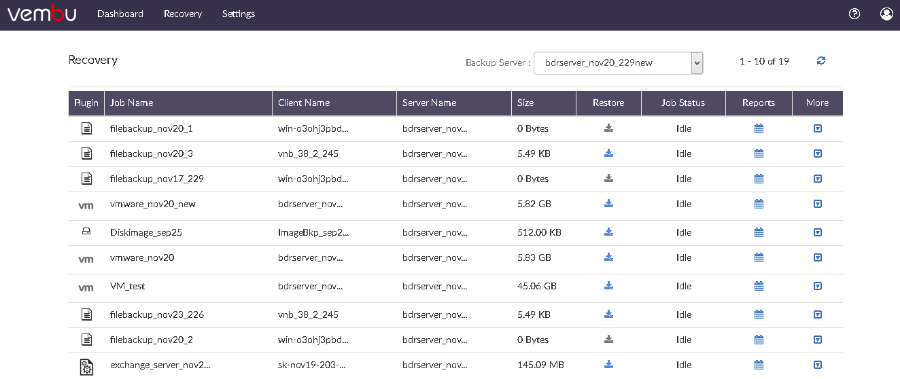
Step 1 - Begin the Restore
- To begin the restore, click the Recovery tab. The recovery page will be listed, click the restore icon near the file backup that is to be restored.
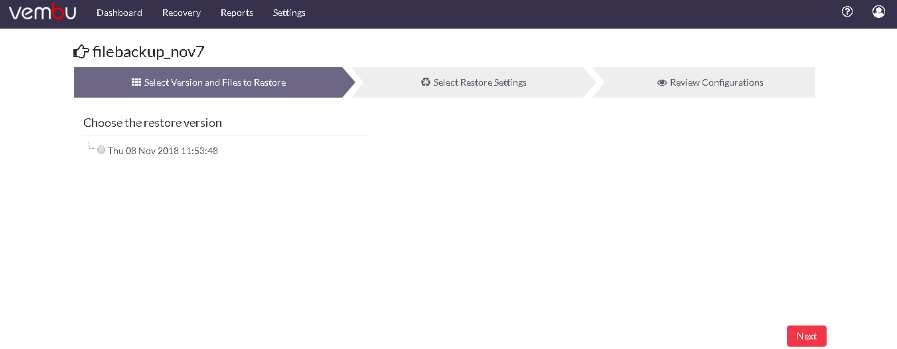
Step 2- Select Version
- A tree listing various backup time-stamps with the full backup as its parent node will be displayed. This list generated is based on incremental and retention configured. If an additional full backup is configured, then there will be more than one parent node list based on the configuration.
- Select the time-stamp from which you want to restore data and proceed to select files/folders.
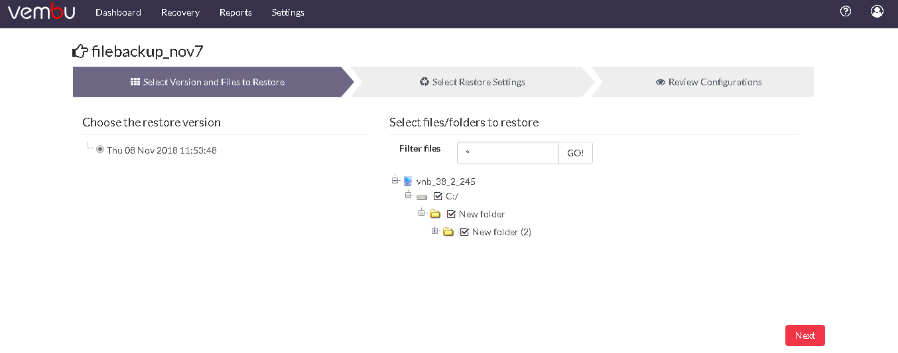
Step 3- Select Files/Folders
A tree list with backed up files and folders based on chosen time-stamp will be displayed.
You can select files/folders in 3 ways. You can either:
- Select the root folder to proceed to restore the entire backed up data for the chosen time-stamp.
- Select specific files and folders alone based on requirements and proceed with the restore.
- Using the filter option, you can filter files by file types with extensions(Ex: *.doc). Filtering more than one file type can be done by separating them with a comma (Ex: *.doc, *.pdf, and so on).
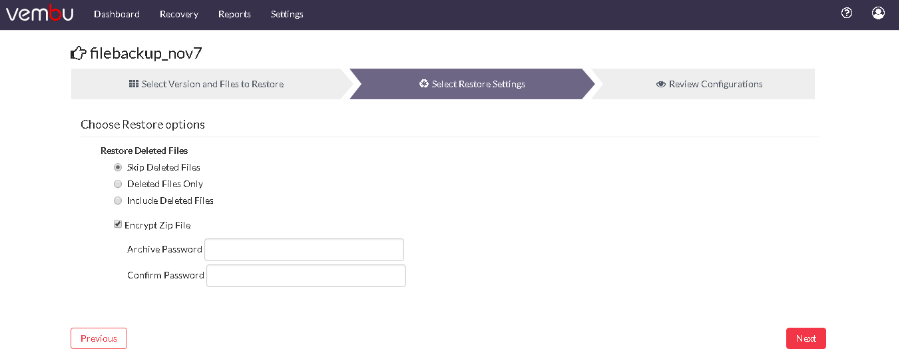
- The next step in the restore process will be to configure the Restore Settings for the restore.
- Restore deleted files - This gives 3 options to choose from which are explained below
- Skip deleted files
- Deleted files only
- Include deleted files
- Skip deleted files (Restore backup data skipping deleted files) - Choosing this option will not restore the deleted files and skip them instead.
- Deleted files only (Restore deleted files alone) - This option will restore the files that are deleted alone and omit the other backed up data from the restore process.
- Include deleted files (Restore backup data along with deleted files) - This option will restore the backup data along with the deleted files.
- You can encrypt the files that are being restored using the Encrypt Zip Files option. Provide the password and click Next to review configurations.
The password you enter should satisfy the following conditions:
|

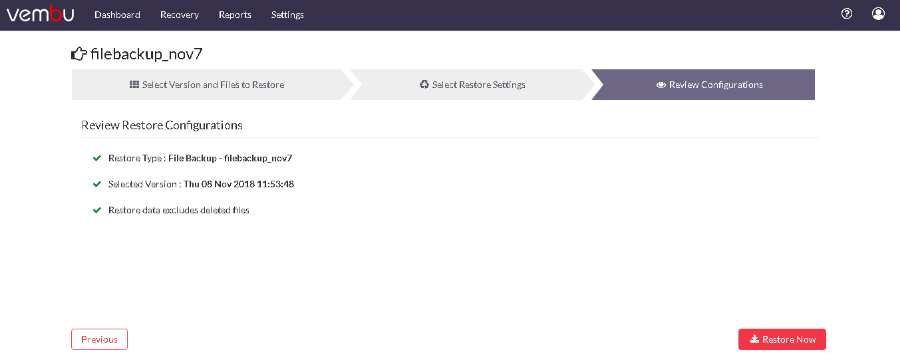
Step 4: Review Configurations
- You have reached the final step of the restore process wherein you have to review the configuration you have provided.
- Check the following:
- Restore Type
- Selected Restore Version
- Restore Options
- Click Restore Now option. This will trigger the restore process. Review restore progress and make sure it gets completed successfully.
- Once you trigger the restore, you can track its progress from the restore progress tab. After being redirected to the Restore page, choose the inverted arrow mark in the status section to view the page displayed below.
- You can abort your restore if not required from the Abort (-) option available in that window. You will get a popup window, click OK to Suspend your restore.
To enhance your restore performance, close the progress window and open it only occasionally to check the restore progress |
- You can suspend your restore if not required from the Suspend option available in that window. You will get a popup window, click OK to Suspend your restore.