Deployment
The BDRSuite for MS SharePoint requires installation of two components; 1. The BDRSuite Backup Server and 2. BDRSuite Client for Files & Applications.
BDRSuite Backup Server
1. Download
Click here to Download the BDRSuite Backup Server. You can check the supported OS for BDRSuite Backup Server installation here.
2. Install
Guide to perform installation - Click here
3. Login
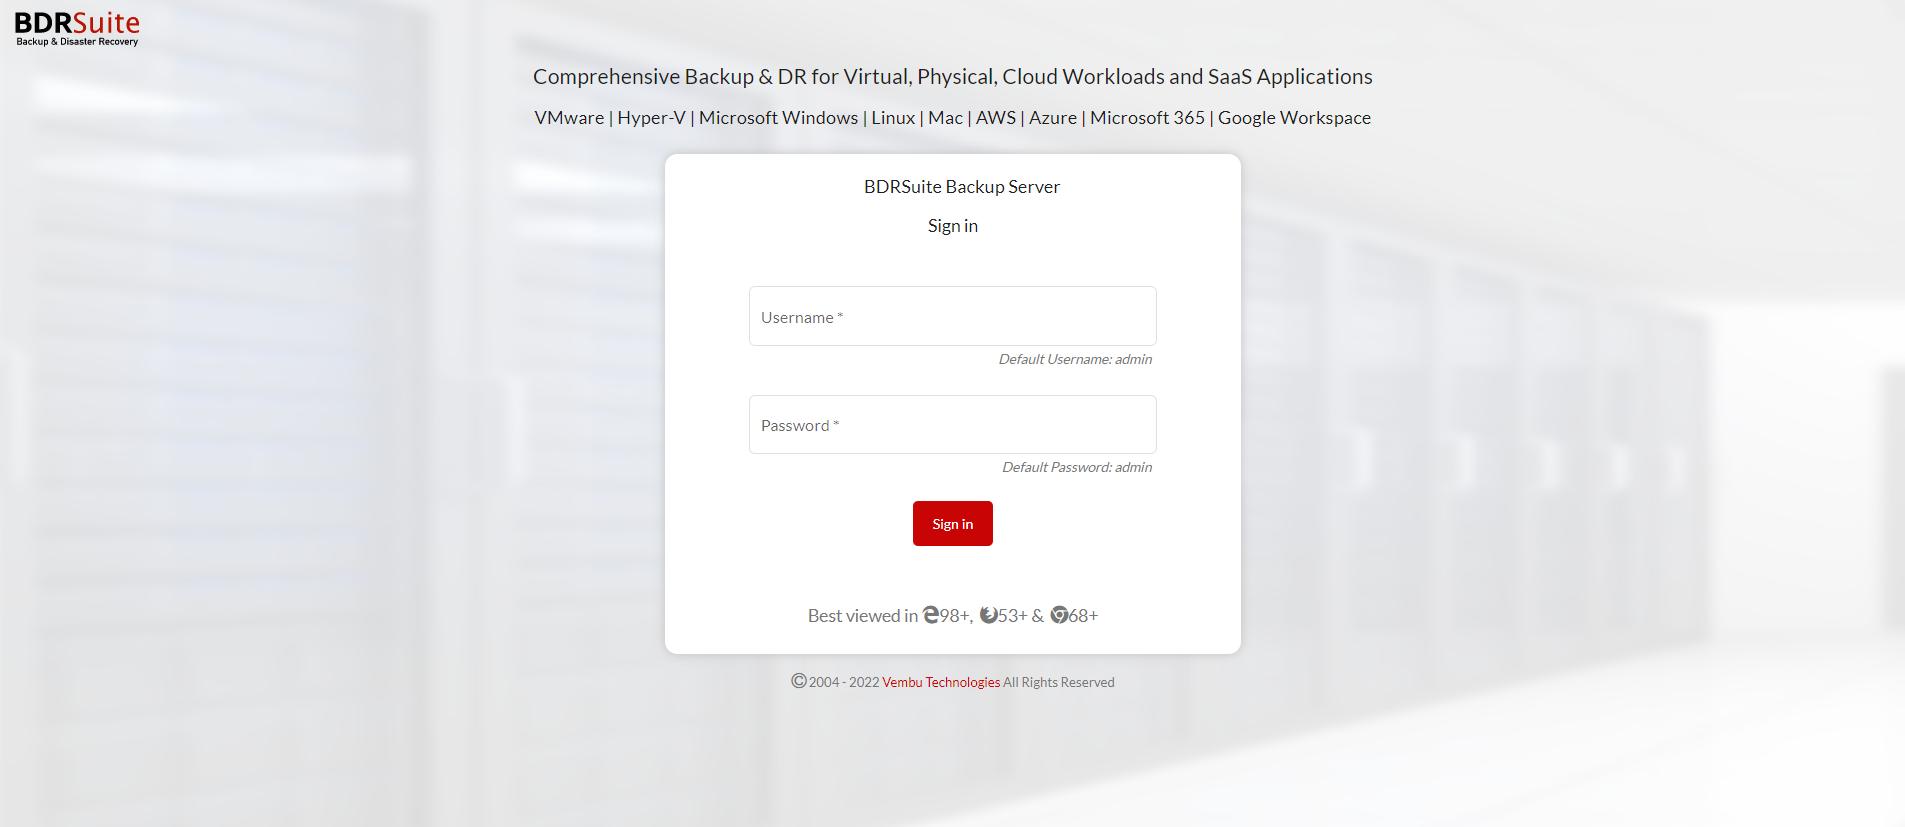
Once the installation is complete you can log in to the BDRSuite Backup Server's Web-GUI via the following options:
- Entering the URL: https://localhost:6061 (or)
- HTTP://<IP_Address_of_Machine>:6060.
- View the Supported Browsers here.

4. Unique BDRSuite ID Setup
Enter a unique BDRSuite ID. The ID should be globally unique, as it is with this ID that each installation of the BDRSuite Backup Server will be identified.

To configure back up for your MS SharePoint, you need to install 2nd component the BDRSuite Client for Files & Applications.
BDRSuite Client for Files & Applications
1. Download
The BDRSuite Client for Files & Application can be downloaded by navigating the BDRSuite Backup Server as follows;
Under the main tab Applications & DBs navigate to Data Sources -> Manage BDRSuite Clients -> Download BDRSuite Client
2. Install
Guide to perform installation - Click here
3. Login
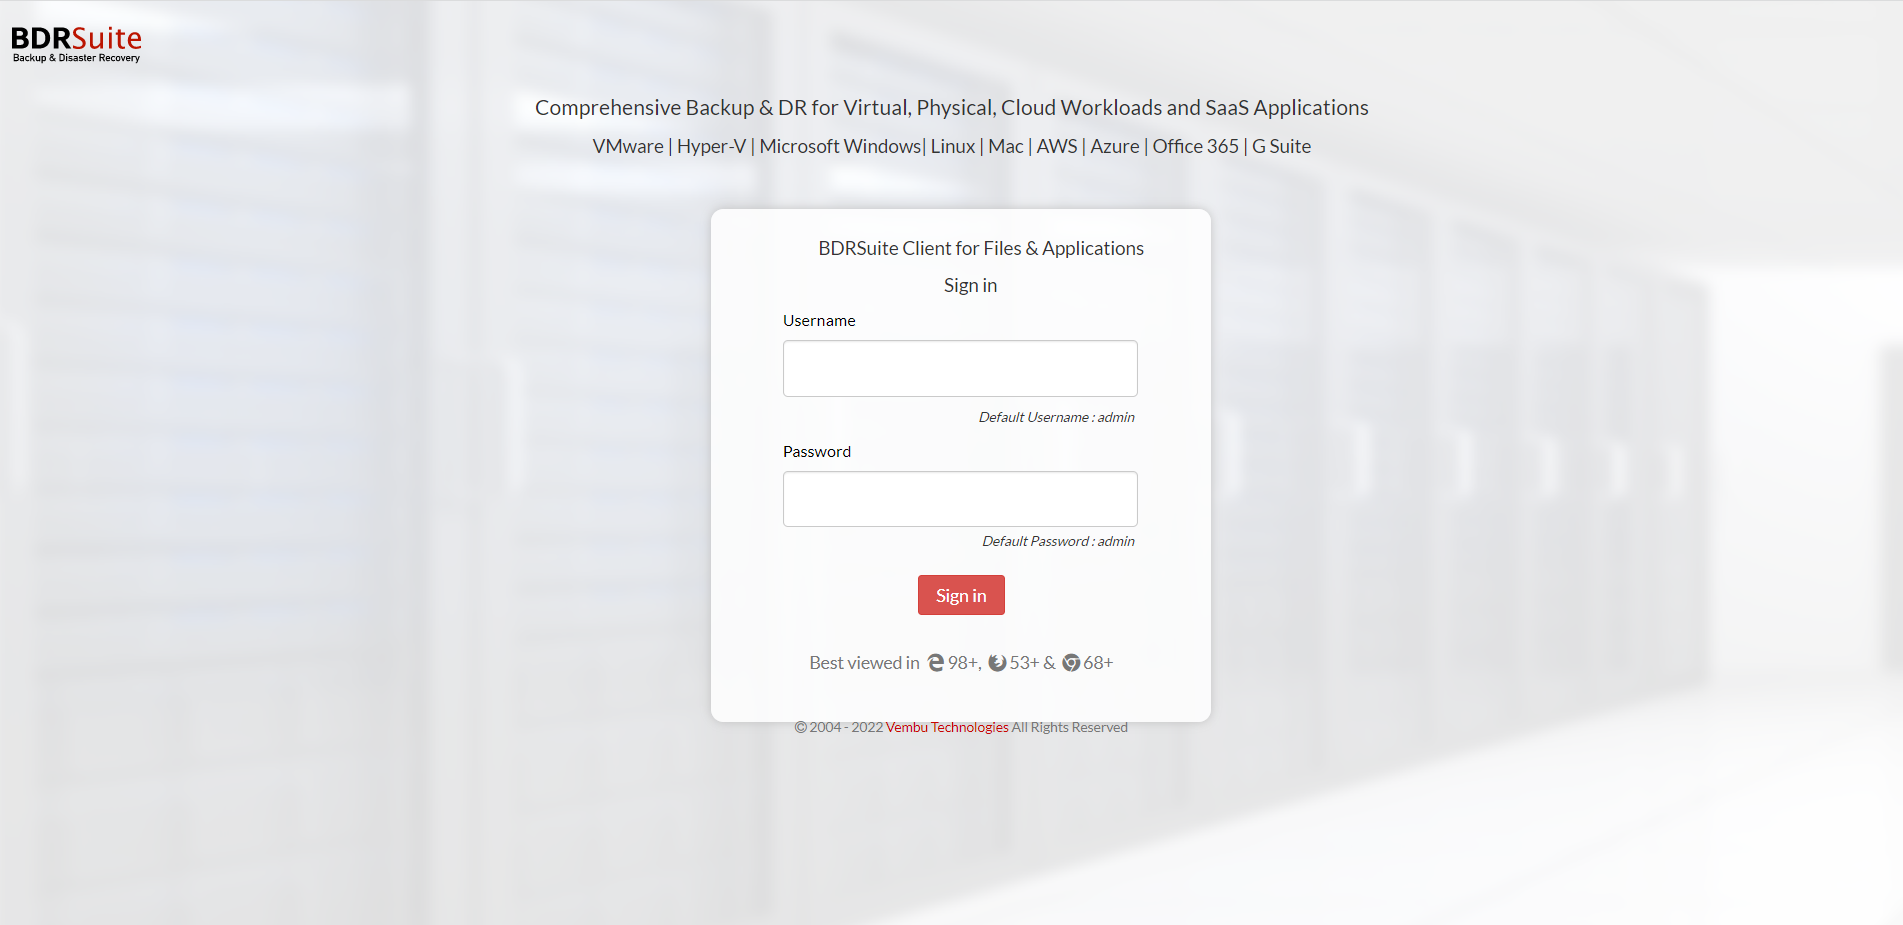
Once the installation is complete you can log in to the BDRSuite Client for Files & Applications Web-GUI via the following options:
- Entering the URL: https://localhost:4041 (or)
- HTTP://<IP_Address_of_Machine>:4040.
- View the Supported Browsers here.

4. Registering the BDRSuite Client for Files & Application to the BDRSuite Backup Server
Enter the IP address of the machine where you have installed the BDRSuite Backup Server and click on Add. The BDRSuite Client for Files & Application will be registered to the BDRSuite Backup Server.

Once after setting up, you can start the Backup Configuration by navigating the BDRSuite Client for Files & Application as follows;
Backup -> Configure Backup -> MS SharePoint.
PreviousNext