Vembu BDR Suite » Vembu Cloud Backup for File & Application » Installing Vembu Client for File & Application Backup (Cloud) » Windows
Windows
OnlineBackup Client - Windows
To install OnlineBackup Client on Windows, follow the steps given below:
- Log into OnlineBackup server account via onlinebackup.vembu.com and go to the Download tab.
- This section will provide links to download OnlineBackup Client installer for various OSes such as Windows, Linux, and Mac.
- Download the Windows Client installer as per the requirement to your client machine.
- Run the downloaded .msi installer to deploy the client agent in the machine.

- Run the installer and click Next on the Welcome window.

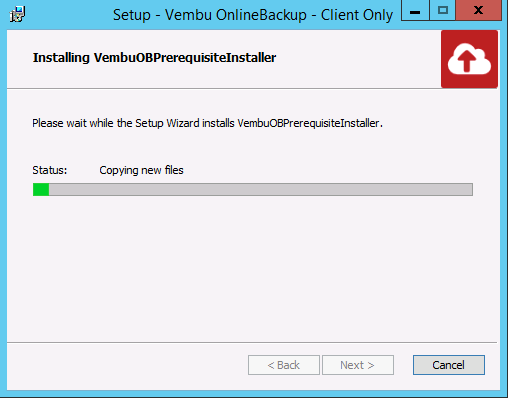
- The installer will check for the following packages based on the OS type (32 bit or 64 bit) and will proceed to install them (if not installed previously).
- Visual C++ 2008 redistributable packages x86
- Visual C++ 2008 redistributable packages x64
- Visual C++ 2013 redistributable packages x64
- Visual C++ 2015 redistributable packages x86


- Run the downloaded installer, Pre-installation check will be processed and OnlineBackup Client installation file will be downloaded. Once the download is over, click Next to proceed with the installation process.
- Choose the installation option you want to proceed with. Opting for Automatic will auto-choose an optimized configuration for your install. Proceed with Advanced if you want to change the default values. Click Next when done.
It is recommended to choose Advanced installation |

- Proceeding with Advanced installation will let you choose the installation type. This will allow you to install OnlineBackup Client:
- As a Windows application or
- As a Windows service
- By default, install as a Windows service will be selected.

- Proceed to choose the installation location. By default, it is set to '<OS installed drive>\Program files\'.

- Proceed with Next and review the details provided. Once done, click 'Install' to begin the installation.

- The final step of the wizard after installation will ask you whether to:
- Start BDR Backup Server and
- Open Vembu BDR Web Console
- You can either leave the options selected and click Finish or chose to UnCheck them and start later.

