Microsoft Exchange Server
Microsoft Exchange Server
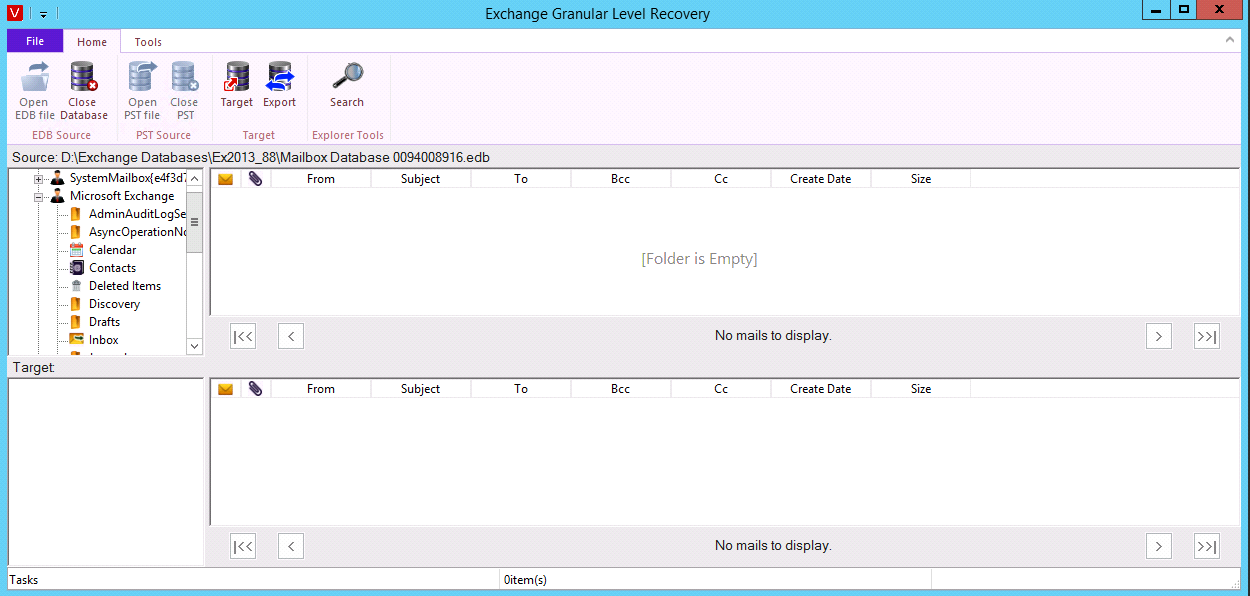
Vembu Universal Explorer is used to perform individual E-Mail level restore with the help of .edb file from the source VHD and to restore the entire mailbox to a live Microsoft Exchange Server. You can view the Exchange Mailbox contents instantly from Vembu Universal Explorer.
- Live restore can be performed to the target MS Exchange Server.
- Used to export the selected Mailboxes or individual E-Mails into .pst format.
- Perform mail level restore from the exchange database.
- View the Exchange E-Mail contents directly from Vembu Universal Explorer UI.
Requirements
- To open database files, Vembu Universal Explorer requires a service dynamic link library (ese.dll) which is installed together with Microsoft Exchange.
- For Exchange Server 2007 EDB and Exchange Server 2010/2013/2016 EDB, we can configure the ese.dll by navigating to the "File ? Settings". Now browse and select the location of ese.dll.
- Vembu Universal Explorer only supports database files (.edb) created with the 64-bit version of Microsoft Exchange Server 2007, 2010,2013 and 2016.
- If you are planning to export mailbox items as Personal Folder Files (.pst) or restore to Exchange Server, it is necessary to have the 64-bit version of Microsoft Outlook 2010 installed in the system.
- The mailbox which is used for creating the MAPI profile should have administrator privileges, and we need to run our exe from that user only.
- .NET framework 4.0 or 4.5 has to be installed in the machine to perform Save EML message.
1. To restore E-Mails, Calendar, and Contacts to the Exchange Server by using EDB files
- Start Vembu Explorer to restore E-Mails from Exchange Server.

- Go to Home tab, click Open EDB file option and select the Source File. Browse the EDB files and click OK.

- You can view all the mailbox items in the Source section.

- Click the Mailbox and open the inbox.
- Go to the home tab and click the target option to open the target Exchange Server. Once you select the target Exchange Server option, it will prompt a pop-up box where you will be asked to enter the destination server Name and Mailbox Name. Once the required information is provided, click OK to proceed further.

- You can view all E-Mails in the target of a connected Exchange Server.

- Right-click the mail and select Send to Exchange Server Mailbox to copy the emails to the target database.


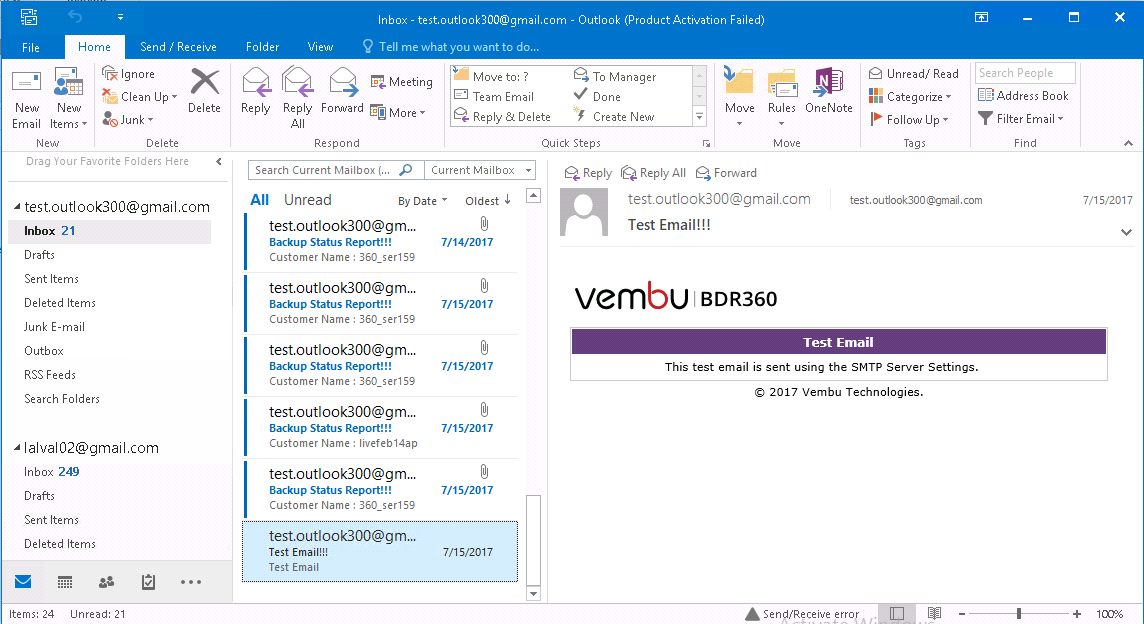
- When you open MS Outlook, you will see all your copied emails.


- Click the Close Database icon from home, then click Yes to confirm it.
You have to close the Source EDB files to browse other EDB files |

2. To Export emails, Calendar, and Contacts to the PST files using EDB files
- Go to Home, click the Open EDB file icon and Select Source.
- Browse the EDB files and click OK.

- You can view all the Mailbox items in Source.

- Click the MailBox and open the Inbox or Notes to view the E-Mails.

- Go to the Home tab and click the Export icon.
- Select the path where you want to restore PST files and enter the filename. (You can create a new PST file with the given name)

- You will have the exported files in the selected PST location as shown in the window below.

- Right-click the mail and select the desired method to copy the mails to the target PST.
- You will be provided with two methods to copy the E-Mails: Export to PST and Send to PST.

- Once you click the Export to PST option you will be asked to select the new *.pst file location path.

- If you select the Send to PST option, the E-Mails will be directly copied to the target PST.

The mail view is not supported for PST files. It can be viewed in MS Outlook |
- Open MS Outlook. Go to File option and click Open, select Open Outlook Data File (.pst file).

- Select the PST location and click OK.

- A new account Vembu MLR 01 in the MS Outlook with all exported E-Mails will be visible.

3. To Export E-Mails, Calendar, and Contacts to the Exchange Server by using the PST files
- Go to Home and click Open PST file, you will be required to provide the PST file path. Browse for the PST file to be selected and click OK.

- A list of all mailbox items of the selected PST file is viewed in the Source section.

- To connect with the destination server, click Open target Exchange Server. A new window will ask you to enter the Server and mailbox names.
- Once the required information is provided, click OK to proceed further.

- You can view all the mailbox items of a selected Exchange Server in the Target section.

- Right-click the mail and send to the selected destination Server or drag the E-Mail items to Target Section.
- The emails are recovered to the desired destination Server.

4. To save the message from EDB File
- Go to the Home tab and click Open EDB file icon, select the Source files.
- Browse the EDB files and path. Click OK once the required files are selected

- Mailbox items of the selected database file are listed in the Source.

- Check the E-Mail items such as Inbox, Sent Items, etc.

- To save the mailbox items of the selected EDB, right-click over the E-Mail and click Save EML.

- Enter the location to save the EML or HTML.

- The message will be saved in the given location.

- The saved messages can be opened and viewed with outlook.

