Vembu NetworkBackup Proxy - Mac
Vembu NetworkBackup is currently supported for the below mentioned Mac OS versions. To install, make sure you use any of the below-listed OSes):
- 10.10 (Yosemite)
- 10.11 (El Capitan)
- 10.12 (Sierra)
- 10.13 (High Sierra)
To install Vembu NetworkBackup on Mac, follow the steps given below:
- Download Vembu NetworkBackup Client from this link - NetworkBackup Client. Select the 'Vembu NetworkBackup Client' tab and click NetworkBackup Client IMac Installer. Moving the mouse over this option will display the supported versions.
- Download Vembu NetworkBackup Client installer for Mac. The downloaded file will be in zip format: VembuNetworkBackup_IMac_Client_Only.zip.
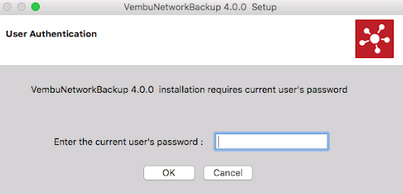
- Unzip the file and run the installer file from the unzipped folder. You will be required to provide the current user's password to proceed with the installation.
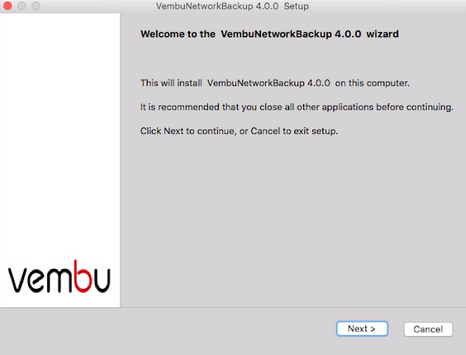
- The installation will begin with the wizard displayed below. Click Next in the welcome window to begin the installation process.
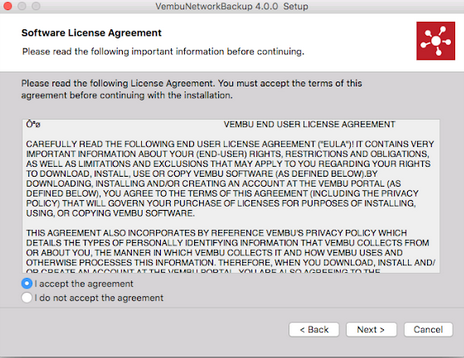
- Read the Vembu Software License Agreement carefully as it contains important information about your Rights, Restrictions, Obligations, Limitations, and Exclusions. Choose 'I accept the terms in the License Agreement' option and click Next to proceed with the installation
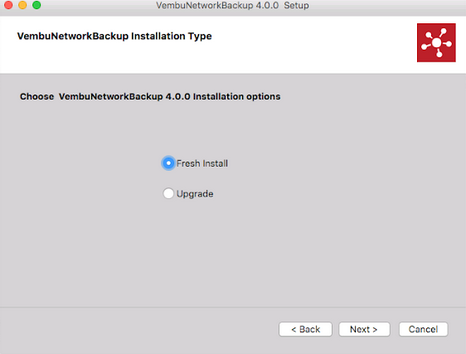
- Choose the installation option based on its nature, if it's a fresh installation proceed with Fresh Install option or Upgrade if you are upgrading an already existing setup.
- Let's proceed with Fresh Install option (Assuming we're installing in a fresh machine). Select Fresh Install option and click Next to continue with your installation process.
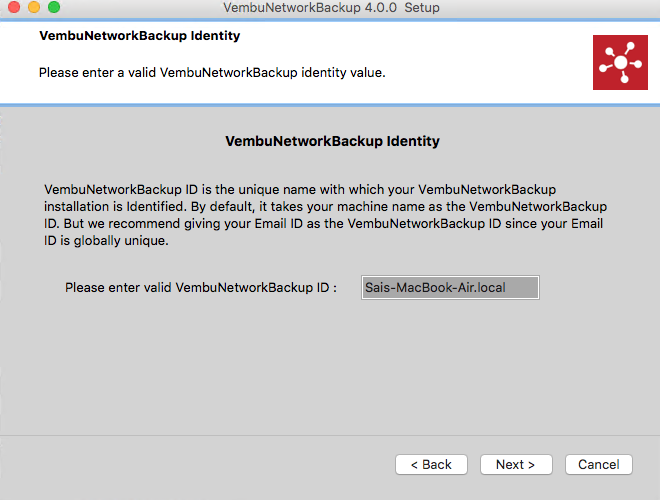
- The installation wizard will ask you to enter the Vembu NetworkBackup Client. By default, it will be the system name but it is recommended that you give your email ID, since it is globally unique. Click Next to continue installing Vembu NetworkBackup Client.
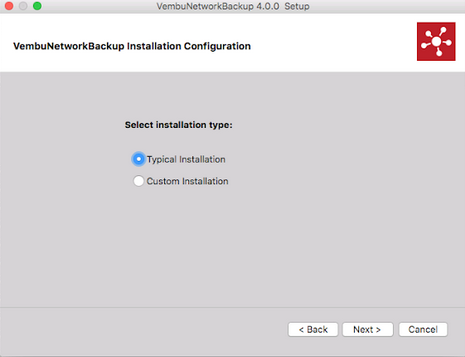
- Choose the installation option you want to proceed with. There are two types of installation: Typical and Custom
- Opting for Typical will automatically choose an optimized configuration for your installation. Proceed with Custom if you want to change the default values. Select your required type and click Next to continue with the installation process.
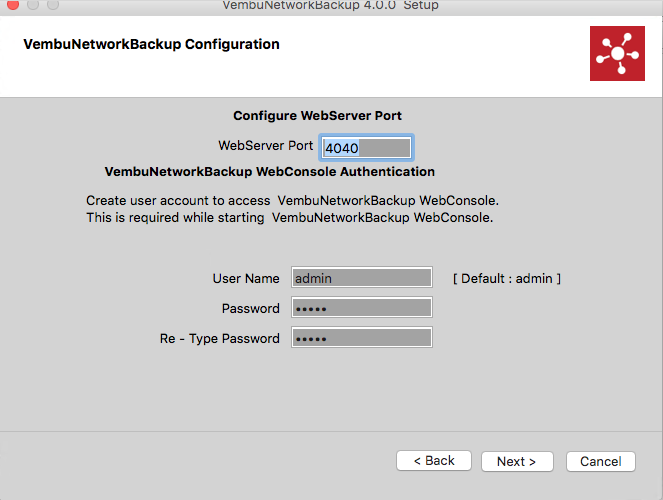
- Proceeding with custom installation will allow you to provide the login credentials for the web console access. By default, the username is: 'admin' and password: 'admin'. You can modify the WebServer port, but it is recommended to leave it with the default values unless the port is already assigned for some other process.
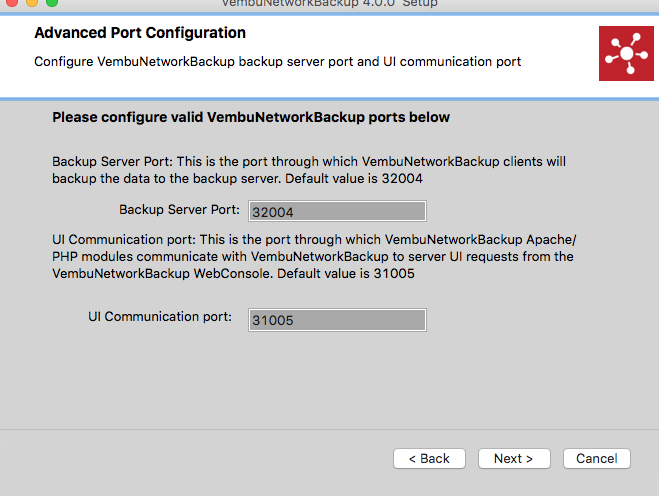
- You can modify the backup server and UI communication ports. It is recommended to be left with the default values unless the ports are already assigned for some other process. Click Next to proceed further with the installation.
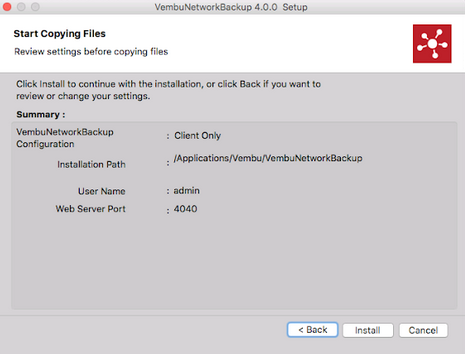
- Review the configurations and proceed with the installation once done reviewing.
- Once the installation completes, you will be asked to choose how to run Vembu NetworkBackup Client. Run as a:
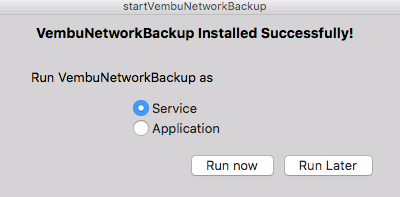
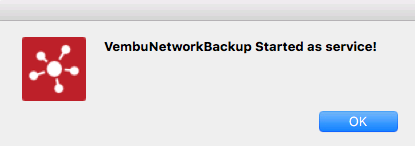
- Choosing run as a service will auto-start Vembu NetworkBackup Client to run as a service.
- If you are selecting Upgrade option and need to upgrade to the latest version, download the latest build, open the file and click Upgrade option. Select the path where Vembu NetworkBackup Client is installed. Once done selecting the path, Next to proceed with the upgrade process.