Vembu NetworkBackup Proxy - Ubuntu
Vembu NetworkBackup is currently supported for the below mentioned Ubuntu OS versions (please make sure that you are using any one of the below versions).
- Red Hat Enterprise Linux 5 and later
- Debian Linux 8.0 and later
- CentOS 5.2 and later
- CloudLinux 5.10 and later
- Fedora 11 and later
- Ubuntu 10.04 and later
To install Vembu NetworkBackup Client agent on Linux machines follow the steps given below:
- Copy the build link of Vembu NetworkBackup Client from this link - Vembu NetworkBackup under the tab 'Vembu NetworkBackup Client' ( Debian and Redhat) and download using the wget command.
- Make sure you are logged in as root user (use the sudo su command to be as a root user).
The following installation steps are applicable if you are going to install Vembu NetworkBackup Client on Ubuntu/CentOS machines:
- You will find “VembuNetworkBackup_4_0_2_DBN_Client_Only.zip” in the downloaded location.
- Unzip the downloaded zip file, you will have “VembuNetworkBackup_4_0_2_DBN_Client_Only.bin” file extracted.
- Proceed with the installation by executing the following command:
“./ VembuNetworkBackup_4_0_2_DBN_Client_Only.bin”.

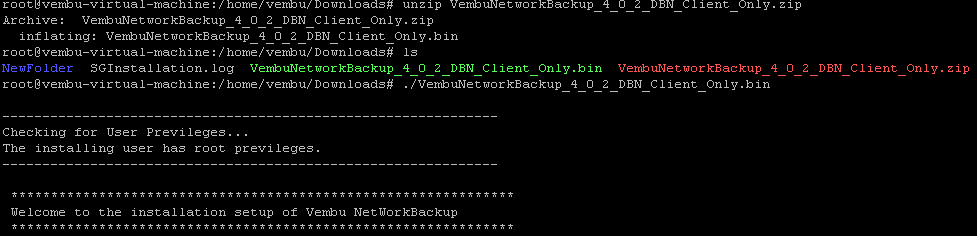
- The installer will check for user privileges. If you are not a root user use the “sudo su” command to be a root user and proceed with the installation:
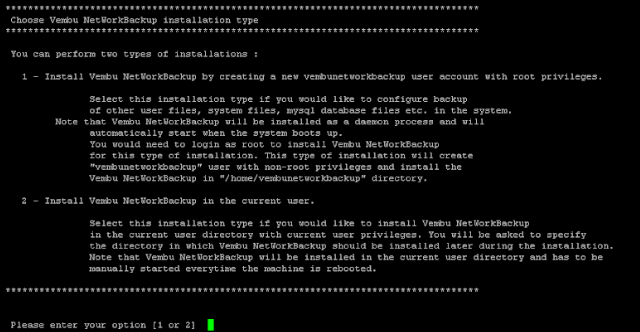
- choose “option 1” to install Vembu NetworkBackup Client by creating a new Vembu NetworkBackup Client user account with root privileges.
- or “option 2” to install Vembu NetworkBackup Client in the current user and proceed with the installation.
- Read the license terms and agree to it by entering y and proceed with the installation.

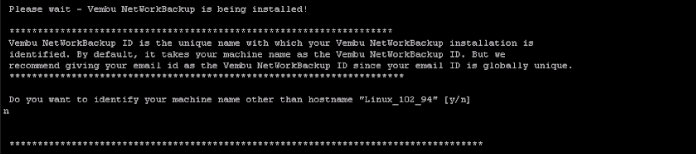
- Enter a unique Vembu NetworkBackup Client ID or by default, it takes the hostname as ID.
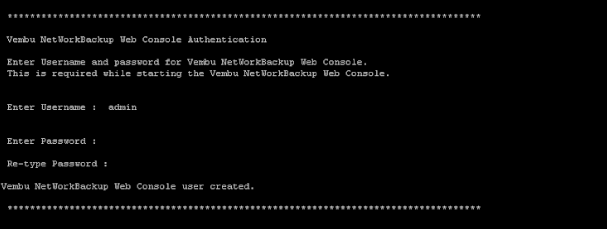
- Enter the desired username and password to access the Vembu NetworkBackup Client Web-Console.
- If you do not wish to go with default ports then proceed with ‘yes’ else enter ‘No’.

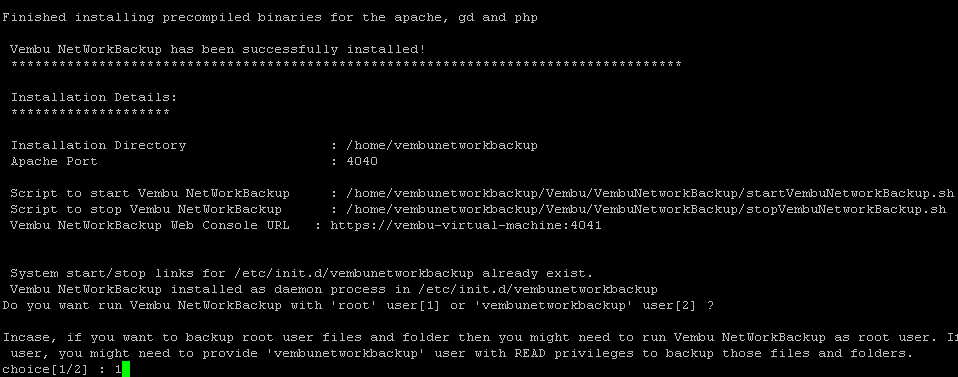
- If you want to backup root user files choose ‘Choice 1’ else select ‘Choice 2’.
- Once the installation is complete you will be asked to start Vembu NetworkBackup Client as a Daemon process or not. Choose “Yes" if you wish to initiate the daemon process.

- If you haven't started Vembu NetworkBackup Client, you can start it later using the command “sh startVembuNetworkBackup.sh”. To stop Vembu NetworkBackup Client use “sh stopVembuNetworkBackup.sh” command from the installation location.