Vembu NetworkBackup Proxy - Windows
- Download Vembu NetworkBackup Client from this link - Vembu NetworkBackup Client Select the 'Vembu NetworkBackup Client' tab and click NetworkBackup Client Windows MSI Installer. Moving the mouse over this option will display the supported versions.
- Run the downloaded .msi installer to deploy the client agent in the machine.
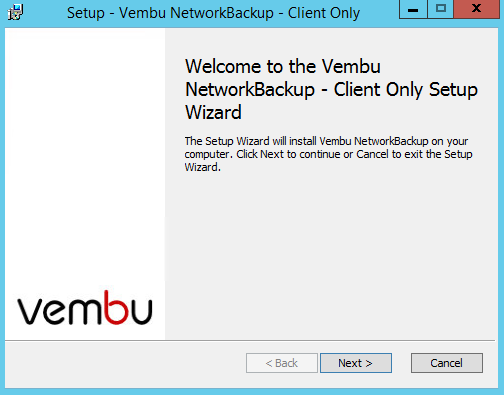
- Run the installer and click Next in the welcome window.
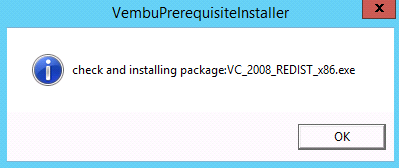
- The installer will check for the following packages based on the OS type (32 bit or 64 bit) and will proceed to install them (if not installed previously).
- Visual C++ 2008 redistributable packages x86
- Visual C++ 2008 redistributable packages x64
- Visual C++ 2013 redistributable packages x64
- Visual C++ 2015 redistributable packages x86
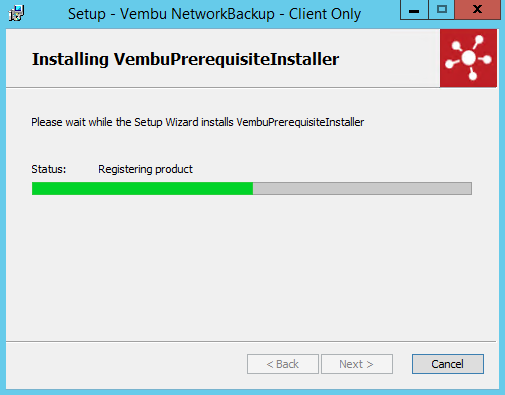
- Click Next to proceed installing Vembu NetworkBackup.

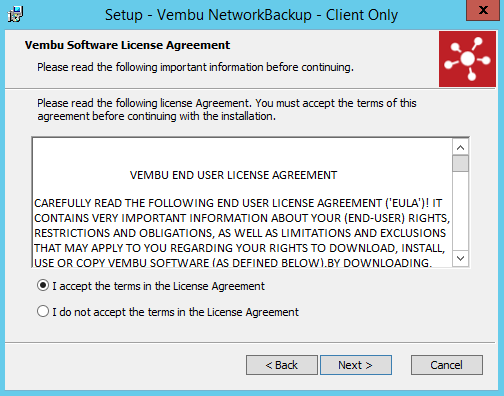
- The next step is the Vembu Software License Agreement. Read the License Agreement carefully as it contains important information about your Rights, Restrictions, Obligations, Limitations, and Exclusions. Choose 'I accept the terms in the License Agreement' option and click Next to proceed with the installation.
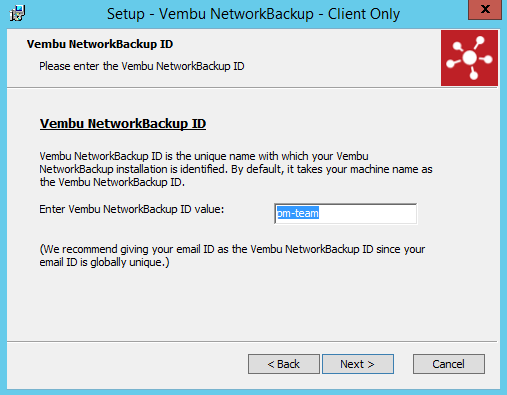
- The next step is to enter the Vembu NetworkBackup ID. By default, it will be your system name but it is recommended that you give your email ID, since it is globally unique. Click Next.
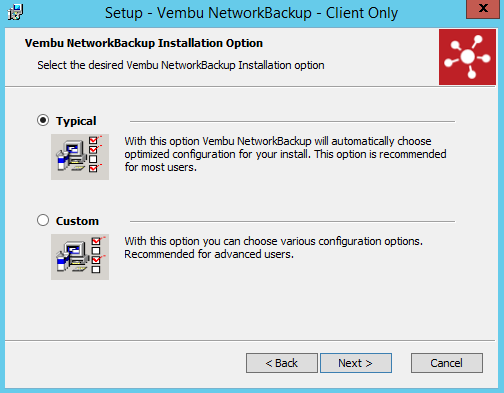
- Choose the installation option you want to proceed with.
- Opting for Typical will automatically choose an optimized configuration for your install. Proceed with Custom if you want to change the default values. Select the required option and click Next to proceed further with the installation.
Note: We recommend choosing Typical as the installation option.
- Proceeding with custom installation will lead to choosing the installation type. This will allow you to install Vembu NetworkBackup:
- As a Windows application
- As a Windows service
What happens when Vembu NetworkBackup is installed as a application or service is explained in the image below.
- By default, Install as a Windows service will be selected.
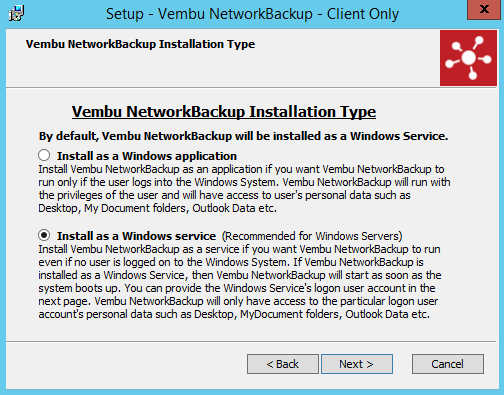
- Proceeding further will let you configure logon account for Windows service. You can either:
- Log-on in Local System Account or
- Log-on as a specific user (usually a user with administrator privileges).

- Proceed to configure the installation location. By default the installation location is set to '<OS installed drive>\Program files'.
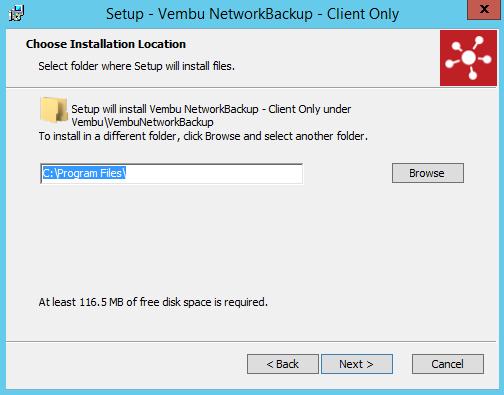
- Click the Browse option to configure the installation location. Select the required location and click OK. Once done configuring the installation location, click Next to proceed further in the installation process.
Note: At least 116.5 MB of free disk space is needed for the installation to occur

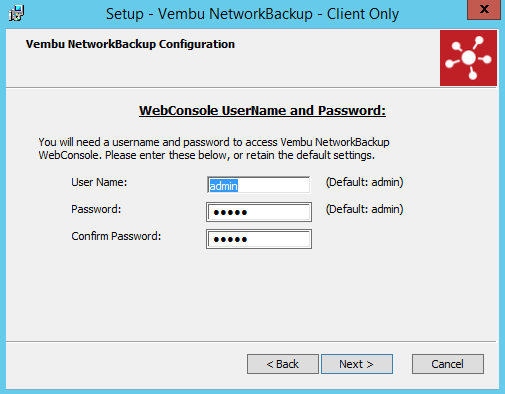
- The next step is to configure the WebConsole username and password. Provide the login credentials for Web console access which is set as username: 'admin' and password: 'admin' by default. Click Next to proceed further with Vembu NetworkBackup installation.
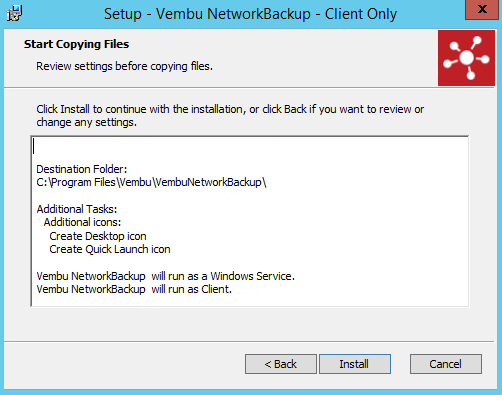
- Proceed to choose Program folder and then choose shortcut icons if required. Once done configuring the required options, verify the details provided in the final window shown. Click Install to proceed with the installation.
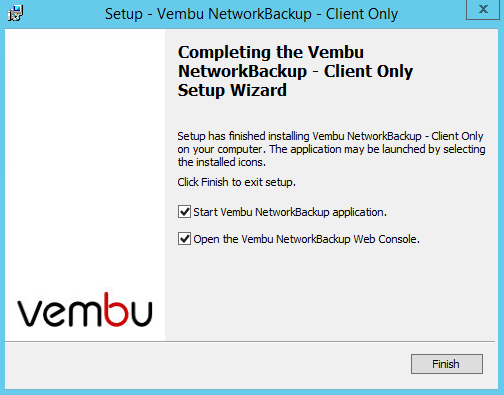
- The final step of wizard after installation will ask you whether to:
- Start Vembu NetworkBackup application and
- Open Vembu NetworkBackup Web Console.
- You can either leave the options selected and click Finish, or uncheck them and start later.