VMware Virtual Appliance
A VMware Virtual Appliance is a template that creates virtual machines instantly on VMware virtual environment without manual VM creation or separate installation of the operating system or .
Download VMware Virtual Appliance from the following link: Click here to Download VMware Virtual Appliance.
The downloaded file will be in zip format. Unzipping the file will have the following:
- Vembu VMBackup Client build
- Virtual Appliance template file (OVF)
- User Guide on How to deploy VMware Virtual Appliance
- Read Me file
Supported Versions: VMware VSphere 5.5 and 6.0
Steps to Deploy Virtual Appliance on VMware ESXi server:
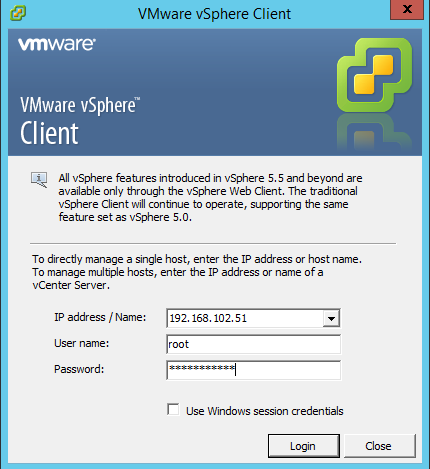
- Login to ESXi Server through VMware vSphere client.
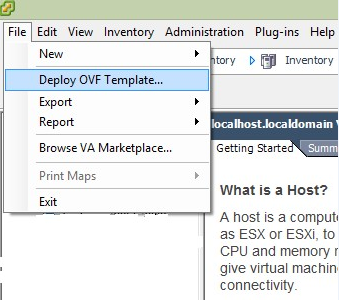
- Navigate to File option and select Deploy OVF Template
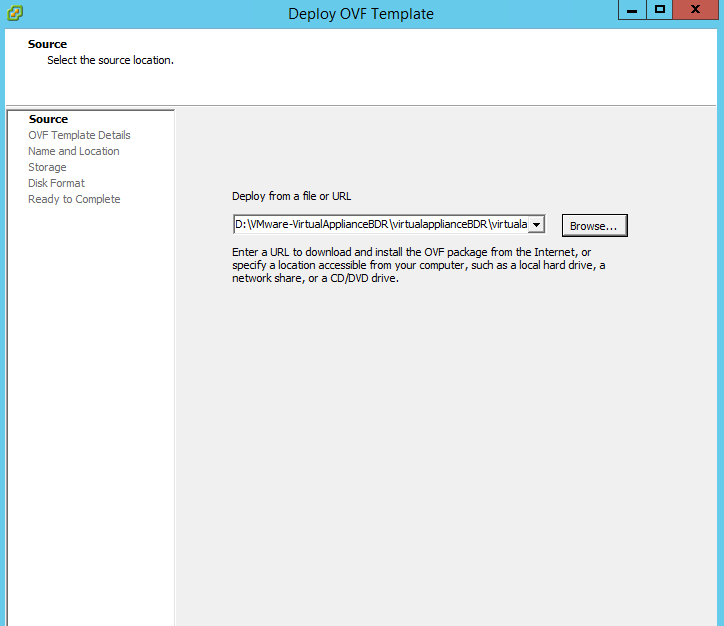
- Browse and choose the .ovf file from the unzipped location.
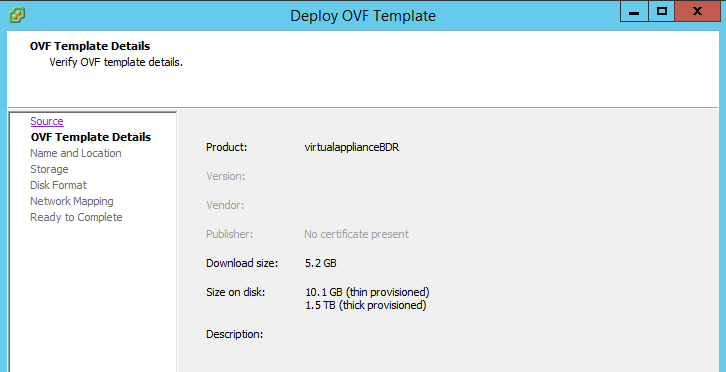
- The ovf configuration details can be viewed in next page similar to the image displayed below.
- Name the Deploying Virtual Machine. Click Next to proceed further.
Note: The name can contain upto 80 characters and must be unique within the inventory folder.

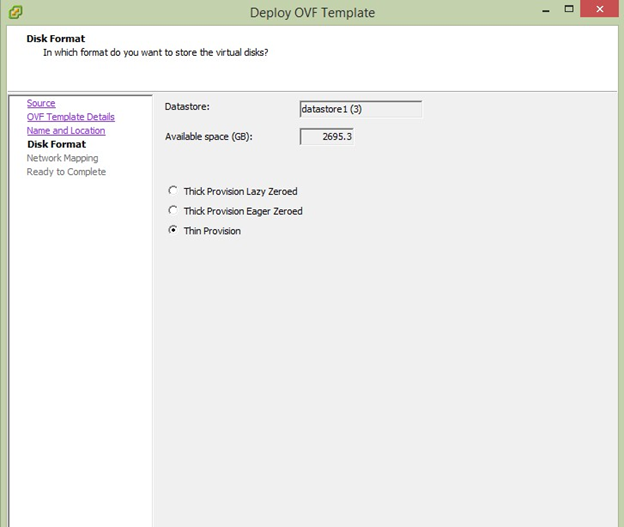
- Configure the storage location for the deploying machine.
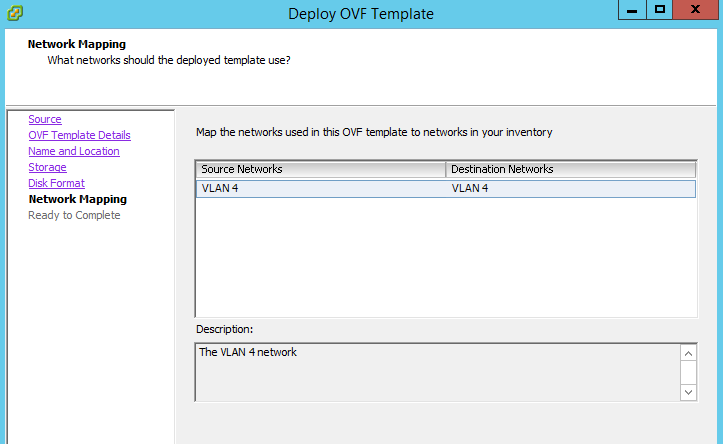
- Select the network for the virtual machine and click Next.
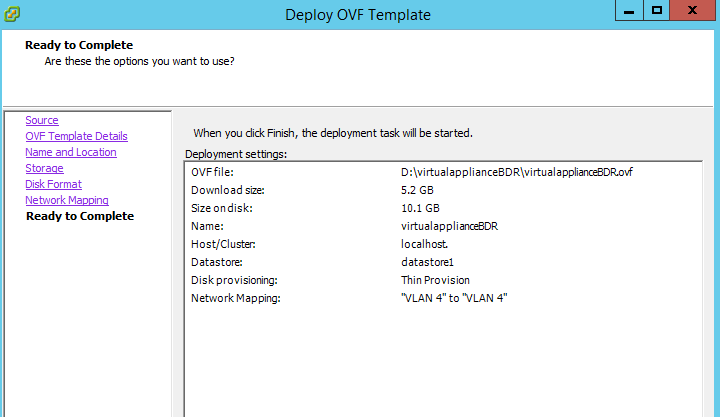
- Verify all the configuration chosen for Virtual Appliance and click Finish.
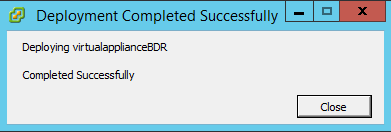
- Once the Virtual Appliance is deployed, you will be notified with a success message.
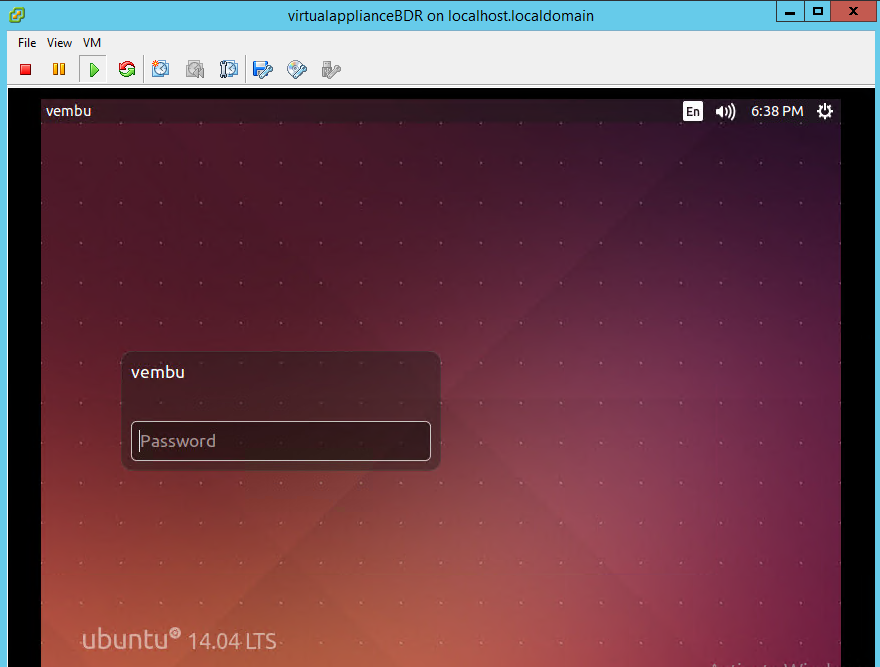
- By default, once the machine is booted it logs in automatically. If the machine is locked use the below mentioned credentials:
Default User details:
Username: vembu
Password: password
Root password: password (sudo -s)
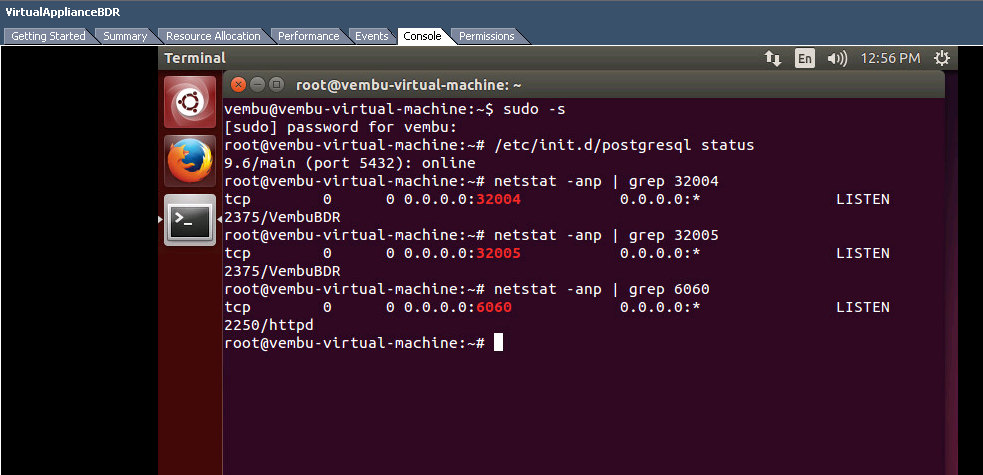
- Open the terminal and verify whether PostgreSQL and Vembu BDR services have started.
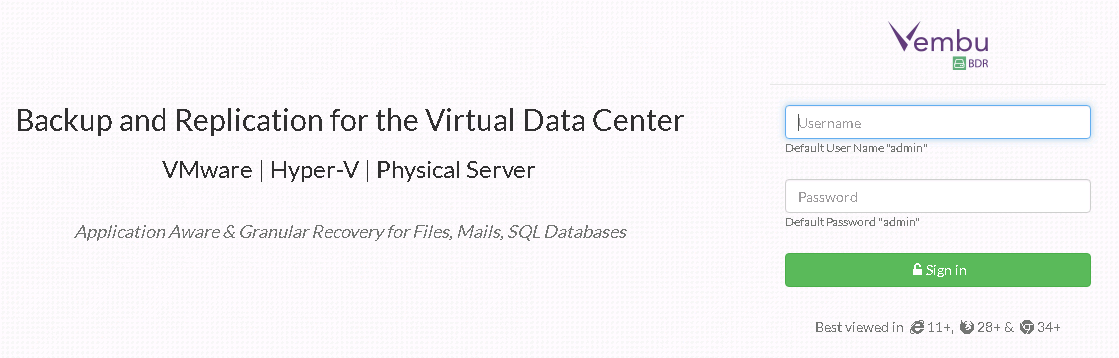
- Open any web browser (FireFox or Chrome) and enter https://localhost:6061 to open Vembu BDR web console. Login with username and password as admin/admin.
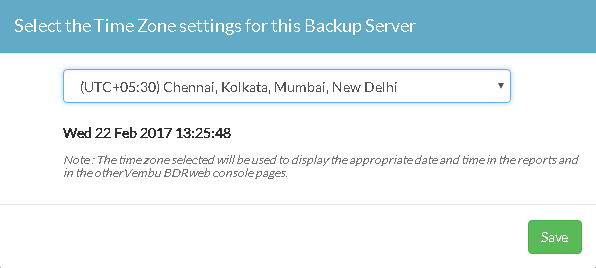
- Select your required Time Zone Settings for the machine and click Save to proceed.
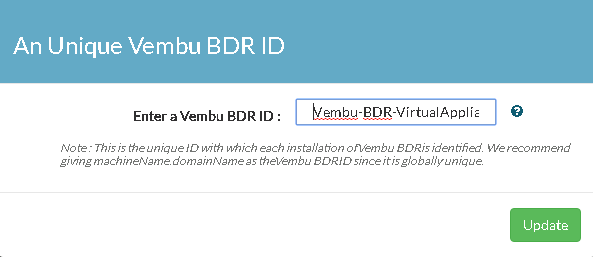
- Give a unique Vembu BDR ID, by default it takes the hostname and machine name as ID.
Note: The following characters are permitted as part of the ID : [ A-Z][a-z][0-9][ - _ .] Your ID must not start or end with special characters and it must be between 1-50 characters in length.
- Once ID configuration is updated successfully, you will be prompted to configure the repository details to store the backup data, Choose the volume and click Update. Deployment of on your VMware ESXi server is now successfully completed.