Steps to Add BDRSuite Add-in/Plugin for Outlook
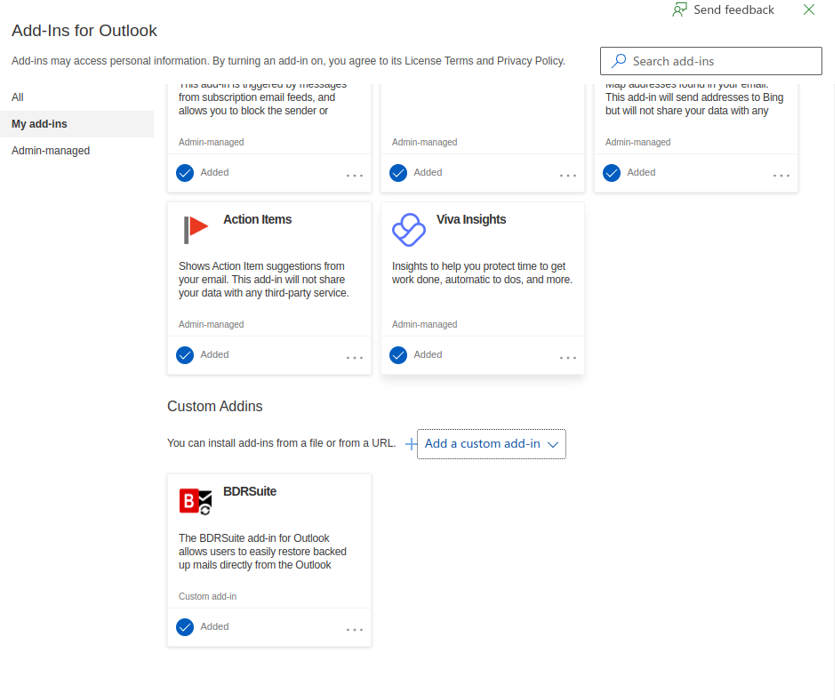
The BDRSuite add-in for Outlook allows users to easily restore backed-up mails directly from the Outlook interface (Web & Desktop application) without using the BDRSuite Web Console.
Prerequisites
- Make sure you have admin account credentials to access Microsoft 365 admin center. BDRSuite add-in for Outlook can be added for all (or) specific users in the organization from the admin account.
- Required Version & License for Microsoft 365 Users: Microsoft 365 Version 1701 or later, Microsoft 365 Business licenses (Business Basic, Business Standard, Business Premium), Office 365 Enterprise licenses (E1/E3/E5/F3), or Microsoft 365 Enterprise licenses (E3/E5/F3).
- BDRSuite Add-in is not supported in Internet Explorer. Make sure you use other browsers like Microsoft Edge.
Supported OS & Office Versions are listed below;
| OS | Office Versions |
| Windows 10 ver. >= 1903, Windows 11 | Microsoft 365 ver. >= 16.0.11629 AND < 16.0.13530.20424 |
| Windows 10 ver. >= 1903, Windows 11 | Microsoft 365 ver. >= 16.0.13530.20424 |
| Windows 8.1, Windows 10, Windows 11 | Microsoft 365 ver. >= 16.0.13530.20424 |
Steps to add BDRSuite Add-in for Outlook
Step 1: Add Organization and Enable the Option: ‘Create an application for Microsoft 365 User Login into BDRSuite and to support BDRSuite add-in for Outlook’
- Log in to the BDRSuite Server console.
- Microsoft 365/Google Workspace Tab: Navigate to Data Sources -> Add Microsoft 365 Organization page.
- When adding an organization, enable the checkbox option - “Enable Microsoft 365 users to initiate self-service recovery directly from their outlook console and from the BDRSuite web console”, enter the Self-service recovery URL (BDRSuite Server hostname or the IP Address of the machine where BDRSuite Server is installed followed by ":port number")and save the organization. If you have already added the organization, you can edit the organization and enable this option.
Enabling this option will;
- Create an application for BDRSuite in Microsoft 365 organization which will be used to support to deploy BDRSuite Add-in for Outlook which allows users to easily restore the backed-up mails directly from their Outlook interface.
- Allow Microsoft 365 Organization Users to log into the BDRSuite console with their Microsoft account credentials.
Step 2: Download the BDRSuite add-in Manifest for Outlook Once you have added the organization with the above-mentioned option enabled, you will be able to see the download icon alongside the organization listed on the Data Sources page.
- Click on the ‘Download’ icon which will open the BDRSuite Add-in for Outlook dialog.
- Provide a name to identify the BDRSuite Add-in for Outlook. By default, ‘BDRSuite’ will be added as a prefix.
- Then, click the ‘Save & Download’ button. This will download the manifest file (XML) to your computer.
Step 3: Deploy BDRSuite Add-in for Outlook in Microsoft 365
- Log in to the Microsoft 365 admin center console and sign in with your admin account.
- On the left pane, navigate to Settings -> Integrated apps. On the Integrated apps page, click on Add-ins.
- You will be redirected to the Add-ins page. Click the ‘+ Deploy Add-in’ button which will open the ‘Deploy a new add-in’ dialog.
- On the first screen, read the information and click ‘Next’.
- On the next screen, under the option ‘Deploy a custom add-in’, click the button ‘Upload custom apps’.
- Then, choose the option ‘I have the manifest file (xml) on this device’. Click on the Choose File button, select the manifest file (XML) [Downloaded from BDRSuite Server: step 2] and click the ‘Upload’ button.
- Once the manifest file upload is successful, on the next screen, you need to first assign users for whom you want to add the BDRSuite add-in.
You can choose the option ‘Everyone’ to add for all users in the organization (or) choose ‘Specific users/groups’ and specify the users.
For the Deployment method, you can choose any of the available options based on your organization's needs.
- Review the information and click the ‘Save’ button.
- Once the add-in is deployed, click the Next -> Close button.

Note: It will take up to 24 hours for the BDRSuite add-in to be displayed on users' ribbons.

Step 4: Enable User Access in BDRSuite Server Once the BDRSuite add-in is deployed, you need to enable user access in the BDRSuite Server console for Microsoft 365 Organization users (for whom the BDRSuite add-in is added).

|
Note: Enabling user access can only be done by BDRSuite User with Admin Role (Full Access Privilege). |
- Login to BDRSuite Server Console. Microsoft 365/Google Workspace Tab: Navigate to Backup Server Tile -> Users page.
- Click on the ‘Add User’ button which opens the Add User dialog box.
- Choose the option ‘Microsoft 365 Organization User’.
- Select the Organization, select the User and then click ‘Add User’. By default, recovery access is enabled for the added users.
- The users added will have access to the BDRSuite Server and recovery from their Outlook interface is allowed (If the BDRSuite add-in is added for the user already).
If you have added the BDRSuite add-in for ‘Everyone’ in the organization (in Step 3), then you need to enable user access for all users one by one in the BDRSuite Server.
If you have added the BDRSuite add-in for ‘Specific users/groups’ in the organization (in Step 3), then you need to enable user access for only those specific users in the BDRSuite Server.
Step 5: Recovery
From the Outlook Interface
- Once the BDRSuite add-in is added and user access is enabled in the BDRSuite Server, users can recover the backed-up mails directly from their Outlook interface (Web & Desktop application).
- Users can choose to restore mails based on search and filter criteria such as Subject, To, From, and between specific date range when recovering from the Outlook interface.
Redirect to BDRSuite Backup Server
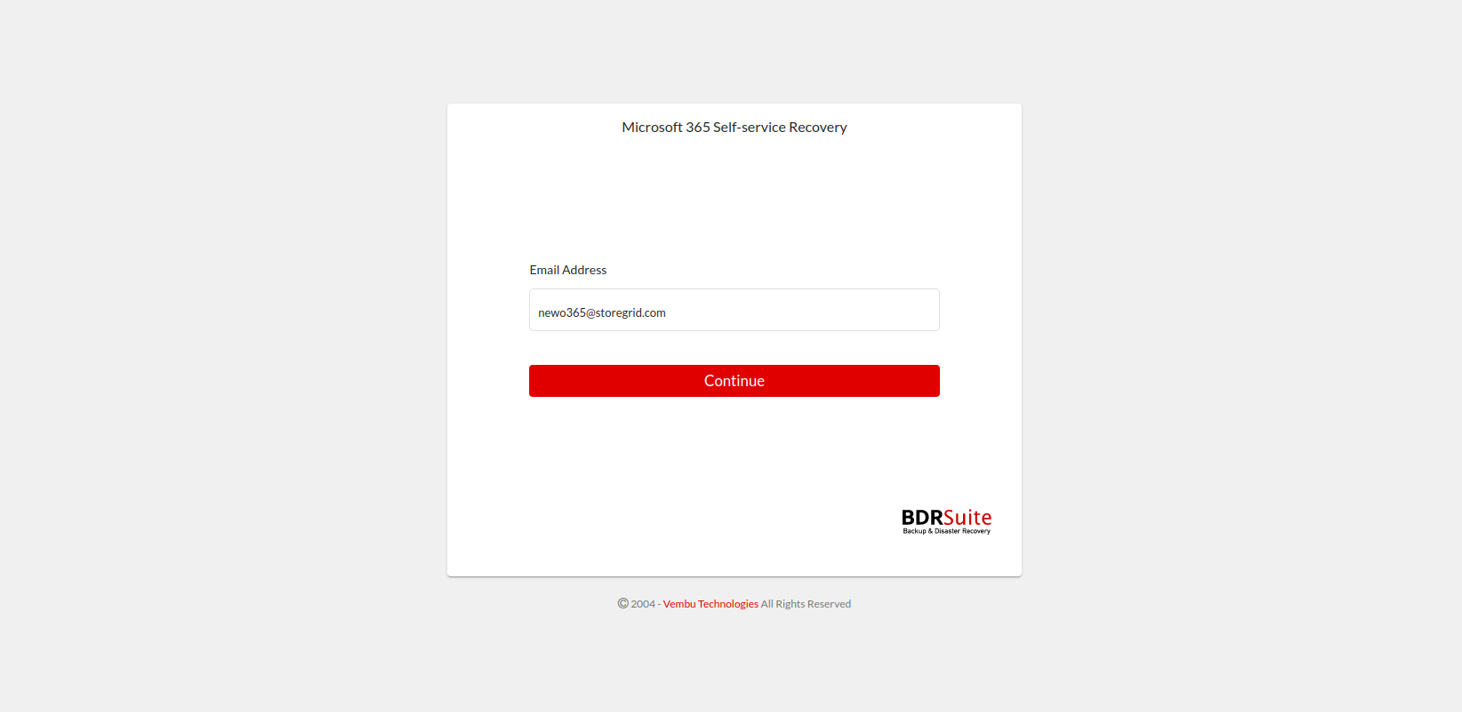
- On the Outlook interface, a self-service recovery URL is provided .

- Clicking on which will redirect the user to BDRSuite Backup Server.
- If you are already logged into your Microsoft 365 account in the same browser, you will be automatically logged in else log in using your Microsoft 365 account credentials.

- Enter the password

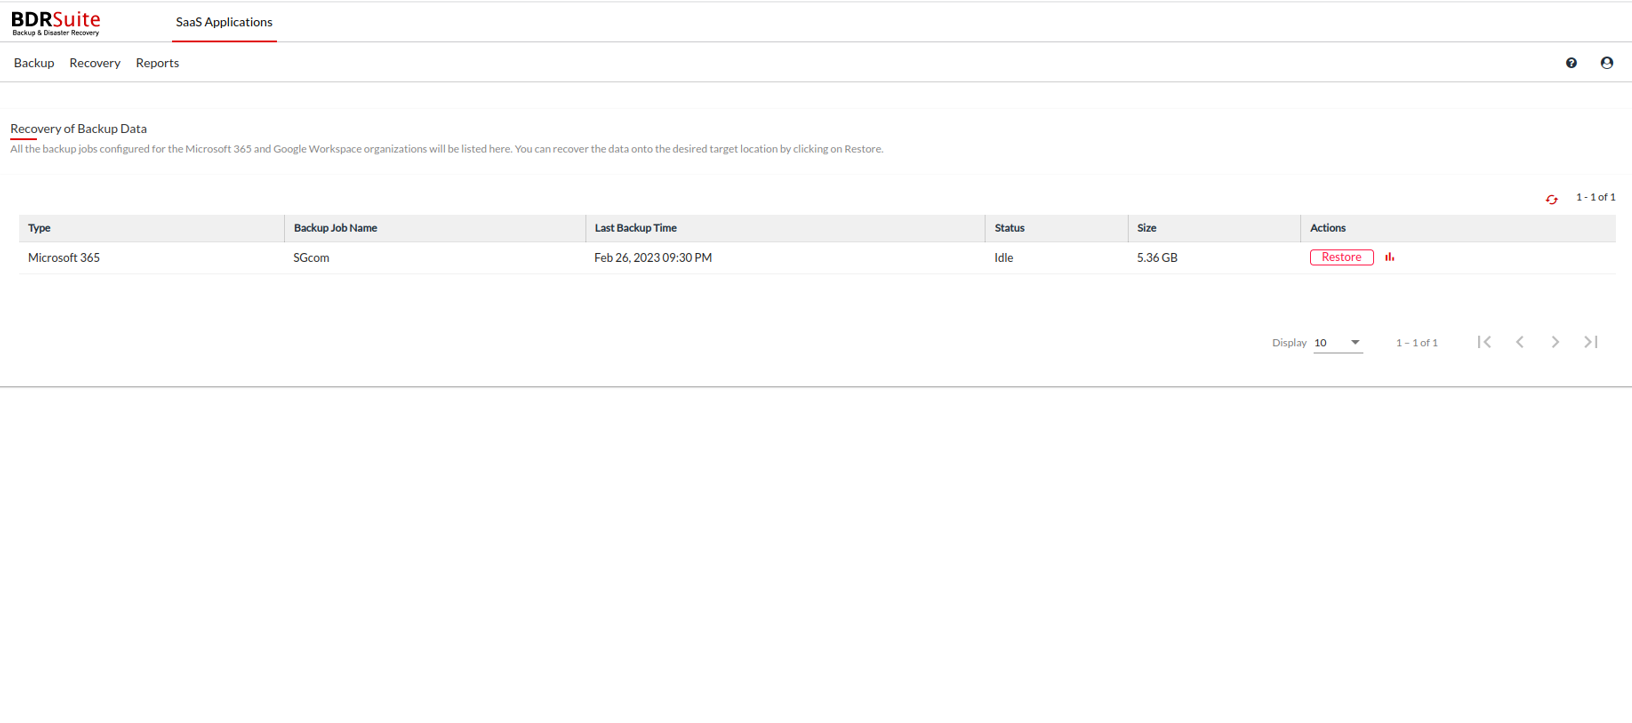
- After log in, navigate to the Recovery Tab and initiate recovery. Once restore icon is clicked for respective backup job then you can perform advanced recovery for the Mails, Drive, Calendar & Contacts.


|
Note: Recovery from Outlook Interface is supported only if all the above-mentioned steps are performed and backup has been configured for that particular user in the BDRSuite Backup Server. |